ENGLISH
40 / 60
0006160032_201711
•
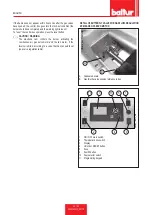
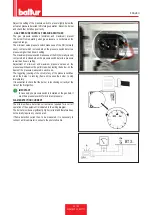
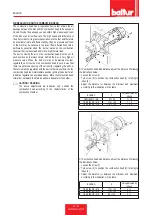
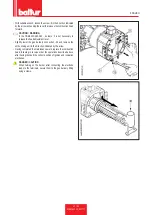
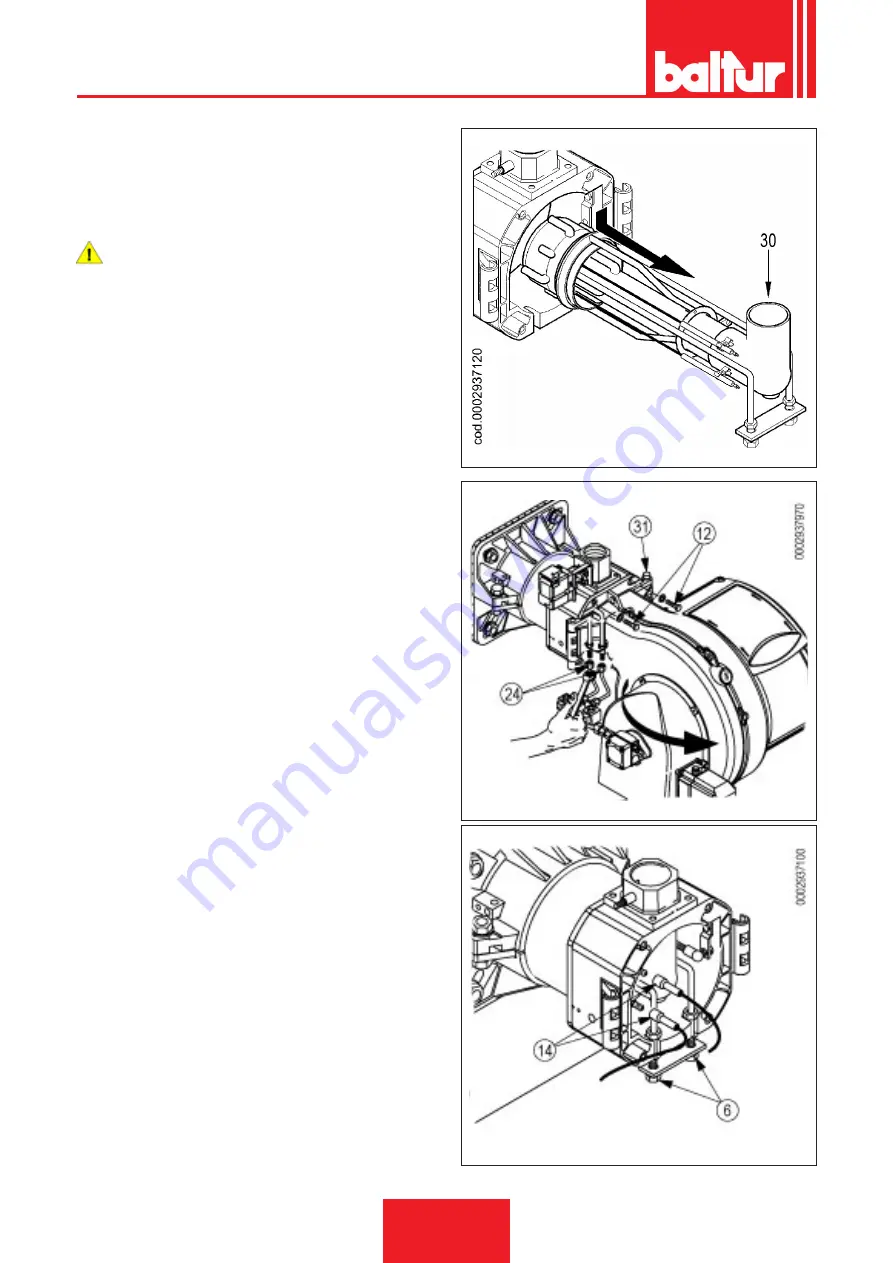
Slightly lower the gas delivery connection -30 and remove the
entire mixing unit in the direction indicated by the arrow.
•
Having completed the maintenance work, replace the combustion
head, following in reverse order the operations described above,
after having checked the correct position of ignition and ionisation
electrodes.
DANGER / CAUTION
When turning on the burner, after connecting the electrode
leads to the terminals, secure them to the gas delivery fitting
using a clamp.
TBML 120 - 160 - 200 ..
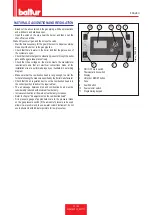
Analyse combustion gases and check that the emission values are
correct at least once a year, in compliance with current law.
• Clean air damper, the air pressure switch with pressure port and
the relevant pipe, if any.
•
Check the electrode condition. Replace them, if necessary.
•
Clean the photocell. Replace it, if necessary.
•
Have the burner and the chimney cleaned by specialised personnel
(stove repairer); a clean burner is more efficient, lasts longer and
is quieter.
•
Check that the fuel filter is clean. Replace it, if necessary.
•
Check that all components of the combustion head are in good
condition, have not been deformed and are free from deposits
deriving from the installation environment and/or from poor
combustion.
•
Analyse combustion gases and check emissions values.
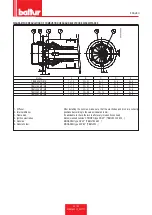
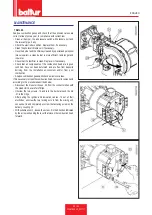
If it is necessary to clean the combustion head, remove its components
according to the procedure described below:
•
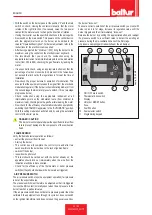
Disconnect the diesel hoses -24 from the connectors placed under
the head unit (pay attention to dripping).
•
Unscrew the two screws -12 and turn the burner around the pin
-31 in the hinge.
•
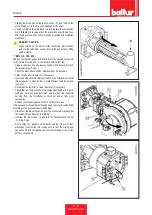
After pulling the ignition and ionisation cables -14 out of their
electrodes, unscrew the two locking nuts -6 from the mixing unit.
Loosen nut -9 and completely unscrew the fastening screw on the
delivery coupling -19.
Summary of Contents for TBML 80 ME
Page 2: ......
Page 4: ...ITALIANO 2 60 0006160032_201711 ITALIANO Schemi elettrici 48...
Page 50: ...ITALIANO 48 60 0006160032_201711 SCHEMI ELETTRICI...
Page 51: ...ITALIANO 49 60 0006160032_201711...
Page 52: ...ITALIANO 50 60 0006160032_201711...
Page 53: ...ITALIANO 51 60 0006160032_201711...
Page 54: ...ITALIANO 52 60 0006160032_201711 BT1 BA BP I1 I2 I3 I4...
Page 56: ...ITALIANO 54 60 0006160032_201711...
Page 57: ...ITALIANO 55 60 0006160032_201711...
Page 58: ...ITALIANO 56 60 0006160032_201711...
Page 59: ...ITALIANO 57 60 0006160032_201711...
Page 60: ...ITALIANO 58 60 0006160032_201711 BT1 BA BP I1 I2 I3 I4...
Page 62: ......
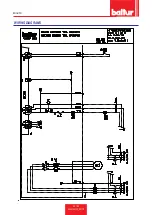
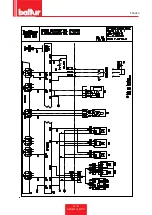
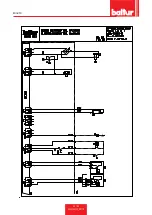
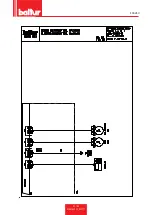
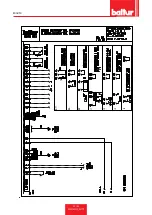
Page 64: ...ENGLISH 2 60 0006160032_201711 ENGLISH Wiring diagrams 48...
Page 110: ...ENGLISH 48 60 0006160032_201711 WIRING DIAGRAMS...
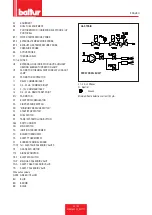
Page 111: ...ENGLISH 49 60 0006160032_201711...
Page 112: ...ENGLISH 50 60 0006160032_201711...
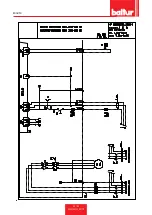
Page 113: ...ENGLISH 51 60 0006160032_201711...
Page 114: ...ENGLISH 52 60 0006160032_201711 BT1 BA BP I1 I2 I3 I4...
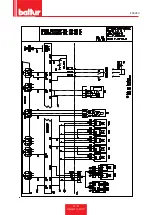
Page 116: ...ENGLISH 54 60 0006160032_201711...
Page 117: ...ENGLISH 55 60 0006160032_201711...
Page 118: ...ENGLISH 56 60 0006160032_201711...
Page 119: ...ENGLISH 57 60 0006160032_201711...
Page 120: ...ENGLISH 58 60 0006160032_201711 BT1 BA BP I1 I2 I3 I4...
Page 122: ......
Page 123: ......

