background image

BPI-R1 User Manual

http://www.banana-pi.com

http://www.sinovoip.com.cn

1

SinoVoip Co.,Limited

BPI-R1

User Manual

More information, please contact: judyhuang@banana-pi.com

Summary of Contents for BPI-R1

Page 1: ...BPI R1 User Manual http www banana pi com http www sinovoip com cn 1 SinoVoip Co Limited BPI R1 User Manual More information please contact judyhuang banana pi com...

Page 2: ...re GPU ARM Mali400MP2Complies with OpenGL ES 2 0 1 1 Memory SDRAM 1GB DDR3 shared with GPU Onboard Storage Micro SD Max 64GB card slot UP to 2T on 2 5 SATA disk Onboard Network 10 100 1000 Ethernet RJ...

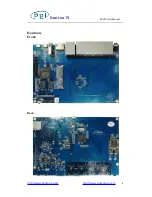
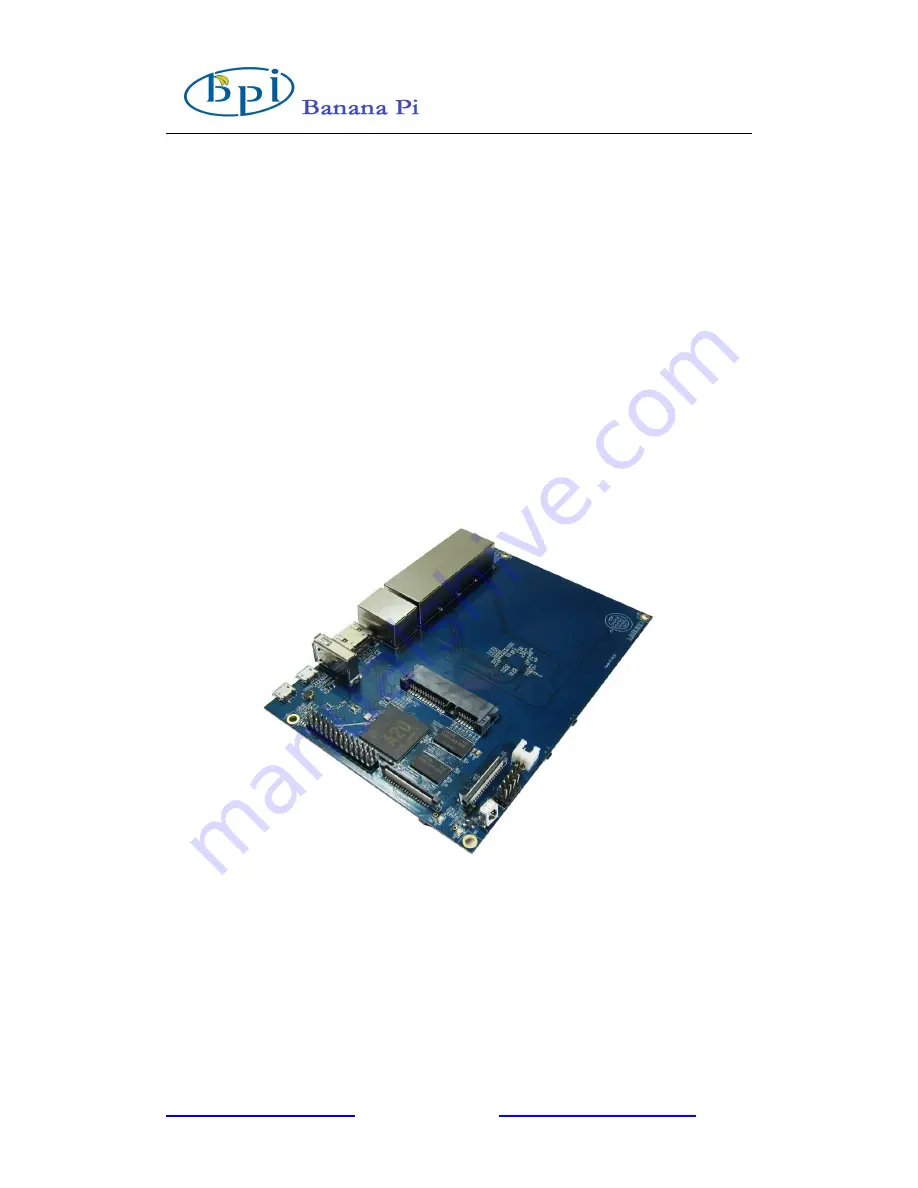
Page 3: ...BPI R1 User Manual http www banana pi com http www sinovoip com cn 3 Hardware Front Back...

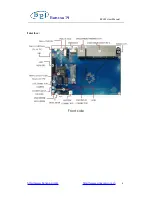
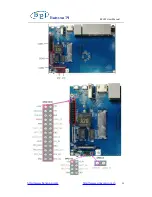
Page 4: ...BPI R1 User Manual http www banana pi com http www sinovoip com cn 4 Interface Front side...

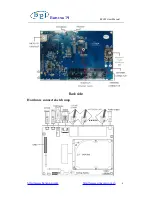
Page 5: ...BPI R1 User Manual http www banana pi com http www sinovoip com cn 5 Back side Hardware connect sketch map...

Page 6: ...ion notes 1 Micro SD card Minimum size 8Gb class 10 the class indicates how fast the card is We recommend using branded SD cards as they are more reliable 2 HDMI Full sized to HDMI DVI lead HDMI to HD...

Page 7: ...ide at least 2A at 5V is essential 6 Audio lead Optional You can choose a 3 5mm jack audio lead to connect to audio port to get stereo audio 7 Mobile Hard disk Optional You can choose to connect a mob...

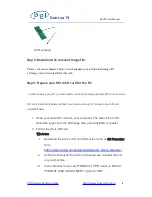
Page 8: ...card Instructions below will teach you how to write an OS image to your SD card under Windows 1 Insert your micro SD card into your computer The size of micro SD should be larger than the OS image si...

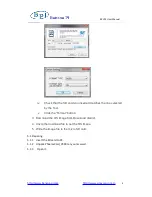
Page 9: ...matches the one selected by the Tool v Click the Format button 3 Download the OS image from Download district 4 Unzip the download file to get the OS image 5 Write the image file to the micro SD card...

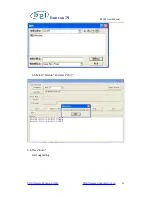
Page 10: ...BPI R1 User Manual http www banana pi com http www sinovoip com cn 10 5 2 Run PhoenixCard exe 5 3 Press DiskCheck and select disk of SD Card 5 4 Press Img File and Select system img...

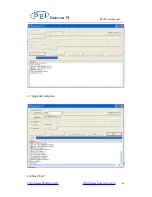
Page 11: ...BPI R1 User Manual http www banana pi com http www sinovoip com cn 11 5 5 Select Startup and press 5 6 Press Burn start upgrading...

Page 12: ...BPI R1 User Manual http www banana pi com http www sinovoip com cn 12 5 7 Upgraded complete 5 8 Press Exit...

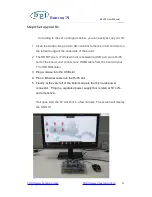
Page 13: ...e board 2 The HDMI Type A Full sized port is between a USB port and a RJ45 port of the board Just connect any HDMI cable from the board to your TV or HDMI Monitor 3 Plug a mouse into the USB slot 4 Pl...

Page 14: ...R1 PIN definition in this thread including CON1 CON2 CON3 J12 and J13 J13 contains the default serial port UART0 UART0 RX UART0 TX UATR0 is configured to be used for console input output Whilst this i...

Page 15: ...BPI R1 User Manual http www banana pi com http www sinovoip com cn 15...

Page 16: ...0 CON1 P15 LRADC1 CON1 P33 RESET CON1 P17 CSI0 D0 PE4 CON1 P19 CSI0 D1 PE5 CON1 P21 CSI0 D2 PE6 CON1 P23 CSI0 D3 PE7 CON1 P25 CSI0 D4 PE8 CON1 P27 CSI0 D5 PE9 CON1 P29 CSI0 D6 PE10 CON1 P31 CSI0 D7 PE...

Page 17: ...D04 PD4 CON2 P19 LCD0 D05 PD5 CON2 P21 LCD0 D06 PD6 CON2 P23 LCD0 D07 PD7 CON2 P25 LCD0 D08 PD8 CON2 P27 LCD0 D09 PD9 CON2 P29 LCD0 D10 PD10 CON2 P31 LCD0 D11 PD11 CON2 P33 LCD0 D12 PD12 CON2 P35 LCD0...

Page 18: ...D CON2 P24 GND CON2 P07 VCC 3V3 CON3 P18 CAN_RX PH21 CON3 P16 CAN_TX PH20 CON3 P23 SPI0_CLK PI11 CON3 P21 SPI0_MISO PI13 CON3 P19 SPI0_MOSI PI12 CON3 P24 SPI0_CS0 PI10 CON3 P26 SPI0_CS1 PI14 CON3 P05...

Page 19: ...oip com cn 19 CON3 P25 GND CON3 P06 GND CON3 P14 GND CON3 P20 GND J12 P03 PH5 PH5 J12 P05 PH3 PH3 J12 P04 UART7_RX PI21 J12 P06 UART7_TX PI20 J12 P01 VCC 5V J12 P02 VCC 3V3 J12 P07 GND J12 P08 GND J13...

Reviews: