background image


HB-0502-03


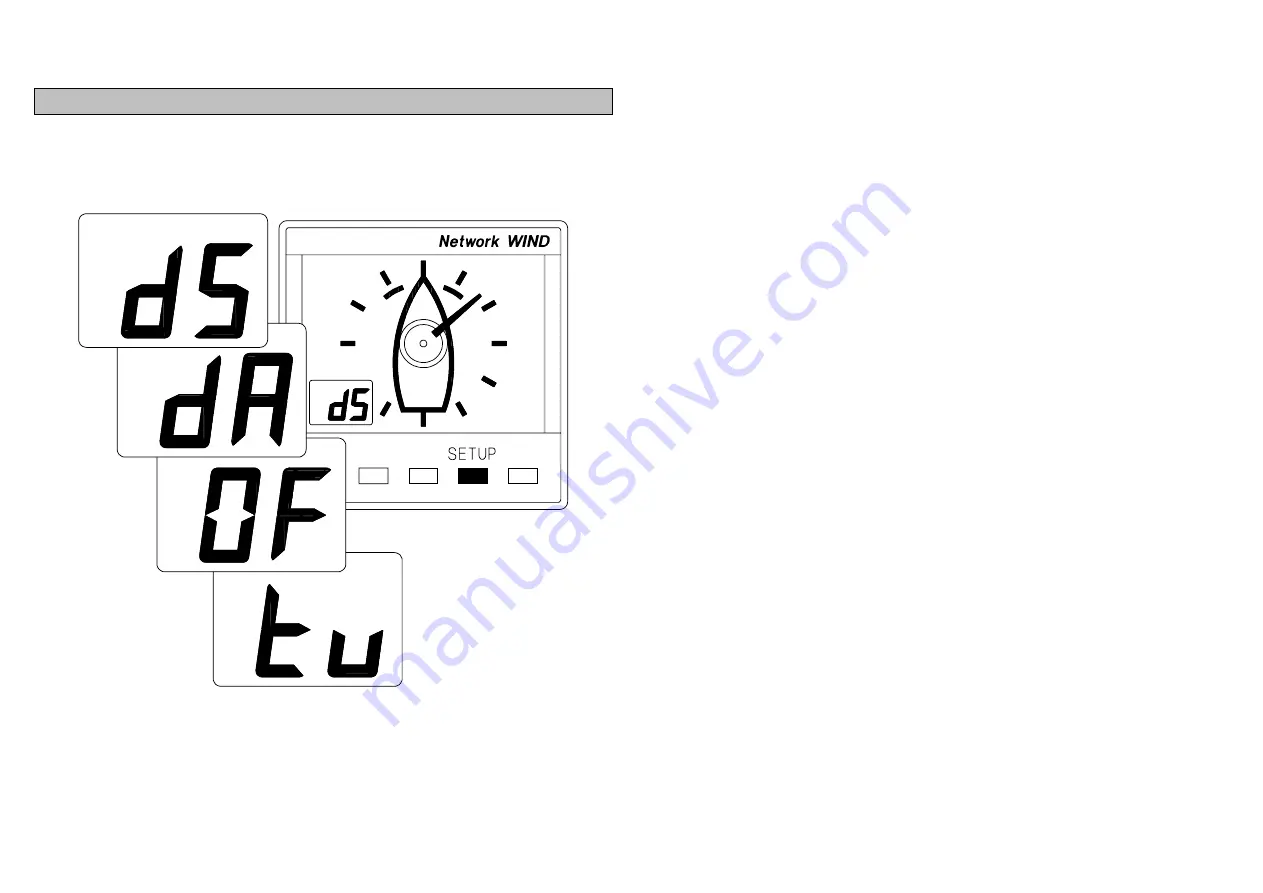
USING THE SETUP KEY 

 
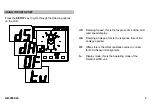
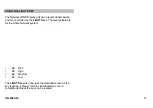
Press the 

SETUP

 key to cycle through the following options 

on the LCD. 


dS


Damping Speed, this is the response time of the LCD 


wind speed display. 


dA


Damping Analogue, this is the response time of the 

 analogue 

pointer. 


OF

  Offset, this is the offset calibration value to correct 


for Wind Sensor misalignment. 


tu


Display mode, this is the operating mode of the 


Network WIND unit. 


Summary of Contents for Network Series

Page 1: ...6 USING THE APP KEY 6 USING THE TRUE KEY 7 USING THE VOLTS KEY 7 USING THE SETUP KEY 8 SETTING THE DIGITAL DISPLAY DAMPING 9 SETTING THE ANALOGUE DISPLAY DAMPING 10 WIND SENSOR ALIGNMENT 11 ADJUSTING THE WIND SENSOR OFFSET 12 USING THE LIGHTS KEY 13 INSTALLATION 14 SITING THE UNIT 14 MOUNTING THE UNIT 14 SPECIFICATION 16 ABBREVIATIONS AND DEFINITIONS 17 THE WIND TRIANGLE 17 CONDITIONS OF WARRANTY ...

Page 2: ...ed cables throughout the Network System ensure the ultimate protection from interference between units and other systems All Network instruments can be linked to Network PILOT Network CHART Network GPS or Network LORAN receivers or via NMEA 0183 v1 5 to other navigational equipment INSTRUMENTS NAVIGATIONAL AIDS Network SPEED Network GPS Network DEPTH Network LORAN Network QUAD Network NAV Network ...

Page 3: ... from a Wind Sensor which plugs into the socket at the rear of the display or as a repeater of wind information received via the two Network cable tails For true wind functions Network WIND must be connected to a system that contains a Network SPEED or Network QUAD unit as boat speed is required The unit is able to transmit NMEA 0183 v1 5 data via the network cables to other Network units and conn...

Page 4: ...o repeater mode See SELECTING THE DISPLAY MODE For True wind functions the Network WIND must be part of a system containing Network SPEED or Network QUAD Network SPEED Network DEPTH Network WIND and Network TACK magnified wind angle The Network units can be connected together in any order as data is shared via the system network cable link Capteur de vent QUAD WIND Élément maître WIND Répétiteur W...

Page 5: ...o the display unit Your unit is supplied in this mode tr Repeater mode the unit operates as a wind repeater using data from the system network td Demo mode the unit runs an internal demonstration program Press SETUP key 4 times to display current mode Press ENTER key if the mode needs to be changed The display flashes Use or key to change the mode Press ENTER key to memorise the new mode After 30 ...

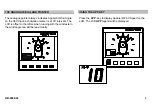
Page 6: ...Wind Angle on the 3600 dial Each division marker is at 300 intervals The LCD is offset to the left so when running with the wind astern the wind angle can still be read clearly USING THE APP KEY Press the APP key to display Apparent Wind Speed on the LCD The LCD APP legend will be displayed ...

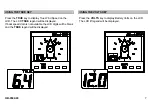
Page 7: ...nd Speed on the LCD The LCD TRUE legend will be displayed If boat speed data is not available the LCD digits will be blank and the TRUE legend will be displayed USING THE VOLTS KEY Press the VOLTS key to display Battery Volts on the LCD The LCD V legend will be displayed ...

Page 8: ...LCD dS Damping Speed this is the response time of the LCD wind speed display dA Damping Analogue this is the response time of the analogue pointer OF Offset this is the offset calibration value to correct for Wind Sensor misalignment tu Display mode this is the operating mode of the Network WIND unit ...

Page 9: ...mpy in gusty conditions The damping works by averaging the wind speed over a set time period the longer the time period the smoother the displayed values however the longer it takes to see any change Network WIND allows selection of four damping values d1 d2 d4 d8 each is the approximate time in seconds The unit is supplied with a factory set value of d4 ...

Page 10: ...y dS damping Speed Press ENTER key to display current damping speed The display flashes Use or key to cycle through the damping values Press ENTER key to memorise the new value After 30 secs the display will revert to previously selected display ...

Page 11: ...isplayed values however the longer it takes to see any change Network WIND allows selection of four damping values d1 d2 d4 d8 each is the approximate time in seconds The unit is supplied with a factory set value of d1 Press SETUP key twice to display dA damping Analogue Press ENTER key to display current damping speed The display flashes Use or key to cycle through the damping values Press ENTER ...

Page 12: ...wind angle AWA on the analogue display e g Port 350 NOTE If you have Network TACK or Network DATA the AWA can also be read from these 2 Turn the boat until close hauled on a Starboard Tack make sure the sails are set as for the Port Tack When the conditions are steady note the AWA on this tack e g 250 3 Determine the direction of the misalignment and wind sensor offset value by subtracting the Sta...

Page 13: ...tive the wind sensor is misaligned to Starboard To correct this the analogue pointer must be offset anti clockwise to port by the value calculated Use the key down to change the value displayed on the LCD Press SETUP key 3 times to display OF OFfset value Press ENTER key to display current value The display flashes Factory set to zero Use or key to adjust the value clockwise anti clockwise Press E...

Page 14: ...llumination and off controlled by the LIGHTS key The level selected is for the whole Network system L0 OFF L3 High L2 Medium L1 Low The LIGHTS key also changes the illumination level of the key legends it always remains illuminated so even in complete darkness the key can be located ...

Page 15: ... self tapping screw the fixing stud holes and the mounting bracket The template allows 4mm 5 32 between adjacent units for the suncover increase this distance if required to maximum of 60mm 2 3 8 between units or 180mm 3 1 8 between centres For greater distances between units extension cables are available Use a 70mm 2 3 4 diameter hole cutter for the mounting bracket hole Use a 2 9mm for the self...

Page 16: ...HB 0502 03 16 INSTALLATION ...

Page 17: ...ealing Fully sealed front suitable for bulkhead cockpit mounting Vented barrel to prevent condensation ELECTRICAL Power Supply 12V DC nominal 10 to 16V Operating Current 40mA typical 100mA illuminated Protection Connect via external 5A fuse or circuit breaker CABLES AND CONNECTIONS Connection to adjacent units is via cable tails fitted with either a plug or a socket Extension cables are available ...

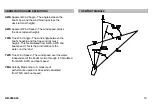
Page 18: ...nd Angle The wind angle between the boat s heading and the true wind at mast height This is calculated from AWA AWS and boat speed This is the wind relative to the water not the land TWS True Wind Speed The wind speed over the water independent of the boat s motion through it Calculated from AWA AWS and boat speed VMG Velocity Made Good A measure of performance upwind or downwind calculated from T...

Reviews: