Integration of 3
rd
party devices
Several 3
rd
party devices can be connected to the unit. The applications are displayed on
separate panels or integrated with other panels.
A device connected to the NMEA 2000 network should automatically be identified by the
system. If not, enable the feature from the advanced option in the System settings dialog.
The 3
rd
party device is operated by using menus and dialogs as on other panels.
This manual does not include specific operation instructions for any 3
rd
party device. For
features and functionality, refer to the documentation included with the 3
rd
party device.
FLIR camera control
If a compatible FLIR M-series camera is available on the Ethernet network, you can display the
video and control the camera from the system.
When the connection is established to a compatible FLIR camera, the menu changes to
include access to FLIR camera controls.
Ú
Note:
You can take over camera control from any unit connected to the Ethernet
network.
Establishing connection with the FLIR video camera
When a video panel is active, the unit automatically recognizes the compatible FLIR camera if
it is available on the Ethernet network.
Ú
Note:
When there is a DHCP server present on the Ethernet network, the FLIR camera
needs to be configured and set to have a Static IP Address before the connection can be
established. For instructions on how to configure your specific FLIR camera model, refer
to FLIR documentation.
Ú
Note:
Only one FLIR camera can be connected to the Ethernet network.
When you activate a video panel, the system starts searching the Ethernet network for a
compatible FLIR camera.
Lost connections are indicated on the panel. Select the indication to re-establish the
connection.
When the connection is established the menu changes to include access to FLIR camera
control.
Ú
Note:
You can take over camera control from any compatible unit connected to the
Ethernet network.
Panning and tilting the FLIR camera
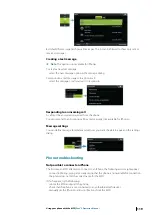
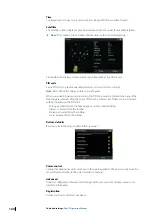
When the connection to the FLIR camera is established, pan and tilt panel buttons appear on
the video panel. The left and right arrow buttons control the camera’s pan. The up and down
arrow buttons tilt the camera.
Select one of the arrow buttons on the panel to control the camera. The camera continues to
move for as long as you press the button.
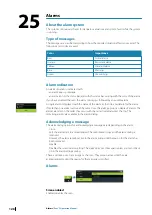
Zooming the FLIR video image
You zoom the video image by using the zoom panel buttons.
There are two zoom options available, depending upon your selected FLIR camera source
option:
•
Digital zoom
Only available when the camera is in Infrared mode. In this mode, the zoom is represented
in levels (0, 2 and 4 times zoom). Each press on a zoom button increments or decrements
the zoom level.
•
Optical zoom
Available in daylight mode. In this mode, the camera continues to zoom for as long as you
press a zoom panel button.
27
Integration of 3 party devices
| Zeus³S Operation Manual
133
Summary of Contents for Zeus3S
Page 1: ...ENGLISH Zeus3 S Operator Manual www bandg com...
Page 2: ......
Page 139: ......
Page 140: ...988 12586 001...

