background image

20 

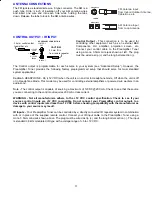
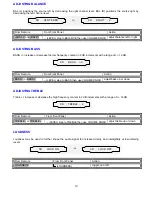
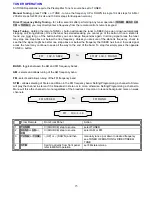
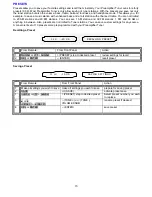
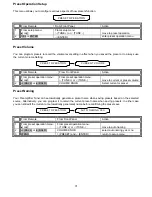
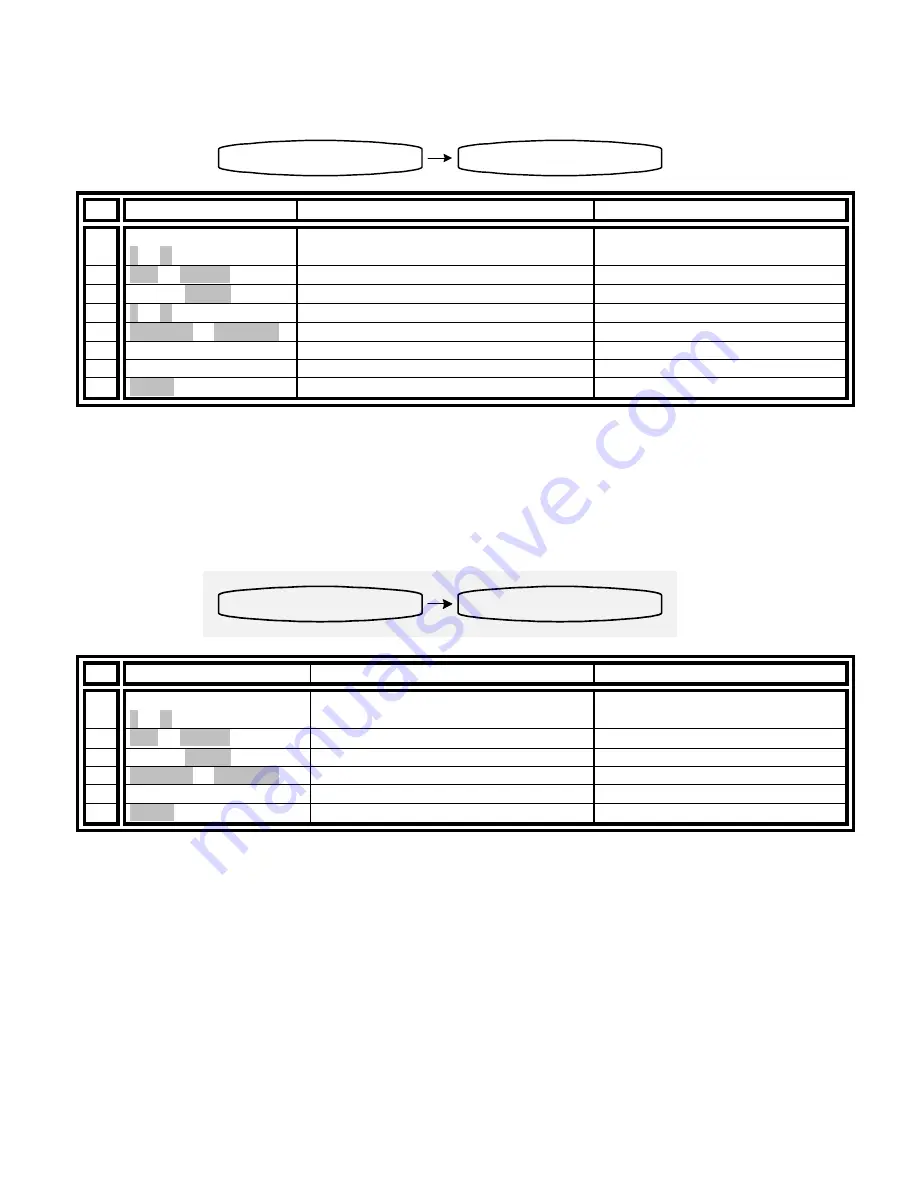
Source Names Setup 


From the factory, your Preamplifier Tuner will display source names that match those printed on the rear of the 
Preamplifier Tuner and on the supplied remote. However, this menu allows you to change the displayed names to 
match the actual sources used. If you do not want to change the names then skip this step. Note that the tuner 
name cannot be changed. 


From Remote 

From Front Panel 

Action 

From setup menu: 

À

 or 

§ 


From setup menu:


.

 (TUNE +) or 

-

 (TUNE -) 

 
move to source names 

SEL or ENTER 

 (ENTER) 

enter source names menu 

Desired source 

 (SOURCE) step to source 

select desired source for renaming 

À

 or 

§ 


.

 (TUNE +) or 

-

 (TUNE -) 

change blinking character 

¶ 

(BAL L) or

 • 

(BAL R) 

VOLUME KNOB 

move to new character position 

repeat 4-5 

repeat 4-5 

until all renaming complete 

Repeat 3-6 

repeat 3-6 

to rename additional sources 

MENU 

 (PRESET) and 

 (ENTER) 

return to setup menu 


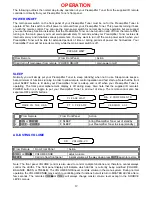
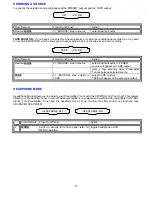
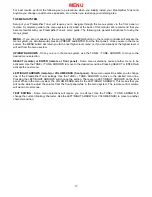
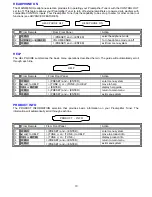
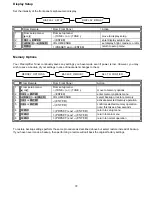
Source Levels Setup 


This setup allows you to match the levels of your sources so that there are no large changes in volume as you 
change from one source to another. This is for your convenience only and need not be performed unless you wish 
to. You may use a SPL meter or your ear to adjust the levels. Note that the levels will depend not only on this 
setting but also on the source material being played back. You may wish to use a test disc. Note that the only 
setting permitted are 0 and -6dB


From Remote 

From Front Panel 

Action 

From setup menu: 

À

 or 

§ 


From setup menu:


.

 (TUNE +) or 

-

 (TUNE -) 

 
move to source levels 

SEL or ENTER 

 (ENTER) 

enter source levels menu 

Desired source 

 (SOURCE) step to source 

select desired source for level setup 

¶ 

(BAL L) or

 • 

(BAL R) 

VOLUME KNOB 

set desired level 

repeat 3-4 

repeat 3-4 

set additional source levels 

MENU 

 (PRESET) and 

 (ENTER) 

return to setup menu 


SOURCE LEVELS

V1    VCR   -6db


SOURCE NAMES

V1         VCR

Summary of Contents for PT3

Page 1: ...P N13010 0702 B K S B IMPLY ETTER B K Components Ltd PT3 Owner s Manual...

Page 2: ...ii B K Components Ltd 2100 Old Union Road Buffalo New York 14227 2725 Phone 1 800 543 5252 or 716 656 0026 Fax 716 656 1291 E mail info bkcomp com Web www bkcomp com...

Page 3: ...uner Operation 15 Presets 16 Menu 17 Headphone ON 18 Help 18 Product Info 18 Setup 19 Favorite Preset Setup 19 Source Names Setup 20 Source Levels Setup 20 Preset Operation Setup 21 Preset Volume 21 P...

Page 4: ...se against removing or altering feet Do not stack anything on top of the Preamplifier Tuner processor source etc Leave a minimum of 2 clearance from the top of the Preamplifier Tuner to the next shelf...

Page 5: ...adation Presents 40 present memories allow instant recall of all user settings Loudness May be used to ass clarity to the audio signal for low to moderate listening levels Bass May be used to adjust r...

Page 6: ...the audio signal for increased clarity and intelligibility at low levels Sources Your Preamplifier Tuner can directly provide audio from its built in AM FM tuner Typically you will want to connect a...

Page 7: ...urces Engages an audio intelligibility circuit for low level listening Selects VOLUME BALANCE BASS or TREBLE level to be adjusted via the rotational encoder 3 Display The Preamplifier Tuner display is...

Page 8: ...R IN for controlling the Preamplifier Tuner This method of control is useful when the front IR receptor is blocked for example by a cabinet door or to control the Preamplifier Tuner from another room...

Page 9: ...amplifier Tuner includes an IR remote control SEL 2 3 5 6 8 0 9 E 1 BAND ST M 4 7 10 MENU MODE A TV DVD SAT V2 MUTE ON VOL CD V1 TAPE TUNER BAL L BAL R TUNE BASS TREBLE B K REMOTE CONTROLLER POWER OFF...

Page 10: ...2 You can also reprogram the source name that will appear on your Preamplifier Tuner s front panel See SETUP SOURCE NAMES Also note the length of the cable for each component s connection and describe...

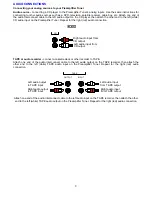
Page 11: ...ut from CD output CD Left audio input from CD output TAPE or audio recorder connect a cassette deck or other recorder to TAPE Attach one end of the audio interconnect cable to the left audio output on...

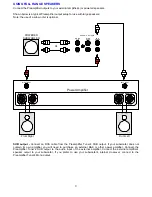
Page 12: ...er Amplifier MONO L R HIGH PASS FULL RANGE SUB PREAMP OUTPUTS RIGHT SPEAKER OUTPUT or SUB output Connect an RCA cable from the Preamplifier Tuner s SUB output If your subwoofer does not contain its ow...

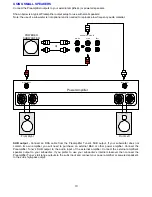
Page 13: ...ASS FULL RANGE SUB PREAMP OUTPUTS RIGHT SPEAKER OUTPUT or SUB output Connect an RCA cable from the Preamplifier Tuner s SUB output If your subwoofer does not contain its own amplifier you will need to...

Page 14: ...ed sub woofers in an audio zone Note The control output is capable of sourcing a maximum of 12VDC 200 mA Check to see that the source you are connecting to the control out requires 200 mA or less curr...

Page 15: ...EP Normally you will simply put your Preamplifier Tuner to sleep standby when not in use Sleep mode keeps a bare minimum of functions running in order to allow remote control operation and fast start...

Page 16: ...appear on TAPE output wait a few seconds while Preamplifier Tuner analyzes selected source TAPE SOURCE step quickly to TAPE select TAPE monitor TAPE will appear at the preamp s output HEADPHONE MODE...

Page 17: ...om Front Panel Action BASS or BASS LEVEL step to BASS then use VOLUME KNOB adjust bass up or down ADJUSTING TREBLE Treble increase or decrease the high frequency content in 2 dB increments with a rang...

Page 18: ...ter one step above or below the frequency that SEEK has found In weak signal areas the tuner may continue to seek all the way to the end of the band To stop this simply press the opposite TUNE button...

Page 19: ...Also presets are not limited to Tuner stations You can save custom settings for any source A convenient set of 10 presets come preprogrammed with your Preamplifier Tuner Recalling a Preset From Remote...

Page 20: ...will exit from the menu system UP DOWN ARROWS Once you are in the menu system use the TUNE TUNE ARROWS to move to the desired menu selection SELECT remote or ENTER remote or front panel Some menu sel...

Page 21: ...operations described herein The guide will automatically scroll through each line From Remote From Front Panel Action 1 MENU PRESET and ENTER enter menu system 2 or to HELP TUNE or TUNE to HELP move t...

Page 22: ...ing presets or sources This feature allows for skipping selected presets when pressing the remote Preset buttons or front panel preset button When you save a preset it will be automatically added to t...

Page 23: ...rename additional sources 8 MENU PRESET and ENTER return to setup menu Source Levels Setup This setup allows you to match the levels of your sources so that there are no large changes in volume as you...

Page 24: ...e to current or preset volume 2 BAL L or BAL R VOLUME KNOB Select current or preset Preset Naming Your Preamplifier Tuner can automatically generate a preset name when saving presets based on the sele...

Page 25: ...Panel Action 1 From setup menu or From setup menu TUNE or TUNE move to memory options 2 SEL or ENTER ENTER enter memory options menu 3 BAL L or BAL R VOLUME KNOB select backup or restore memory 4 SEL...

Page 26: ...ill prefer the TAPE input since it allows a full tape monitor capability Tape monitor allows you to listen to what is actually on the tape as you are recording it The Loudness control does not work at...

Page 27: ...from 74 dB to 8 dB default WARNING If you set this level too low the Preamplifier Tuner may appear broken no sound Product ID Code Set and Zone ID Messages transmitted from a B K Components Ltd remote...

Page 28: ...event changes to presets and system setup settings Note Locking Memory will also remove SETUP as a selection from the Preamplifier Tuner s MENU SLEEP TUNE and TUNE buttons pressed simultaneously will...

Page 29: ...pply 3 Poor ground on cable box 4 Cables running across back of TV 1 Check all connectors and repair as necessary 2 Check ground of outlet Have it checked by qualified serviceman 3 Check ground 4 Repo...

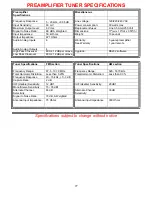
Page 30: ...g Outputs 4 High Pass Crossover 80 Hz 12 dB per octave Upgrade RS232 software Low Pass Crossover 80 Hz 12 dB per octave Tuner Specifications FM Section Tuner Specifications AM section Frequency Range...

Page 31: ...des B K delivers exceptional value to its customers But what is Upgradability Upgradability is not a guarantee we define it as a philosophy of designing and manufacturing products so that as audio tec...

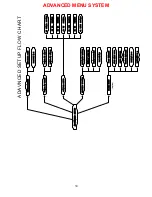
Page 32: ...Y SETUP DISPLAY BRIGHT MEMORY OPTIONS PRESET OPERATION BACKUP MEMORY SEL TO CONFIRM SETUP HELP MENU ON BACK UP DN ROW TXT VOL DEC INC SEL TO SELECT ENTER TO SELECT MENU TO EXIT PRODUCT INFO BK PT3 TUN...

Page 33: ...D U CT I D 2 P O W ER O N L I N E 1 P O W ER O N L I N E 2 C1 T U N ER P H O N ES C1 V 1 P H O N ES C1 V 2 P H O N ES C1 T V P H O N ES C1 D V D P H O N ES C1 CD P H O N ES C1 T A P E P H O N ES A D...

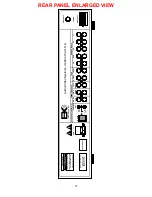
Page 34: ...T OPEN www bkcomp com V1 V2 TV SOURCE INPUTS DVD CD INPUT OUTPUT TAPE PREAMP OUTPUTS MONO L R CONTROL OUT ACCESSORY CONNECTION 12VDC 50mA COMPLIES WITH THE LIMITS FOR A CLASS B COMPUTING DEVICE PURSUA...

Page 35: ...32 NOTES B K Components Ltd 2100 Old Union Road Buffalo New York 14227 2725 Phone 1 800 543 5252 or 716 656 0026 Fax 716 656 1291 E mail info bkcomp com Web www bkcomp com...

Page 36: ...33 WWW BKCOMP COM B K Components Ltd 2100 Old Union Road Buffalo New York 14227 Phone 716 656 0026...

Reviews: