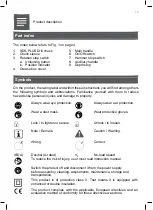
03
On/Off
Mode
Action
Application
On
Press the On/
Off switch (6) and
hold it in desired
pressing depth.
Switch on the power tool. The drilling speed/
power depends on the pressing depth of the
switch.
Off
Release the On/Off
switch (6)
Switch off the power tool.
Operation
01
General
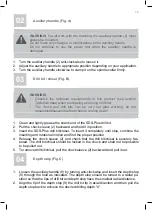
• Ensure that correct drill bit is inserted and all controls are set in correction position.
• Apply proper feeding force and rotation speed depending on drill bit characteristics
and material to be drilled. Too big feeding force will overload the power tool,
damage the drill bit due to overheating, decrease drilling effectiveness and
increase the risk of loss of control. Ask a drill bit specialist for advice if necessary.
• Check the bit and auxiliary handle status regularly during work, refit or replace it if
necessary.
02
Drilling
Drilling into wood, wood similar materials, plastic or metal could be applied by means
of a suitable keyed drill chuck with SDS-PLUS adapter (not provided).
• Set the machine to the mode “drilling without hammering” and insert the keyed drill
chuck with SDS-PLUS adapter into the SDS-PLUS chuck.
• Attach a suitable drill bit to the keyed drill chuck.
• Punch the drilling point before operation in order to avoid slipping of the drill bit.
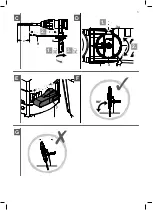
• Always hold the product perpendicular to the point to be drilled. Holding it at an
angle may cause slipping or jamming of the drill bit. See Fig. F, G.
• Always place the drill tip directly on the point to be drilled first and then switch the
product on.
• Use a metal drill bit for drilling into plastic and metal. Where necessary, use a
cooling lubricant that is available at your specialist dealer.
19

