background image

24

Manual Grinding Wheel 2928 00

 Maintenance and care

8.1   Safety


DANGER!

DANGER!
Life-threatening hazard due to electrical current!
Life-threatening hazard if contact is made with

conducting components.

• 

Before starting any maintenance and cleaning work,

   remove the power plug from the wall socket.


 Personnel: Specialized personnel


 Protective equipment: 

• 

Safety goggles

• 

Hair net

8.2   Cleaning the instrument


 To clean the outside of the instrument proceed as follows:


NOTICE!

NOTICE!
Damage to property if cleaners containing solvent, sand or

alcohol are used!
Cleaners containing solvent, sand or alcohol can attack

the plastic components.

• 

Only use mild cleaners that do not contain solvent

   sand or alcohol.

1. Ensure that the instrument is not connected to a power supply, pulling the


plug out if necessary.

2. Carefully wipe the instrument using a damp chamois cloth.

8.3   Cleaning sponges


 After prolonged use, sponges can harden due to grinding sludge. The


  sponges can be cleaned by rinsing them out. The sponges can be replaced if 

necessary.


 There are 2 different types of sponges that must be checked and replaced in


 different ways.

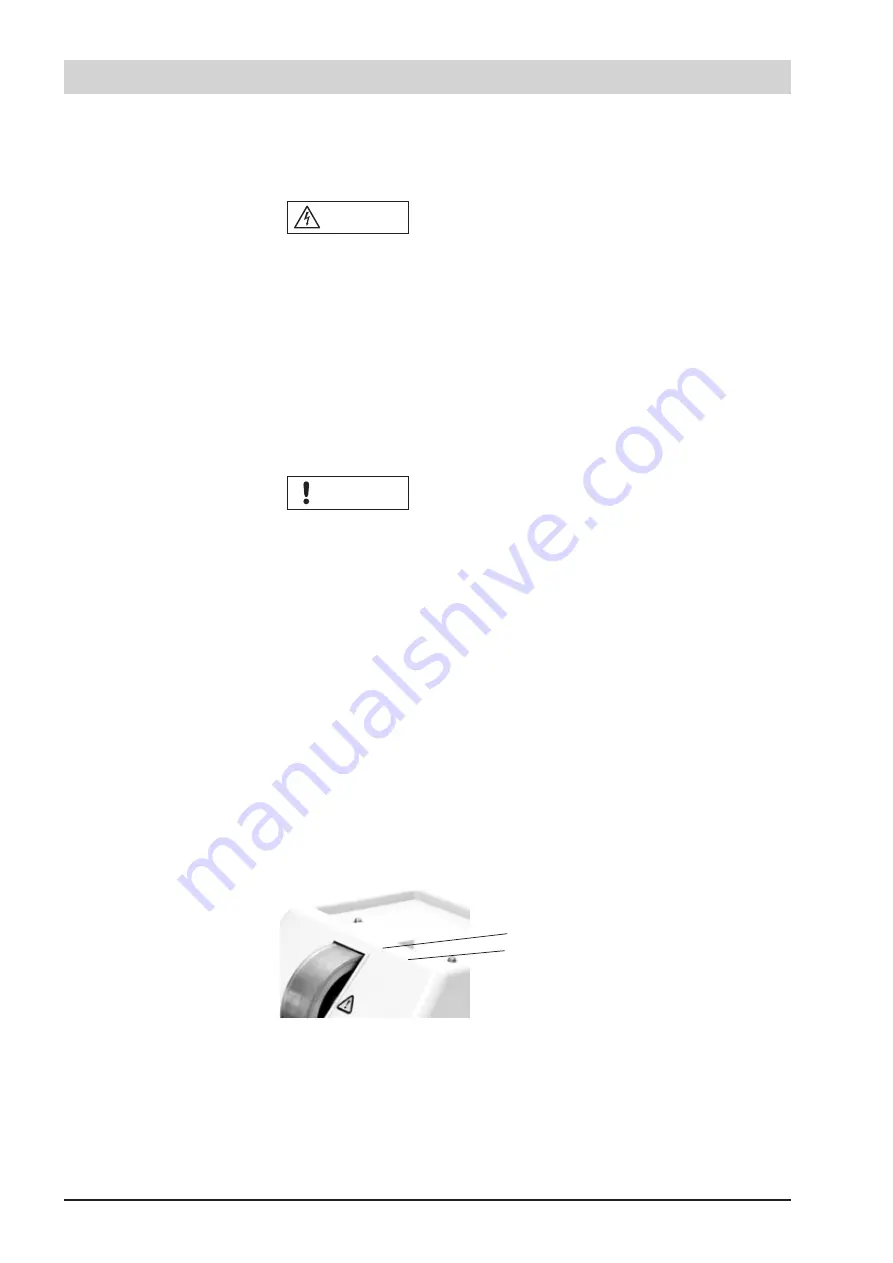
8.3.1    Cleaning the top sponge


1.  Sponge

2.  Sponge holderr


Fig. 17: Top sponge position

1. Lift up the water tank and place to one side.

2. Pull the sponge (Fig. 17/1) up out of the sponge holder (Fig. 17/2).

3. Rinse the sponge out under running water.

Maintenance and care

As needed

Summary of Contents for 2928 00

Page 1: ...Operating instructions Read the instructions prior to performing any task Hand grinding stone with and without sensor 2928 00 2928 10...

Page 2: ...Planck Stra e 30 61184 Karben Germany Telephone 49 0 60 39 993 10 Fax 49 0 60 39 993 37 email info b s de Internet www b s de 03 2014 These operating instructions were written by Breitfeld Schliekert...

Page 3: ...on 13 4 1 Overview of the manual grinding wheel 13 4 2 Power switch 13 4 3 Direction of rotation switch 14 4 4 Instrument inlet receptacle with fuse storage 14 4 5 Power supply cord 14 4 6 Water colle...

Page 4: ...4 8 3 1 Cleaning the top sponge 24 8 3 2 Cleaning the bottom sponge 25 8 4 Cleaning the grinding wheel removal 26 8 5 Changing the grinding wheel 27 9 Problems and solutions 28 9 1 Troubleshooting gui...

Page 5: ...tructions and use caution to prevent accidents personal injury and material damage DANGER DANGER This combination of symbol and keyword points to a situa tion of immediate danger which may lead to ser...

Page 6: ...result of the latest technical modifications The undertakings agreed in the supply contract as well as the manufacturer s Terms and Conditions and Terms of Delivery and the legal regulations applicab...

Page 7: ...eep untrained persons away from the instrument Do not set up the instrument near optical measuring instruments Any claims due to damage arising from incorrect use are excluded 2 2 Responsibility of th...

Page 8: ...he applicable standards and regula tions are capable of executing the tasks assigned to them and of recognizing possible hazards and avoiding them on their own Only skilled personnel are approved as p...

Page 9: ...h extreme caution All work must only be done by skilled personnel NOTICE NOTICE The instrument may be damaged by incorrect use Improper use may damage the instrument Do not drop the instrument Do not...

Page 10: ...must not be disposed of in household rubbish The obsolete instrument can be sent to waste management for electronics and metal recycling The manufacturer also accepts old instruments for disposal Inf...

Page 11: ...epth 360 mm 3 2 Power requirements Data Value Unit Rated voltage 220 240 V Frequency 50 60 Hz Power 150 W 3 3 Rotational speed Data Value Unit Rotational speed forwards backward 2300 rpm 3 4 Grinding...

Page 12: ...Manufacturing plate The manufacturing plate is found on the inside of the base of the instrument and contains the following information Item number Type Serial number Rotational speed Voltage Frequenc...

Page 13: ...ner under the instrument 6 Power switch 7 Power plug 8 Sponge holder with sponge bottom 9 Grinding wheel 10 Sponge top 11 Water valve 12 Sensor only with 2928 10 4 2 Power switch The power switch is u...

Page 14: ...4 5 Power supply cord 1 Instrument inlet connector instrument 2 Power plug power supply The power supply cord is used to connect the manual grinding wheel to the power supply of the healthcare establ...

Page 15: ...k Fig 8 1 is used to cool during grinding and is operated using the water valve Fig 8 2 4 8 Contents on delivery Included in the delivery 1 x Hand grinding stone 2928 00 or 2928 10 1 water tank 1 powe...

Page 16: ...ct the individual components from transport damage corrosion and other damage prior to assembly Therefore do not destroy the carton and unpack the items shortly before assembly Dispose of packaging ma...

Page 17: ...t expose to aggressive media Protect from sunlight Avoid mechanical shocks Storage temperature 15 to 35 C Relative air humidity max 60 If storing for longer than 3 months regularly check the general c...

Page 18: ...e to optical measuring instruments Grinding dust and water spray may damage measuring instruments Do not set up the manual grinding wheel near optical measuring instruments Personnel Specialized perso...

Page 19: ...tach water tank 1 Water tank 2 Attachment surface 3 Sponge with hole 4 Water valve 6 5 Connect the unit to the power supply NOTICE NOTICE The instrument may be damaged by incorrect power supply Incorr...

Page 20: ...on All work must only be done by skilled personnel Personnel Specialized personnel Protective equipment Safety goggles Safety cap 7 2 Grinding lenses 7 2 1 Check water collection container NOTICE NOTI...

Page 21: ...below the top Fig 13 Attach water tank 2 Place the water tank Fig 13 1 on the attachment surface Fig 13 2 Ensure that the outlet of the water valve Fig 14 2 is located over the hole in the sponge Fig...

Page 22: ...ds run direction downwards Fig 15 7 2 4 Switching the instrument on off Personnel n Specialized personnel Switch the power switch to I Fig 16 The grinding wheel rotates Fig 16 Power switch To switch t...

Page 23: ...th water cooling depends on the material e g silicate glass or CR39 Other ma terials e g polycarbonate or Trivex may only be ground while dry 3 Set the direction of rotation of the grinding wheel Chap...

Page 24: ...can attack the plastic components Only use mild cleaners that do not contain solvent sand or alcohol 1 Ensure that the instrument is not connected to a power supply pulling the plug out if necessary...

Page 25: ...1 upwards out from the outer housing 1 Bottom sponge Fig 19 Remove the sponge 3 Rinse the sponge Fig 20 out under running water Fig 20 Bottom sponge If necessary the sponge must be replaced 4 Insert t...

Page 26: ...device Chapter 7 2 4 Switching the instrument on off on page 22 6 Carefully remove the cleaning dust from the outer housing of the instrument 1 Grinding wheels grit 2 Grinding wheels e g diamond coat...

Page 27: ...el groove 4 5 Cleaning stone Fig 24 Remove the wheel with the Vbevel groove diagram Continue this process for the 3 areas until the grinding wheel surface is again flat and clean 8 5 Changing the grin...

Page 28: ...p tacle fuse holder Instrument inlet connector loose Check instrument inlet connector is plugged firmly in Grinding speed is inadequate Grinding wheel blocked up with grinding material Remove material...

Page 29: ...er accepts old instruments The old instrument can also be broken down into its components and the components sent to recycling Scrap any metal Send plastic elements to be recycled Dispose of remaining...

Page 30: ...use storage 14 Intended use 7 O Operation 20 Ophthalmic lens material CR39 23 P Packaging 16 Plugs 14 Power supply cord 14 Power switch 13 Protective equipment 10 S Safety General 7 Service 6 Setting...

Page 31: ...31 Manual Grinding Wheel 2928 00 CE declaration...

Reviews: