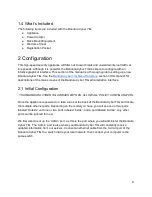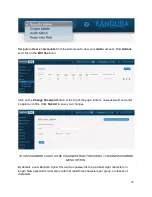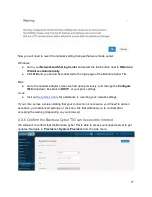
Take a look at the
Last Updated
section with the date and time of the last update. If the date
you see is not recent, the unit is still working to establish a connection with the support server.
You can click on
Update Now
in the upper right-hand corner to refresh the screen until you
have the correct date and time.
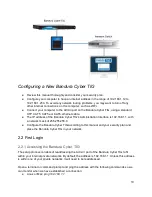
Now it’s time to place the Bandura Cyber TIG in your network. Connect the
Outside
ethernet
port toward the public internet, and the
Inside
ethernet port toward your internal network.
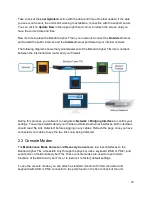
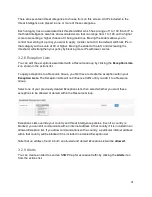
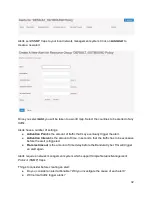
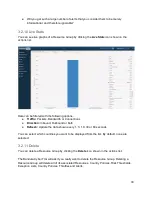
The following diagram shows the typical placement of the Bandura Cyber TIG into a network
between the internet border router and your firewall.
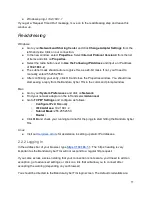
During this process, you will want to navigate to
Network > Bridging Interface
to confirm your
settings. You will see details about your Inside and Outside ethernet interfaces. Both interfaces
should read ‘No Link Detected’ before plugging in any cables. Refresh the page once you have
connected your cables to see the two links now being detected.
2.3 Console Modes
The
Maintenance Mode Console
and
Recovery Console
are low level interfaces to the
Bandura Cyber TIG, accessible only through the physical video, keyboard (USB or PS/2), and
serial ports on the Bandura Cyber TIG. These console modes are used to reset certain
functions of the Bandura Cyber TIG, or to restore it to factory default settings.
To use the console modes, you can attach a standard monitor with VGA connector and
keyboard with USB or PS/2 connector to the ports found on the front or back of the unit.
18

