BankSA EftpoS 1i terminal User Guide
6
BankSA EftpoS 1i terminal User Guide
7
2.8 Terminal configuration
Once the EFTPOS 1i terminal is connected, the Merchant ID and Terminal ID will need to be entered
into the PC-EFTPOS EFT Client.
This is done via the Control Panel Your POS Vendor or PC EFTPOS support desk may be able to assist
you if required.
You can use the function on the keypad from the terminal idle screen to configure the primary
communications method. To do this, press the # key at the idle screen and enter 998 to proceed to
communications selection.
The following configuration options will be displayed:
1.
Bluetooth Base:
View the details of the connected Bluetooth base hardware, and press “1”
to unpair from the base so that your terminal can be paired with another base.
2.
Bluetooth Base Version:
View the firmware version of the connected Bluetooth base, and press
“2” to update the base firmware if required.
3.
POS Details:
View details on the POS interface methodology (such as RS232).
4.
SIM:
Press “4” to verify the SIM details (if installed).
5.
PSTN Details:
Press “5” to verify the PSTN phone number (if in use).
6.
Power off timer:
Press “6” to configure the power-off timer duration.
7. (not in use).
8.
Internal Modem:
Press “8” to configure which communications method should be used to
communicate with the bank in the event that POS Communications are down. The available
options are GPRS, PSTN, and None.
Note that these communications method configurations are for the handset communicating directly
with the host (via GPRS or PSTN) in the event that the POS-to-Bank link is down.
The host communications (GPRS or PSTN) will only be used in the event that the POS communications
to the bank are (and/or the terminal is in standalone lite mode), and this process should be seamless
during a transaction.
3.0 Procedures
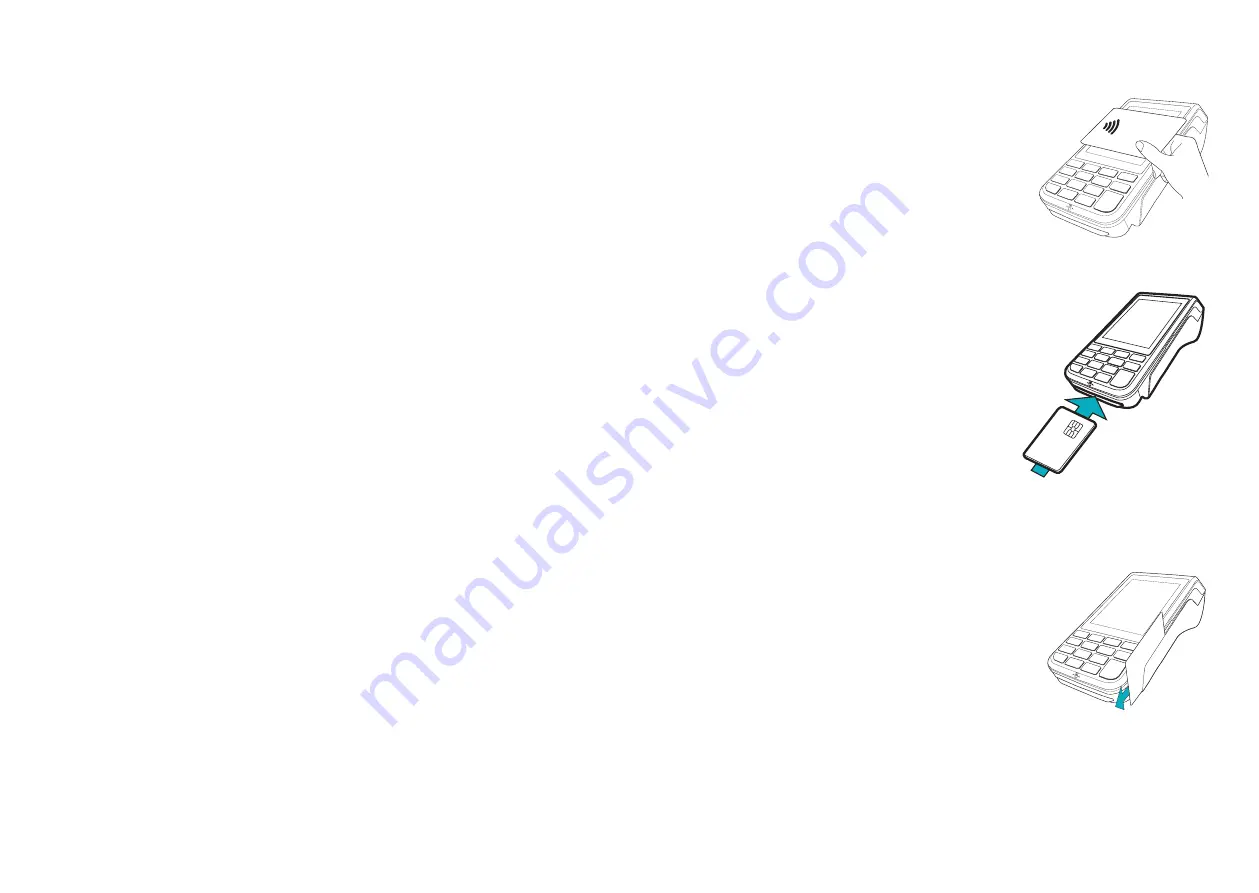
3.1 Conducting Contactless Transactions
The EFTPOS 1i terminal supports contactless transactions.
Instructions:
1. Your customer should position the contactless enabled card above
the terminal screen.
2. Await the confirmation beeps before removing the card. The screen
status LEDs will also indicate the progress of the read.
3.2 Inserting a Chip Card
The EFTPOS 1i terminal supports credit or debit card transactions.
The chip card reader is located at the bottom of the terminal
below the keypad.
Instructions:
1. Position the chip card with the chip facing upward and toward
the terminal.
2. Insert the chip card into the chip card reader slot as far
as it will go in a smooth, continual motion.
3. The card should remain inserted in the terminal until the
transaction is complete and the terminal prompts to remove it.
4. If there is an error with reading the chip on the card the terminal
may prompt you to swipe
the card.
3.3 Swiping a Magnetic Stripe Card
The EFTPOS 1i terminal supports credit or debit card transactions.
The magnetic stripe reader is located on the right hand side
of the terminal.
Instructions:
1. Position a magnetic stripe card in the card reader with the stripe
facing inward, towards the keypad.
2. To ensure a proper read of the magnetic stripe card, the merchant
should insert the magnetic stripe card from the top of the unit.
3. Swipe the card smoothly through the magnetic card reader.
4. If there is no response from the terminal, or CARD ERROR message is displayed, swipe the card again.
You may be required to swipe faster or slower.
5. If you swipe a chip card the terminal will prompt you to insert the card.


