1. Load a roll of adhesive, with the liner wound to the outside, onto the top mandrel in the same manner as
with laminating film.
2. Load a roll of paper on the bottom mandrel or use adhesive the same width as the mount board to keep the
adhesive from accumulating on the rollers.
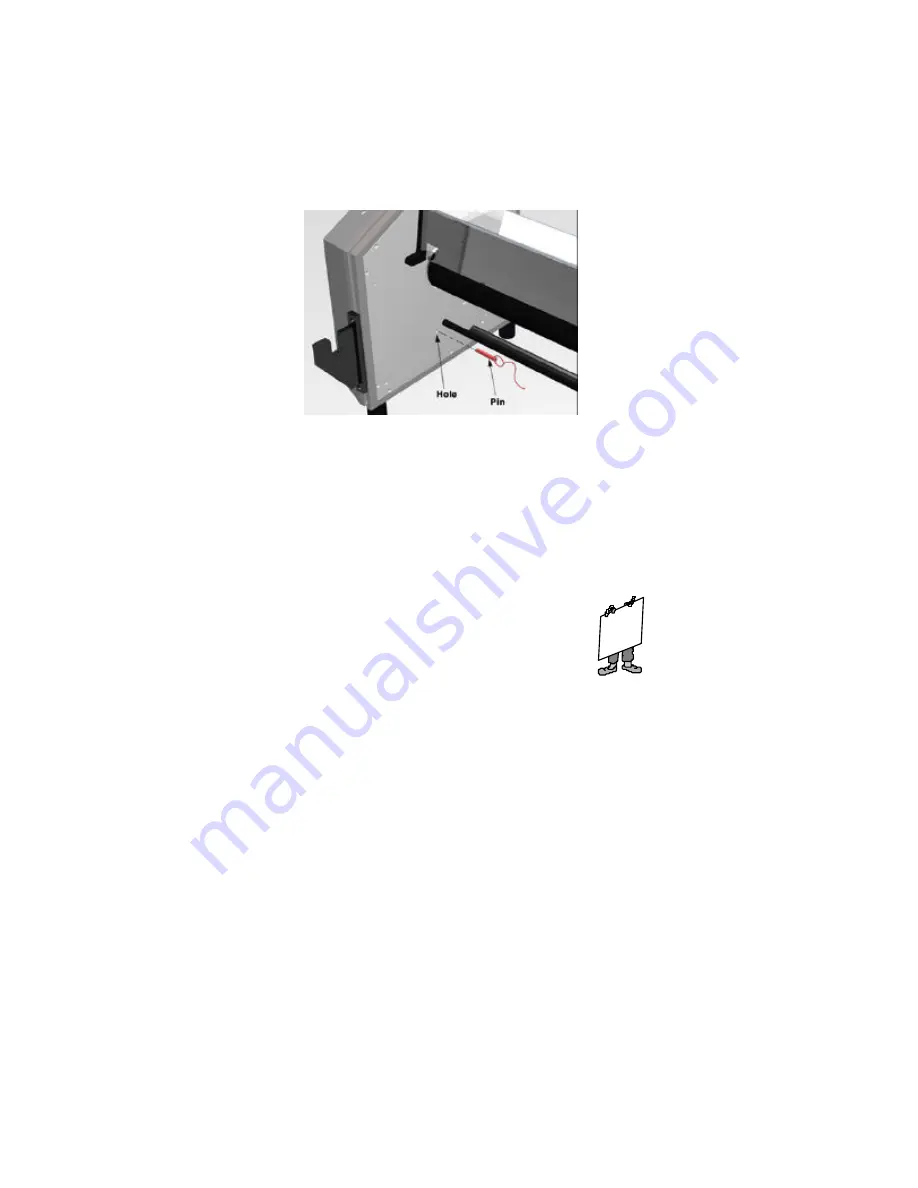
3. Place mount pins in holes. (Please see picture below).
4. Set the temperature to approximately 125°F. The Entry 4500 will take approximately 10-15 minutes to
reach operating temperature. The roller temperatures are indicated on the LCD displays.
5. Feed the uncoated mount board into the laminator behind a small leader board. The leader board will
prevent the compression of the leading edge of your mount board.
6. You may coat subsequent boards now, one directly behind the other, so that the board in front becomes
the leader board. We recommend that you coat a sufficient supply of mount board in one session so you’ll
have it ready for future use.
VIII. Mounting & Laminating...
1. Be sure all laminator parts (i.e. safety shield, feed table, etc.) are in their proper positions and the laminat-
ing film is loaded correctly (See page 3 for film loading instructions).
2. Place mounting pins in proper holes.
3. Turn the TEMPERATURE CONTROL switch to the ON position.
4. Set the temperatures according to the film manufacturer’s recommendations for the film you have chosen.
The Entry 4500 will take approximately 10-15 minutes to reach operating temperature. The temperature of
the heated rollers are indicated on the LCD display.
5. Turn the MOTOR switch ON and perform a test mount to ensure proper settings for successful mounting.
If any adjustments are necessary make them now and run another test. Repeat this step until you obtain
desired results.
6. Position the print to be mounted on a section of mount board up to ¼” thick behind a leader board. The
leader board will prevent compression of the leading edge of your mount board.
8. Feed the print and mount board into the laminator behind the leader board slowly and evenly.
Be sure to
pull back the release liner before it enters the rollers.
9. You may mount subsequent prints now, one directly behind the other so that the board in front becomes
the leader board.
10. Once your last print has completely exited the laminator, turn the MOTOR switch OFF and use a razor to
remove the mounted and laminated prints.
7
Summary of Contents for BA-EN45
Page 1: ...OPERATING INSTRUCTIONS ENTRY 4500 Model No BA EN45 Banner American Products Inc Temecula CA...
Page 2: ...CAUTION TO AVOID ANY DAMAGE PLEASE DO NOT USE RAZORS OR SHARP OBJECTS NEAR THE ROLLERS...
Page 4: ...Entry 4500 BA EN45 Mandrel...
Page 9: ...Rewind Option for Pressure Sensitive Laminating...
Page 17: ...Exploded Assembly 13...


