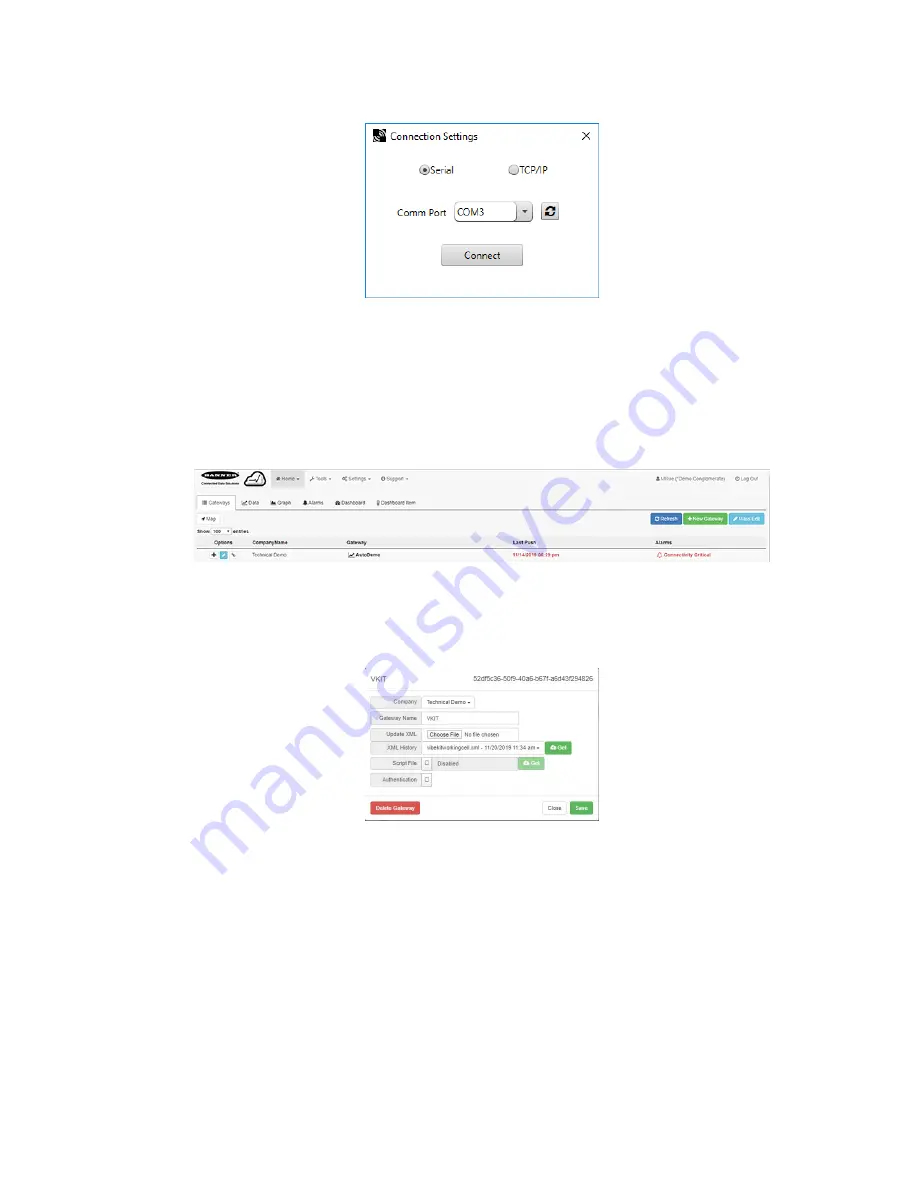
9. Select the appropriate
Comm Port
and click
Connect
.
If multiple comm ports are visible, try each one until the software is able to connect to the device.
10. Go to
Device
>
Send Configuration to the Device
to upload the new XML file.
5.2.5 Upload the XML Configuration File to the Website
To upload an XML configuration file to the website, follow these instructions.
1. At the webserver, select the
Home
screen.
2. On the row displaying your new site, click the
Edit Gateway
(pencil) icon.
3. Select
Update XML
.
4. Click
Choose File
and select the file that was just updated to the DXM and click
Save
.
Figure 14. Example file selection screen that may not represent your specific kit
After the XML file is loaded into the webserver, the webserver uses the register names and configurations defined in
the configuration file.
5. Click on the
Site Name
link to go to the configured registers to see the values uploaded by the DXM.
The same XML configuration files is now loaded on both the DXM and the Website. After some time, the data should
be seen on the website.
Completing these steps creates continuity between the site created on the website with the DXM used in the field. The DXM
pushes data to the website, which can be viewed at any time.
Refer to the
Banner Cloud Data Services Instruction Manual
(p/n 178337) to review all the features available for monitoring,
comparing data, and establishing warnings/alarms on the website.
DXM Enclosure Kit (DEK) Series
18
www.bannerengineering.com - Tel: + 1 888 373 6767


