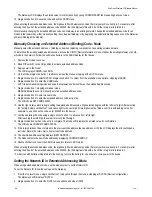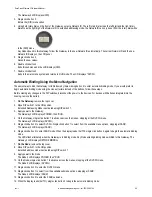
To change the Slave ID on the Gateway, follow these steps.
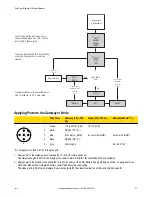
1. Single click button 1 to advance between menus. Stop when you reach the DVCFG menu.
2. Press button 2 once at the *DVCFG menu to enter the Device Configuration menu.
3. Press button 1 to advance through the items in the *DVCFG menu. Stop advancing when you've reached the setting for the slave ID
(SLID).
The screen is displaying (SLID).
4. Press button 2 once to enter the slave ID (SLID) submenu.
The screen displays the current slave ID number.
5. Press button 1 to advance across the three digit slave ID while using the right rotary dial to select the number. To make a change,
rotate the right rotary dial to zero, then to the desired number.
As you press button 1 to select the digit, the digit changes to reflect the position of the right rotary dial. To set the slave ID to 3, the
display should read 003.
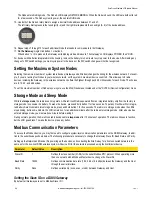
6. Press button 2 once to save your current setting.
The display reads SAVED.
7. Double click button 2 to exit the *DVCFG menu.
8. If using a Network ID (NID), adjust both rotary switches back to the NID value.
To avoid losing the network connection between the Gateway and Nodes, reset the rotary switches back to their appropriate values
before leaving the *DVCFG sub-menus. If the Gateway and Nodes lose their connection, the network may take up to 20 seconds to
re-synchronize.
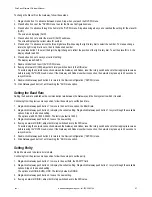
9. Double-click Gateway push button 2 to return to the Device Configuration (*DVCFG) menu.
10. Click Gateway push button 1 until reaching the *RUN menu option.
Setting the Baud Rate
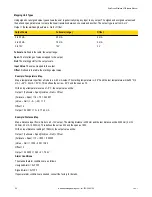
Setting the baud rate establishes the communication rate between the Gateway and the host system to which it is wired.
Continuing from the previous menu position, follow these steps to set the baud rate.
1. Single-click Gateway push button 1 to move to the next menu option, the BAUD rate.
2. Single-click Gateway push button 2 to display the current setting. Single-click Gateway push button 1 to cycle through the available
options. Stop on the desired setting.
The options are 9600, 19200, 38400. The factory default is 19200.
3. Single-click Gateway push button 2 to save the new setting.
4. If using a network ID (NID), adjust both rotary switches back to the NID value.
To avoid losing the network connection between the Gateway and Nodes, reset the rotary switches back to their appropriate values
before leaving the *DVCFG sub-menus. If the Gateway and Nodes lose their connection, the network may take up to 20 seconds to
re-synchronize.
5. Double-click Gateway push button 2 to return to the Device Configuration (*DVCFG) menu.
6. Click Gateway push button 1 until reaching the *RUN menu option.
Setting Parity
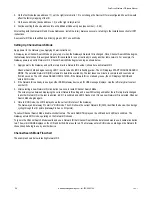
Parity bits are used to detect errors in data.
Continuing from the previous menu position, follow these steps to set the parity.
1. Single-click Gateway push button 1 to move to the next field, the PARITY field.
2. Single-click Gateway push button 2 to display the current setting. Single-click Gateway push button 1 to cycle through the available
options. Stop on the desired setting.
The options are NONE, EVEN, ODD. The factory default is NONE.
3. Single-click Gateway push button 2 to save the new setting.
4. If using a network ID (NID), adjust both rotary switches back to the NID value.
SureCross Wireless I/O Network Manual
rev. I
www.bannerengineering.com - tel: 763-544-3164
47


