5 Configuration Instructions
5.1 Set the Controller to use Authentication
The DXMR90-4K can be configured to send login and password credentials for every HTTP packet sent to the webserver.
This provides another layer of security for the webserver data.
Configuration requires both the webserver and the DXMR90-4K to be given the same credentials for the login and password.
The webserver authentication username and password are not stored in the XML configuration file and must be stored in the
DXMR90-4K.
1. From within the DXM Configuration Software, go to the
Settings
>
Cloud Services
screen.
2. In the upper right, select
Show advanced settings
.
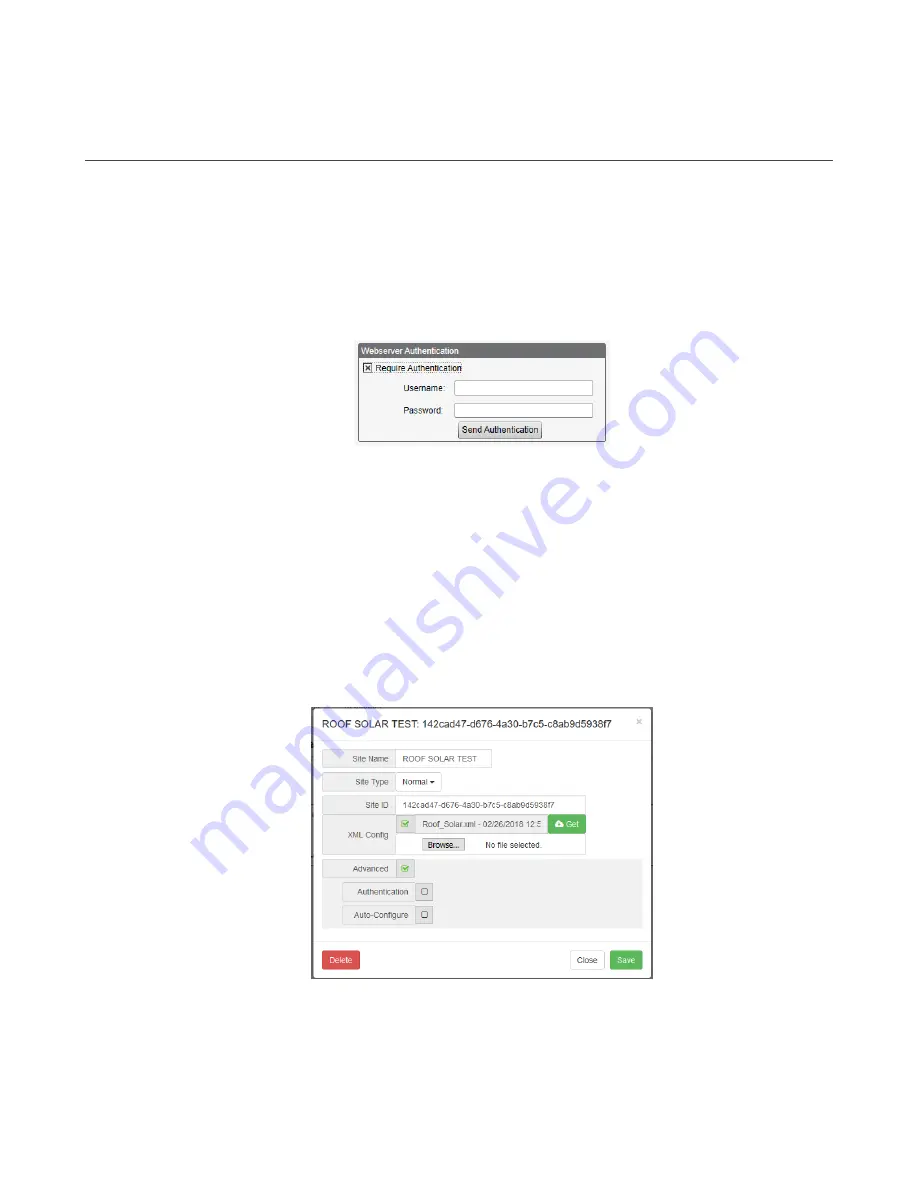
3. Define the username and password in the
Web Server Authentication
section of the screen.
Figure 14. Web Server Authentication screen
The first time you select
Require Authentication
, a pop-up box appears with additional instructions. Since the data
is not stored in the XML configuration file, it is hidden from view of the DXM Configuration Software.
4. Click on
Send Authentication
.
The controller must be connected to the PC for this operation to succeed.
The data transmits directly to the DXMR90-4K's non-volatile memory. If successful, a pop-up window appears, asking
to reboot the device.
5. Select
Yes
to reboot the device.
5.1.1 Set the Web Services to Use Authentication
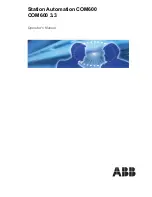
1. At the Banner Cloud Data Services website, go to
Settings
>
Sites
.
2. To edit the site settings, click
Edit
on the line of the site name.
Figure 15. Settings > Sites screen of the Banner CDS website
At the bottom of the pop-up window is a checkbox to enable authentication/validation.
3. Enter the same username and password as used in the DXM Configuration Software. The username and password
do not need to be a defined user within the Banner Cloud Data Services website.
DXMR90-4K IO-Link Master
www.bannerengineering.com - Tel: + 1 888 373 6767
21


