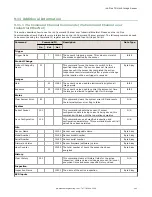
2. Examine the small orange Ethernet link light located on the top of camera body, between the Pass/Fail and System
Status LEDs. The light should be either on or blinking.
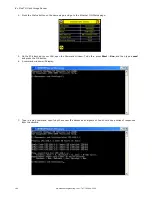
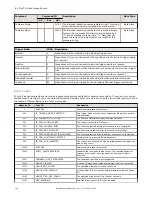
3. Go to the System > Logs > System Log page, and verify that the log entry indicates that the Ethernet link is up:
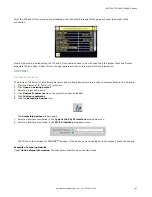
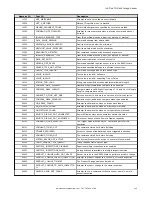
4. Go to the System > Communications > Ethernet I/O page, and press on the Status button. Verify that the
Ethernet Link Status is "Connected", and that the link parameters, such as baud rate and duplex are as expected.
For example:
5. If the Link Status indicates that there is no link, please inspect the wiring, and verify that your Ethernet switch is
powered up.
6. If the link parameters are not as expected (wrong baud rate or duplex) try the following:
a. Log into your managed switch and verify that the port to which iVu camera is connected is correctly
configured. Alternatively, consult with your IT person to perform this verification.
b. Verify that your cable is of the right type, and is properly connected to the switch and to the camera.
9.10.2 Networking and TCP/IP Diagnostics
To verify networking and TCP/IP connectivity, follow these steps:
1. Verify that the Ethernet link has been established.
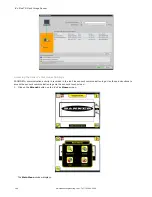
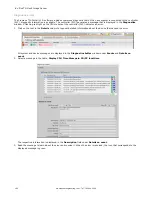
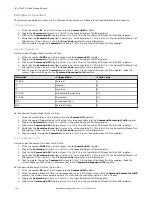
2. Visit the System > Communications > Ethernet I/O page, and examine the sensor IP address, subnet mask,
and the Gateway address:
3. Verify with your IT person that these settings are correct.
•
If necessary, make the required modifications and reboot the sensor
iVu Plus TG Gen2 Image Sensor
www.bannerengineering.com - Tel: 763.544.3164
183

