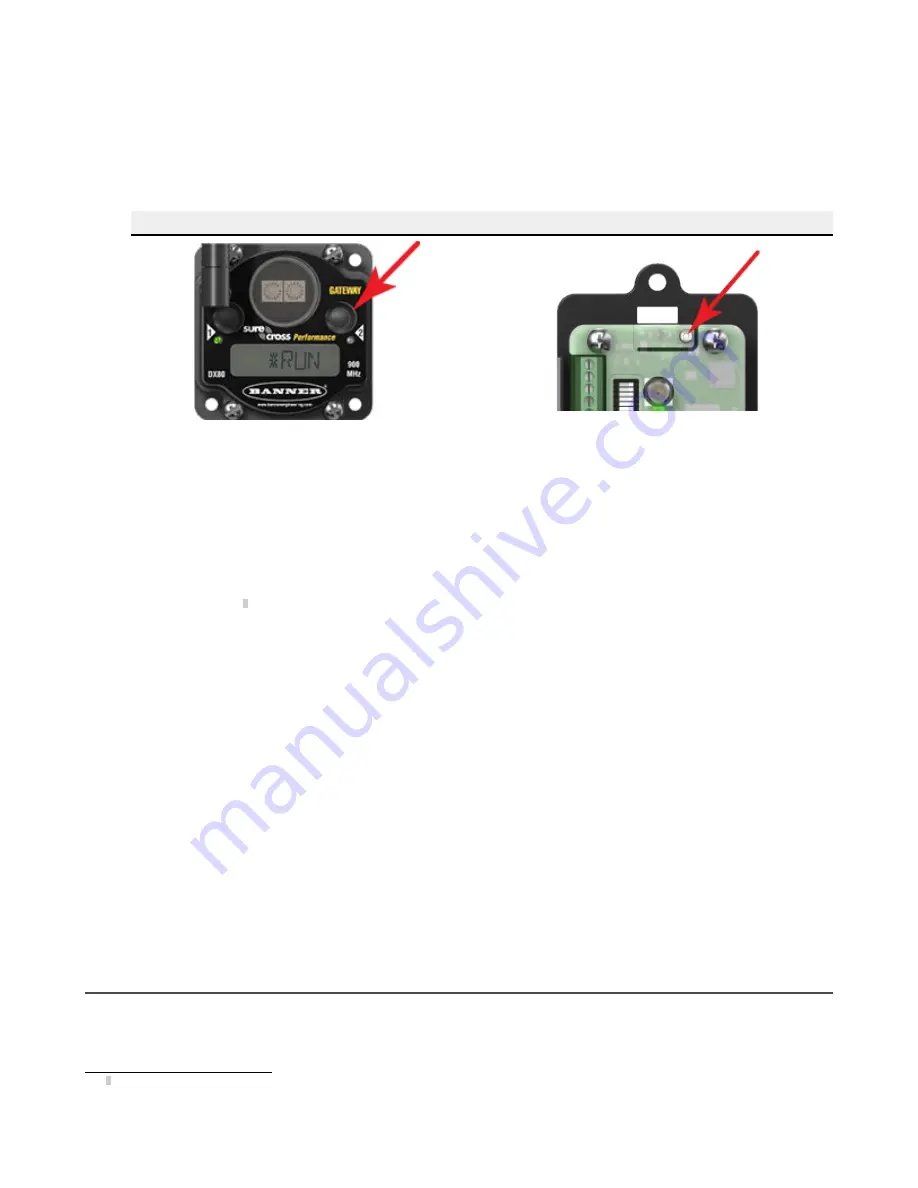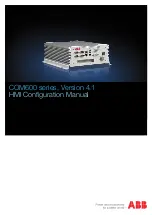
1. Enter binding mode on the Gateway.
• If you have a two-button Gateway, triple-click button 2
• If you have a one-button Gateway, triple-click the button
• If you have a Gateway with no buttons, remove the rotary dial access cover and set both the right and left rotary
dials to 0, then set both the right and left rotary dials to F.
• If you have a DXM, under the ISM Radio menu, use the down arrow button to highlight the Binding menu. Click
ENTER.
Two-Button Gateway
One-Button Gateway
The LEDs flash alternately when the Gateway is in binding mode. Any Node entering binding mode will bind to this
Gateway.
2. Use the Node's rotary dials to assign a valid decimal Node Address (between 01 and 47). The left rotary dial
represents the tens digit (0 through 4) and the right dial represents the ones digit (0 through 9) of the Node Address.
3. Enter binding mode on the Node.
• If you have a two-button Node, triple-click button 2.
• If you have a one-button Node, triple-click the button.
• If you have a Node with no buttons, remove the top cover and set both the left and right rotary dials to F to enter
binding mode.
3
The Node enters binding mode and locates the Gateway in binding mode.
For two LED models, the red LEDs flash alternately. After binding is complete, both LEDs are both solid red for a
few seconds.
For one-LED models, the red and green LED flashes alternately while the Node searches for the Gateway. After
binding is complete, the LED is red and green for four seconds (looks amber), then the red and green flash
simultaneously (looks amber) four times.
The Node automatically exits binding mode, cycles its power, then enters RUN mode.
4. For DXM models, click BACK to exit binding for that specific Node address.
5. Repeat steps 2 through 4 for all Nodes that will communicate to this Gateway.
6. Exit binding mode on the Gateway.
• If you have a two-button Gateway, single-click either button.
• If you have a one-button Gateway, single-click the button.
• If you have a Gateway with no buttons, change the Gateway's rotary dials to a valid Network ID.
• If you have a DXM, click BACK until you return to the main menu.
When installing special kits with pre-mapped I/O, indicated by device model numbers beginning in DX80K, return the rotary
dials to their original positions after binding. If the rotary dials are not returned to their original positions, the I/O mapping
will not work.
3.4 LED Behavior for the Gateways
Verify all devices are communicating properly. The radios and antennas must be a minimum distance apart to function
properly. Recommended minimum distances are:
900 MHz 150 mW and 250 mW radios: 6 feet
3
Some older M-GAGE Nodes (models DX80N*X1W0P0ZR) may require F-F binding despite having a single button. Refer to the Node's datasheet for
specific information.
Sure Cross
®
Performance DX80 Wireless I/O Networks
www.bannerengineering.com - Tel: + 1 888 373 6767
15


