5-pin M12/Euro-style Wiring for Gateways and DX85s
Wiring the 5-pin M12/Euro-style connector depends on the model and power requirements of the device. Connecting power to the
communication pins will cause permanent damage.
5-pin M12/Euro-style Connector (male)
Pin
Wire Color
Description
1
4
5
3
2
1
Brown (bn)
10 to 30 V DC
2
White (wh)
RS485 / D1 / B / +
3
Blue (bu)
DC common (GND)
4
Black (bk)
RS485 / D0 / A / –
5
Gray (gy)
Comms Gnd
DX80...C Wiring
Wiring power to the DX80...C models varies depending the power requirements of the model. Connecting DC power to the
communication pins (Tx/Rx) causes permanent damage. For
Flex
Power devices, do not apply more than 5.5 V to the B+ terminal.
Terminal Label
Gateway and DX85
10 to 30 V DC Powered Nodes
Battery Powered Nodes
V+
10 V DC to 30 V DC
10 V DC to 30 V DC
Tx/+
RS485 / D1 / B / +
V–
DC common (GND)
DC common (GND)
DC common (GND)
Rx/–
RS485 / D0 / A / -
B+
3.6 to 5.5 V DC
Bind to the Gateway and Assign the Node Address
Before beginning the binding procedure, apply power to all the devices. Separate the devices by two meters when running binding
procedure. Put only one Gateway into binding at a time to prevent binding to the wrong Gateway.
1. On the Gateway: Enter binding mode.
•
For housed DX80 Gateways, triple-click button 2 on the Gateway. Both LEDs flash red.
•
For Gateway board modules, triple-click the button. The green and red LED flashes.
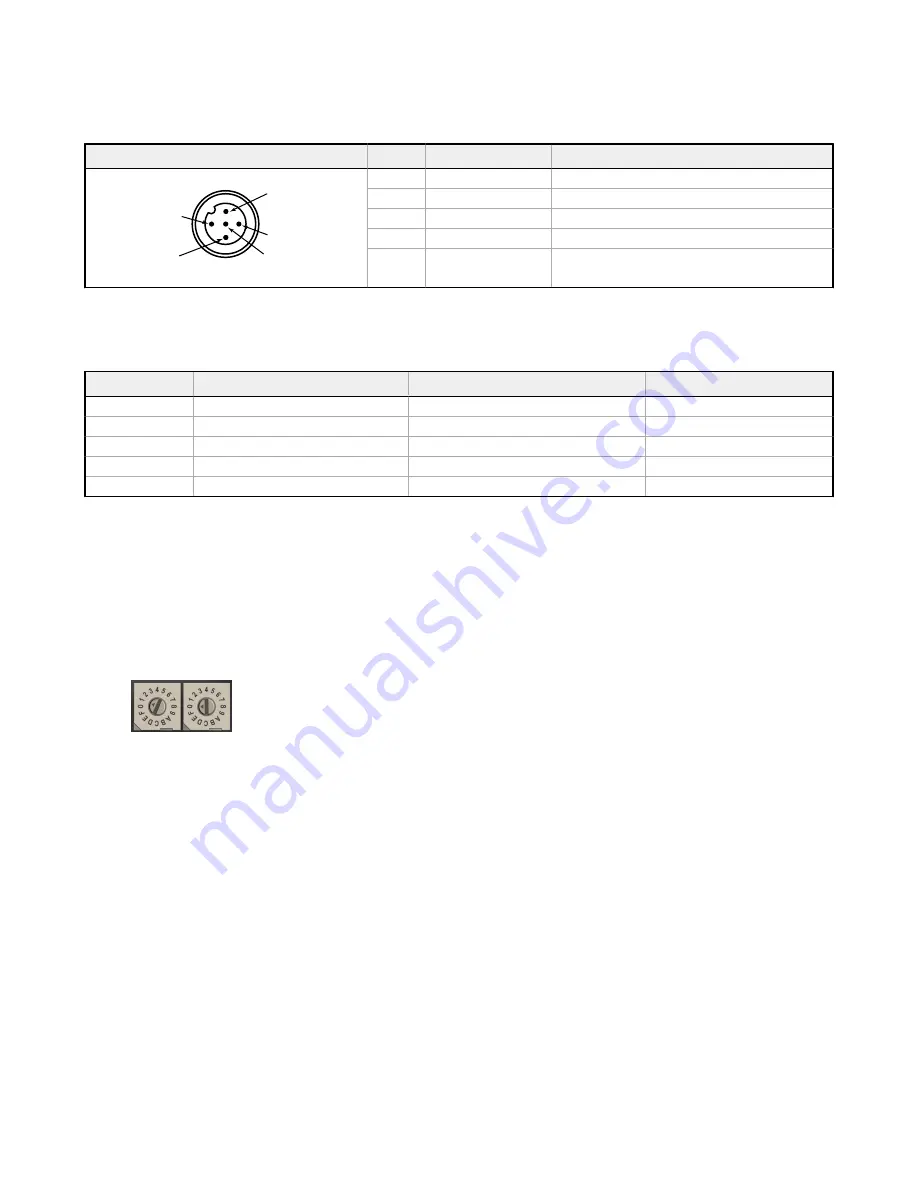
2. Assign the DX80 a Node address using the Gateway's rotary dials. Use the left rotary dial for the left digit and the right
rotary dial for the right digit. For example, to assign your DX80 to Node 10, set the Gateway's left dial to 1 and the right dial
to 0. Valid Node addresses are 01 through 47.
3. On the Q45: Loosen the clamp plate on the top of the DX80 and lift the cover.
4. Enter binding mode on the DX80 by triple-clicking the DX80's button.
The red and green LEDs flash alternately and the sensor searches for a Gateway in binding mode. After the DX80 is bound,
the LEDs stay solid momentarily, then they flash together four times. The DX80 exits binding mode.
5. Label the sensor with the DX80's Node address number for future reference.
6. Repeat steps 2 through 5 for as many DX80s as are needed for your network.
7. On the Gateway: After binding all DX80s, exit binding mode.
•
For housed DX80 Gateways, double-click button 2.
•
For board-level DX80 Gateways, double-click the button.
For Gateways with single-line LCDs: After binding your DX80 to the Gateway, make note of the binding code displayed under the
Gateway's *DVCFG menu, XADR submenu on the LCD. Knowing the binding code prevents having to re-bind all DX80s if your
Gateway is ever replaced.
Verify Communication Between the Gateway and the Wireless Q45 Sensors
After powering up and binding the Wireless Q45 Sensors to the Gateway, verify all devices are communicating properly. Verify the
Gateway's LED 1 is green. Until communication is established with the Gateway, the Q45's red LED flashes. After communication
is established, the Q45's green LED flashes.
When testing the Gateway and Wireless Q45 Sensors, verify all radios are at least two meters apart or the communications may
fail.
Sure Cross
®
DX80 Gateway for Wireless Q45 Sensors
P/N 161862 Rev. E
www.bannerengineering.com - Tel: + 1 888 373 6767
7


