background image

For additional information, including installation and setup, weatherproofing, device menu maps, troubleshooting, and a list of accesso-
ries, refer to one of the following product manuals.

• SureCross Quick Start Guide: Banner part number 

128185

• SureCross Wireless I/O Network Manual: 

132607

• Web Configurator Manual (used with "Pro" and DX83 models): 

134421

• Host Configuration Manual 

132114

Configuring the DIP Switches

Before making any changes to the DIP switch positions, disconnect the power. DIP switch changes will not be recognized if power isn't
cycled to the device.
For parameters not set via DIP switches, use the User Configuration Tool (UCT) to make configuration changes. For parameters set
using the DIP switches, the DIP switch positions override any changes made using the User Configuration Tool.

Accessing the Internal DIP Switches

To access the internal DIP switches, follow these steps:

1. Unscrew the four screws that mount the cover to the bottom housing.
2. Remove the cover from the housing without damaging the ribbon cable or the pins the cable plugs into.
3. Gently unplug the ribbon cable from the board mounted into the bottom housing.
4. Remove the black cover plate from the bottom of the device's cover.

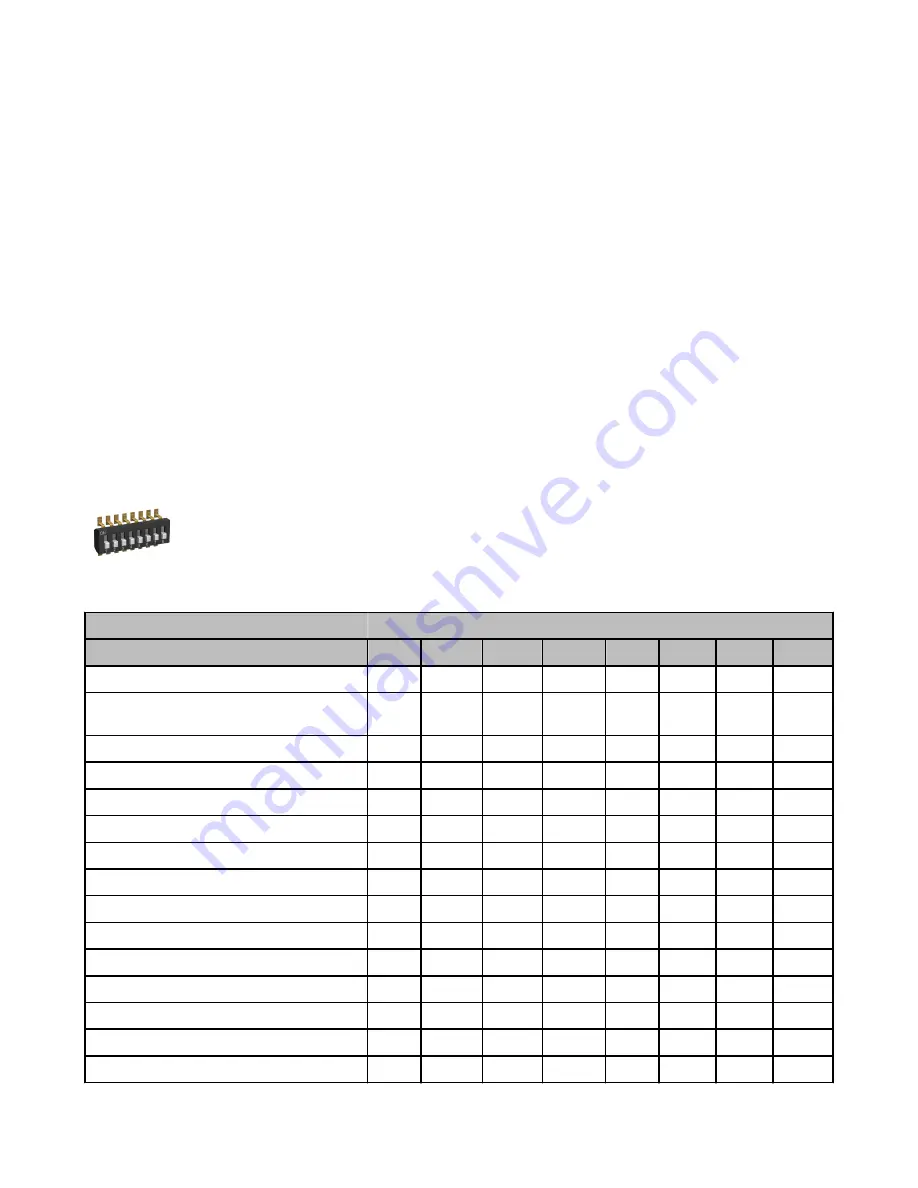
The DIP switches are located behind the rotary dials.

After making the necessary changes to the DIP switches, place the black cover plate back into position and
gently push into place. Plug the ribbon cable in after verifying that the blocked hole lines up with the missing
pin. Mount the cover back onto the housing.

DIP Switch Settings

Switches

Device Settings

1

2

3

4

5

6

7

8

Transmit power level: 1 Watt (30 dBm)

OFF*

Transmit power level: 250 mW (24 dBm), DX80 com-
patibility mode

ON

Modbus or UCT configured (overrides switches 5-8)

OFF*

DIP switch configured (Uses 5-8 for I/O configuration)

ON

12 inputs, 0 outputs

OFF*

OFF*

OFF*

OFF*

11 inputs, 1 output

OFF

OFF

OFF

ON

10 inputs, 2 outputs

OFF

OFF

ON

OFF

9 inputs, 3 outputs

OFF

OFF

ON

ON

8 inputs, 4 outputs

OFF

ON

OFF

OFF

7 inputs, 5 outputs

OFF

ON

OFF

ON

6 inputs, 6 outputs

OFF

ON

ON

OFF

5 inputs, 7 outputs

OFF

ON

ON

ON

4 inputs, 8 outputs

ON

OFF

OFF

OFF

3 inputs, 9 outputs

ON

OFF

OFF

ON

2 inputs, 10 outputs

ON

OFF

ON

OFF

SureCross Performance FlexPower Gateway


P/N 155285_web
Rev. E

www.bannerengineering.com - tel: 763-544-3164

3

Summary of Contents for SureCross Performance FlexPower DX80G9M2S-P7

Page 1: ...thin the unlicensed Industrial Scientific and Medical ISM band Transceivers provide bidirectional communication between the Gateway and Node including fully acknowledged data transmission Lost RF link...

Page 2: ...ion Tool The User Configuration Tool UCT software runs on any Windows machine and uses as converter cable to connect your Gateway to the computer The User Configuration Tool UCT offers an easy way to...

Page 3: ...the cable plugs into 3 Gently unplug the ribbon cable from the board mounted into the bottom housing 4 Remove the black cover plate from the bottom of the device s cover The DIP switches are located...

Page 4: ...tions shown in the DIP Switch Settings table Transmit Power Levels The 900 MHz radios can be operated at 1 watt 30 dBm or 250 mW 24 dBm While the radios operate in 1 Watt mode they cannot communicate...

Page 5: ...r connection V Ground dc common connection For the default configuration of 6 IN and 6 OUT use IO 1 through 6 to wire the inputs and IO 7 through 12 to wire the outputs When using the DIP switches to...

Page 6: ...O1 to IO12 10 10 10 Node 16 Non Bit Packed Discrete OUT de pending on DIP switch configuration 11 11 11 Node 16 12 12 12 Node 16 13 13 13 Node 16 14 14 14 Node 16 15 15 15 Node 16 Control Message 16 1...

Page 7: ...01 00 Input Point 0 0 0 0 0 0 0 IN 5 IN 4 IN 3 IN 2 IN 1 Parameter Data 0 0 0 0 0 OUT 7 OUT 6 OUT 5 OUT 4 OUT 3 OUT 2 OUT 1 Defining Inputs and Outputs Using the UCT To configure either a Gateway or...

Page 8: ...and line of sight To determine the range of your wire less network perform a Site Survey Power 10 30V dc or 3 6 5 5V dc low power option Out side the USA 12 24V dc 10 or 3 6 5 5V dc low power option 9...

Page 9: ...ting Not included with IP20 DX80 C models BWA HW 001 Mounting Hardware Kit containing four M5 0 8 x 25mm SS screws four M5 0 8 x 16mm SS screws four M5 0 8mm SS hex nuts and four 8 32 x 3 4 SS bolts B...

Page 10: ...any product of its manufacture which at the time it is returned to the factory is found to have been defective during the warranty period This warranty does not cover damage or liability for misuse ab...

Reviews: