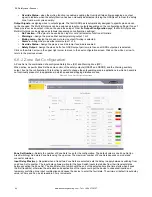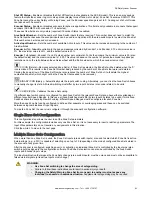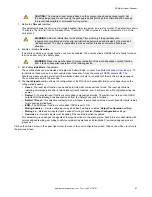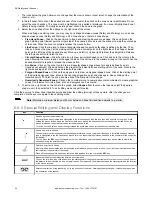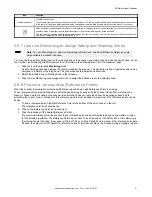
6.6.1 Output Configuration
Figure 59. Output Configuration screen
Output Functions
•
OSSD
—to select how many OSSD pairs are used for a given configuration. This component is connected to the
machine control system and associated with the Safety Zone. If an object violates the Safety Zone, the OSSD pair
switches to the OFF state effectively shutting down the machine. The possible number of outputs (1, 2, or 3) varies
depending on the connector selection. All OSSD outputs are managed in pairs.
◦
1x2
(one pair)—Two pins are automatically assigned to OSSD1/1 and OSSD 1/2; pin assignment varies
depending on connector selection
◦
2x2
(two pairs)—Four pins are automatically assigned (if available) to OSSD1/1, OSSD1/2, OSSD 2/1, and
OSSD 2/2
◦
3x2
(three pairs)—Six pins are automatically assigned (if available) to OSSD1/1, OSSD1/2, OSSD2/1, OSSD
2/2, OSSD 3/1, and OSSD 3/2
•
Warning
—to select how many Warning Zones to use for the configuration. This is the area outside the Safety Zone,
where an object can be detected but the device will not switch the OSSDs to the OFF-State. It can be used to light a
warning lamp or sound a siren. Depending on the configuration, a maximum of two Warning Zones can be
configured. Some configurations allow the warning zones to be accessed using the Ethernet connection instead of
hardwired. For each Warning Zone selected, an auxiliary warning output is assigned. If no warning outputs are
assigned, no Warning Zones are created in the configuration.
•
Warning x
—to select when the warning output should be on (conducting). To activate the warning output when the
warning zone is clear, select On Low. To activate the warning output when the warning zone is blocked, select On
High.
•
Alarm 1
—enabling Alarm 1 activates the Clean Window device error warning (turns on when CLEANW2 message
shows on the display and the window should be cleaned to avoid entering a lockout condition). Some configurations
allow this output to be accessed using the Ethernet connection instead of hardwired.
•
Alarm 2
—enabling Alarm 2 activates the Device Error warning (turns on when the unit shuts down because of a fault
warning (any fault that turns the outputs off will trigger this output)). Some configurations allow this output to be
accessed using the Ethernet connection instead of hardwired.
•
Auto Reset
—enabling the Auto Reset feature results in the scanner automatically attempting to reset itself from an
error condition. The scanner will undergo the reset process every 10 seconds. If the error condition is no longer
present the scanner will resume normal operation. [The Auto Reset function will be inhibited if the scanner locks out
in INTFx more than 5 times within 15 minutes. In this case a power cycle is necessary to reactivate the scanner.]
The next functions can be individually set for OSSD1 and/or OSSD2. OSSD3 cannot be muted.
•
Muting
—enabling the Muting function allows the scanner to operate under controlled conditions where an object can
pass through the Safety Zone without the scanner's OSSD outputs switching to the OFF-State (see
on p. 68). Dedicated devices (mute sensors) must be connected to the scanner input signals to control this function.
The two possible settings are:
◦
Disable
—No muting abilities
◦
Enable
—Muting turned on; enabling muting reduces the number of Zone Sets that can be configured
•
Muting Lamp
—if the Muting function is enabled, an optional muting lamp can be connected to a scanner output
signal to indicate when the scanner is functioning in the Muted condition. The scanner display will always display that
the scanner is muted during a muting cycle. To add the Mute Lamp function, set the feature to Enable.
SX Safety Laser Scanner
www.bannerengineering.com - Tel: + 1 888 373 6767
81


