6.6.10 Connect a Scanner to a PC (Discover the Scanner)
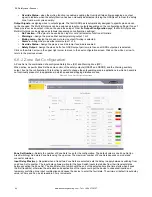
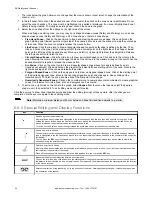
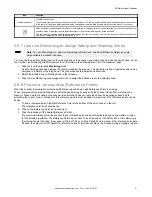
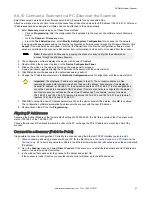
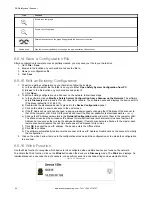
Enter Discovery mode to have the software search the PC's network for any connected SXs.
Attach new scanners one at a time to the LAN because they all have the same default IP Address (192.168.0.10). After new
IP addresses have been assigned, multiple units can be attached to the same network.
1. Enter
Discovery
mode using one of these three methods.
•
Click on
Programming
. After the configuration file is uploaded to the scanner, the software enters Discovery
mode.
•
Go to the
Scanner
>
Discovery
menu.
•
From the
Task Selection
area, select
Modify Safety System Configuration
for a scanner on the network.
If a pop-up windows appears asking to allow the configuration software access through the Windows Firewall, click
Accept
. If the window does not appear, verify that the firewall is set to allow the configuration software access. If
access is not allowed, the scanner is discovered, but no information can be sent to or received from the scanner.
Note:
If at anytime a notice pops up saying 'the scanner is busy' verify that the software has
access through the Windows Firewall.
2. The configuration software displays the device with its own IP Address.
3. Double-click on the scanner to place it in the
Device Configuration Panel
.
4. Click on the white
>
in the upper right side on the main panel to proceed.
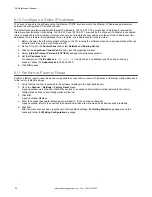
A pop-up window suggests aligning the IP Address of the device with the computer LAN.
5. Click
OK
and enter the password (the default password is 'admin').
6. Change the IP Address parameters in the
Network Configuration
screen to align them with the computer LAN.
Important:
The displayed IP address is assigned to the SX. The successive address is also
reserved because both internal micros have their own IP address. For example, if the displayed
Scanner IP address is 192.168.0.10, the successive address of 192.168.0.11 is also assigned and
cannot be used as the computer LAN IP address. If remote scanners are configured to the master,
each remote scanner will reserve the next two IP addresses. For example, remote 1 reserves
192.168.0.12 and 192.168.0.13, remote 2 reserves 192.168.0.14 and 192.168.0.15, and remote 3
reserves 192.168.0.16 and 192.168.0.17.
7. Click
OK
to accept the new IP Address parameters. When the device enters Offline status, click
OK
to continue.
The configuration software automatically rediscovers the scanner with the new IP Address.
8. Double-click on the SX to enter
Programming
.
Aligning IP Addresses
Assuming the Subnet Mask is at the typical default setting of 255.255.255.0, the first three octets of the IP address must
match (192.168.0 of the 192.168.0.10).
Change the scanner's IP address to match the LAN of the PC or change the PC's IP address to match the LAN of the
scanner.
Connect to a Scanner (Point-to-Point)
It is possible to connect a configuration PC directly to a scanner using the Ethernet TCP/IP interface (point-to-point).
1. When connecting and using a scanner with your PC for the first time, see
Connect a Scanner to a PC (Discover the
IP address).
2. Go to the
Scanner
menu and select
Direct Connect
. If the scanner is on a distributed network and its IP address is
known, it can be found via this method.
3. In the window that opens enter the scanner's IP address and select OK.
If the scanner is found it (and any connected remote units) will show up in the left-hand panel.
SX Safety Laser Scanner
www.bannerengineering.com - Tel: + 1 888 373 6767
93


