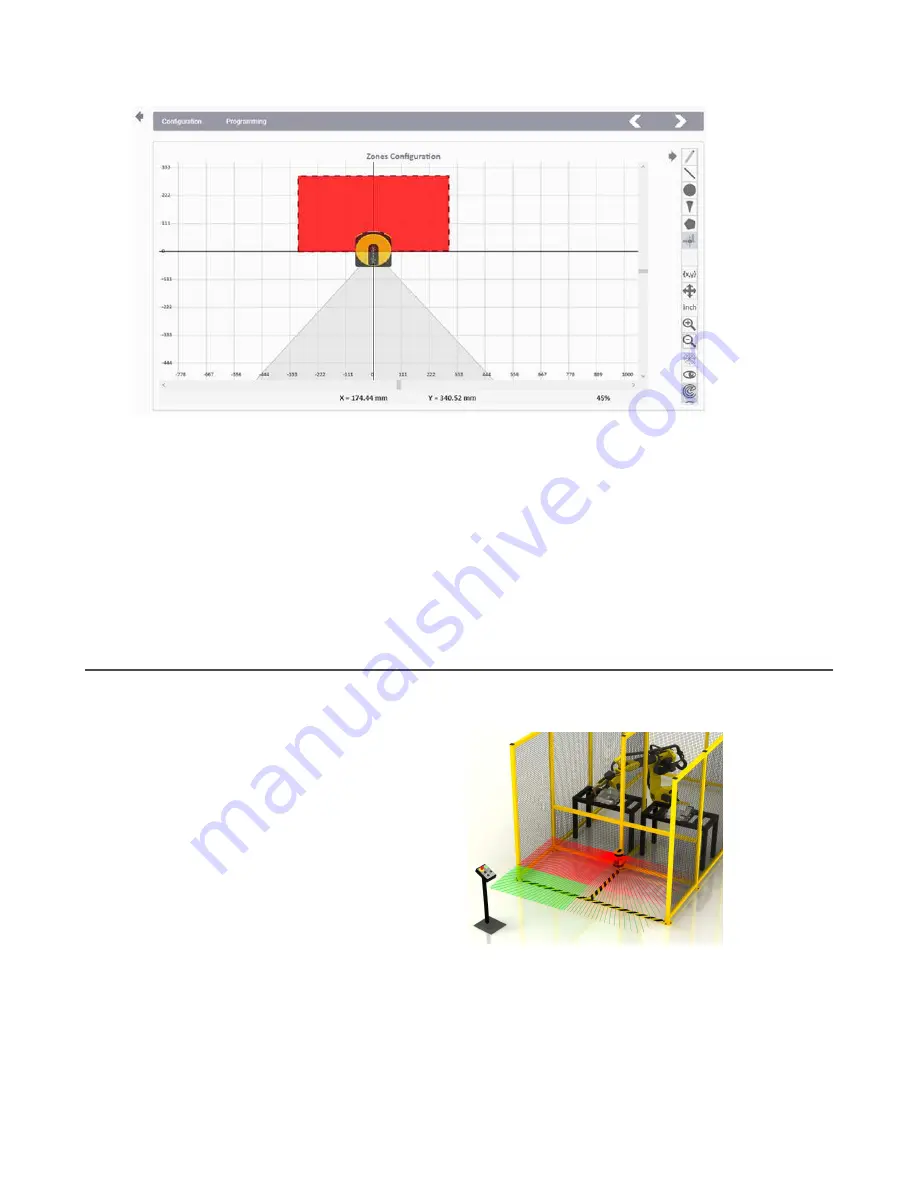
6. Select the rectangle pattern and enter the X, Y coordinates as shown (Start: -300, 0 and End: 300, 300). Click Draw.
The red rectangle pattern for the safety zone is created.
7. Follow the same steps as for Demonstration
Configuration
#1 to upload the new
configuration
file
to the scanner.
8. On the Monitoring screen, demonstrate how the muting works by activating the M1 and M2 inputs on the Demo Box and
blocking the Safety Zone with and without muting activated. The Mute Lamp output (yellow S22)
flashes
during the Mute
Mode.
If the Mute Lamp is not responding because of a previous
configuration
that included the yellow S22 assigned as a
Warning Lamp output, cycle the power to the SX5 and test again for the proper response.
Discussion: Use a bidirectional Muting Type when the Mute sensors are positioned for an X pattern using two Mute sensor inputs,
or a T pattern using four mute sensors as the load passes in either direction through the scanner safety zone during the muted
state.
If the Muting Type is selected as unidirectional, the mute sensors can be arranged in an L pattern allowing for convenient muting
Off-Delay software settings for the one-way mute
configuration.
Demo Kit Example
Configuration
#3 -- Two Zone Sets
This example application is a scanner mounted in front of a hazardous machine with a small robot inside. There is hard guarding
surrounding the cell with two small openings in front used for the operator to place or remove parts. The
configuration
will have two
zone sets to allowing access to one zone while safeguarding the opposite zone.
You can demonstrate the switching of the zone sets with the
demo box. There will be a restart input used after the Safety
Zone is cleared, and that input will also serve as the reset to clear
a lockout condition.
For this demonstration, make the
Configuration
changes,
Programming changes, and the Monitoring instructions using
information you learned from the steps you completed in Demo
Kit
Configurations
1 and 2 .
1. Go to the
Configuration
> Outputs screen and disable Muting.
2. Go to the
Configuration
> Zone Set screen and change the ZoneSetNo to 2.
3. Click OK on the warning that pops up and use the arrow to change the ZoneSetNo to 2.
4. To allow
sufficient
timing for you to change from one Zone Set to another during the demonstration, increase the Input
Delay Max (ms) from 30 ms to 3000 ms.
If you do not increase the Input Delay Max time, you will experience timing faults when you switch zones.
SX5 Safety Scanner Demo Kit Setup Instructions
6
www.bannerengineering.com - Tel: + 1 888 373 6767
P/N 209666 Rev. A


