background image


BLADE REPLACEMENT 
 

i.


Removing The Shaft 

 
First remove belt cover from engine, then loosen (4) mounting bolts on 
base of engine. Tension on drive belt is removed by moving engine 
forward on deck. Remove V-belt. The pulley on the blade shaft is a taper 
lock type. Remove the (3) screws from the outer pulley’s blind holes and 
thread them into the tapped holes. Tighten these screws evenly ¼ turn at 
a time, until the outer pulley comes away from the inner piece. Remove 
the (2) bolts holding each bearing and the shaft can be removed from the 
deck.  
 

ii.


Removing The Blades  

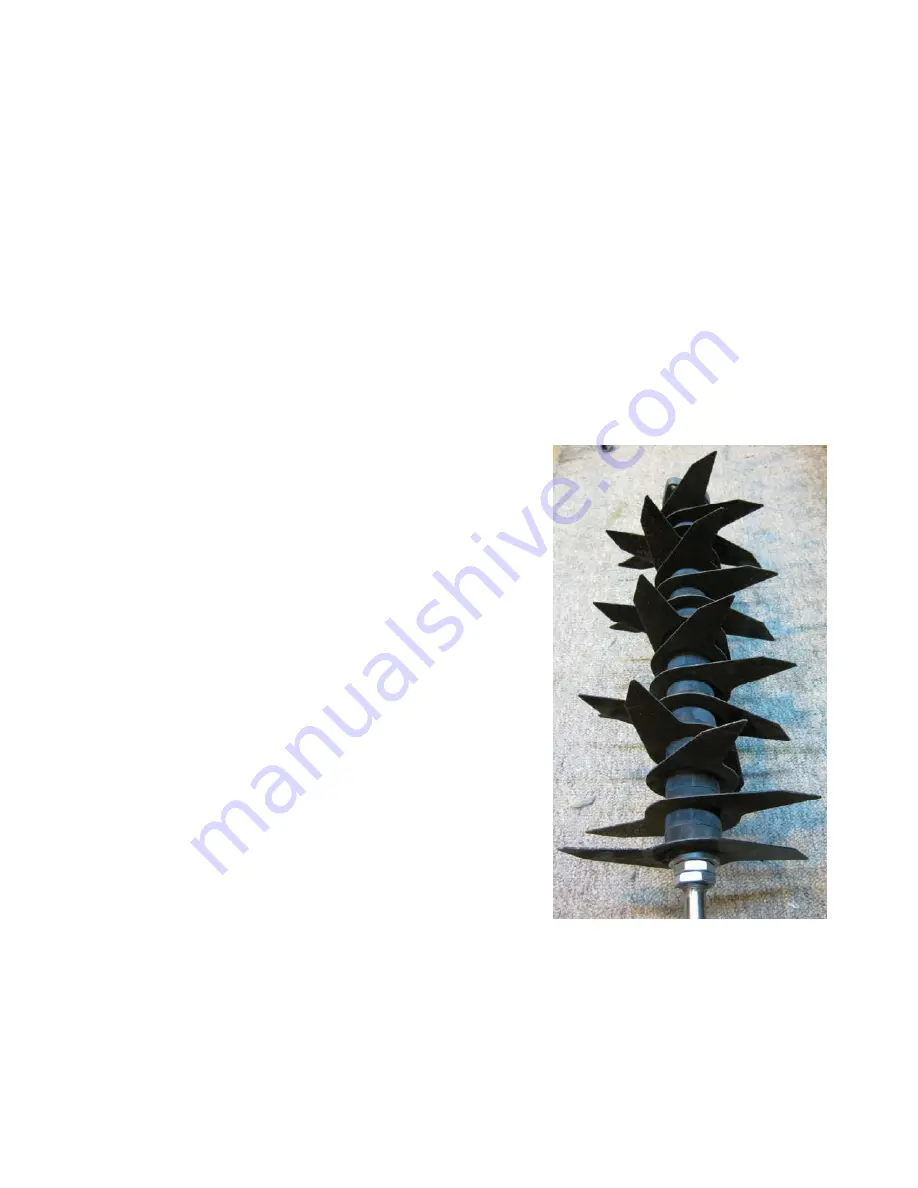
 Spiral Blade Pattern (BLT-15)


The bearings are an eccentric locking type.  
Loosen the set screw first, then use a punch  
in the hole of the collar to twist it to unlock.  
If the collar does not move in the first few  
hits, try going to the way. Once the bearing  
is removed, loosen the (2) lock nuts at the  
end of the shaft, and remove the shaft 
collar. 
The blades and spaces will slide easily off of 
the shaft. When re-installing the blades,  
place each successive blade 1/8 of a turn  
(one notch) in the same direction to 
produce  
a spiral effect. The BLT-14 & BLT-15 use (2)  
spacers between each blade, the BGT-27  
model uses (1) spacer between each blade.  
Re-install the collar and nuts, and reverse  
procedure.  


** SEE ENGINE MANUAL FOR MORE DETAILED INFORMATION REGARDING 
SERVICE OF THE ENGINE 

Summary of Contents for BLT 14

Page 1: ...BLT 14 BLT 15 Lawn Thatcher BGT 27 Greens Thatcher PARTS AND OPERATIONS MANUAL Last Updated August 2012...

Page 2: ...directly to the engine by a V Belt and starts rotating when the engine is started KEEP HANDS AND FEET AWAY Therefore the unit must be in transport position when starting the engine 6 The throttle con...

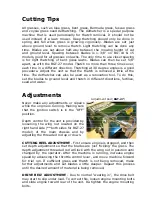
Page 3: ...lades to ground level and thatch in different directions fertilize seed and water Adjustments Adjustment Rod BGT 27 Never make any adjustments or repairs while the engine is running Making sure that t...

Page 4: ...al Blade Pattern BLT 15 The bearings are an eccentric locking type Loosen the set screw first then use a punch in the hole of the collar to twist it to unlock If the collar does not move in the first...

Page 5: ...remove all fuel from gas tank to prevent gum deposits forming on essential parts such as the carburetor fuel line and tank Remove spark plug pour 1 ounce of S A E 20 oil into cylinder and crank slowly...

Page 6: ...g or returning any part s or incurring any cost of labour No charges for expense incurred in parts labour or transportation by unauthorized persons will be allowed under this warranty Bannerman Ltd re...

Page 7: ......

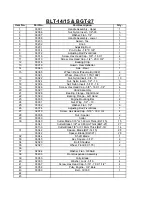
Page 8: ...0 03027 Hood Assembly 1 21 03028 Bearing Flange Right Hand 1 22 03029 Bearing Flange Left Hand 1 23 03030 Engine Mounting Bar 2 24 03031 Nut Wing 1 2 13 1 25 03032 Washer Flat 1 2 6 26 03074 Adjusting...

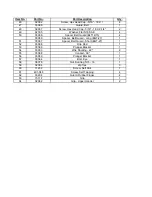
Page 9: ...4 03066 Spacer Belt Guard Long BGT 27 1 51 03067 Spacer Belt Guard Short BGT 27 1 52 03098 Drip Rod 1 53 03099 Plunger Bracket 1 54 03093 Wire Shorting 42 2 55 03088 Conduit 39 1 56 03089 Plunger Bra...

Page 10: ......

Page 11: ...8 2 12 03016 Bolt 3 8 16 X 1 HHC 4 13 03082 Roller Gauge 1 14 02013 Bolt 5 16 18 X 1 HHC 4 15 03025 Nut Nylon Insert 5 16 18 4 16 03075 Bar Chassis Pivot 2 17 03022 Nut Nylon Insert 3 8 16 4 18 03083...

Reviews: