02
Introduction
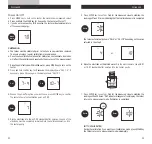
Thank you for selecting the PHscan10 pocket pH tester.
This manual
provides
a step-by-step guide to help you operate the meter,
please carefully read the
following instructions before use.
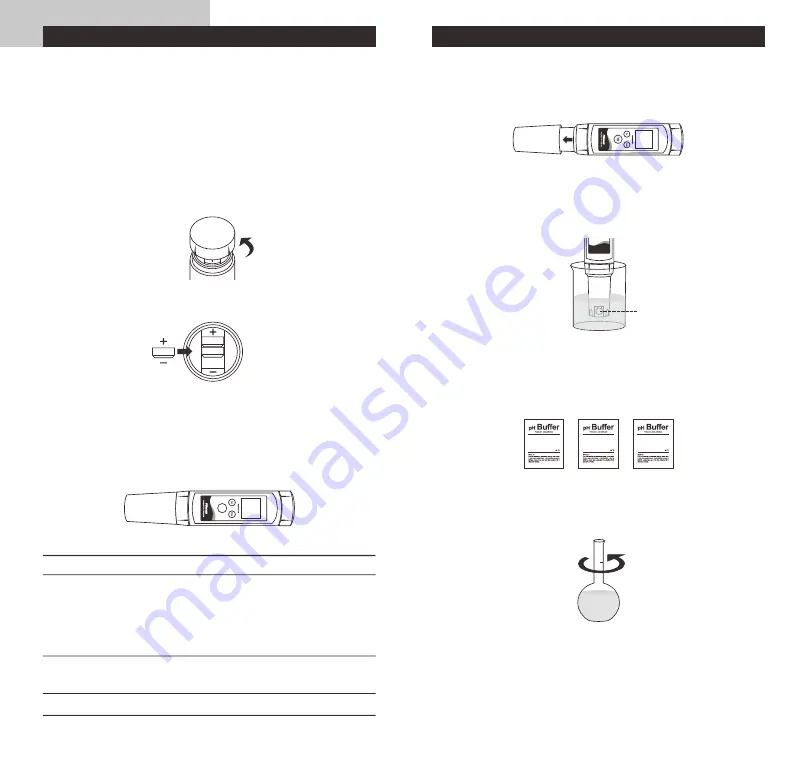
Inserting the Batteries
insert batteries into the battery compartment.
—
Remove the battery compartment lid.
—
Insert the batteries into the battery compartment, note polarity.
—
Replace the battery compartment lid and turn clockwise until it is tight.
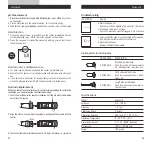
Keypad
PHscan10 tester includes 3 multifunction keys, names and symbols describe
the function key controls.
Take out the three G13A button cell batteries from the packaging. Follow the
steps below to
—
Power the tester ON/OFF.
—
Freezes the
measured
values
on the
display,
press the
key again to resume measuring.
—
In calibration mode, exits calibration and returns to
measurement mode.
—
Press and hold the key to enter calibration mode.
—
Press the key again to select the pH buffer option.
—
Confirms the calibration or option.
KEY
FUNCTION
MEAS/HOLD
CAL
ENTER
Meas
Hold
PHscan10
01
PHscan10
4
.
01
7
.
00
10
.
01
Electrode Bulb
PHscan
POCKET PH TESTER
—
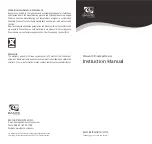
Remove the electrode protective cap from tester.
—
If
the
electrode
bulb
dries
out,
soak
the
electrode
in
storage
solution
or tap
water
for
at
least
15
minutes.
Do
not
use
,
—
—
Prior to Use
module
distilled or deionized water
it will shorten the life of sensor.
Preparation of pH Standard Buffer Solutions
The tester is packaged with three pH buffer packets required for calibration.
Open the pH7.00 buffer packet, place
the powder
into
a
250ml volumetric
flask. Pour
distilled
water
250ml
to
scale
line,
mix the
solution
until
reagent
is completely dissolved.
Preparation
of
pH4.01
and
10.01
standard
buffer
solutions
are
the
same
as
above. Prepared standard buffer solutions
should be stored
in hermetically
sealed glass containers.


