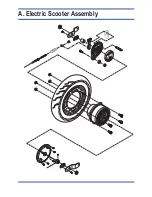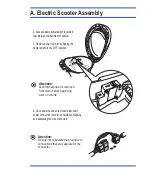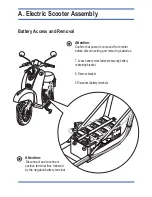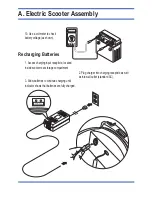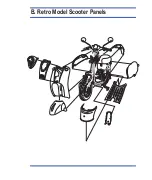
A. Electric Scooter Assembly
�
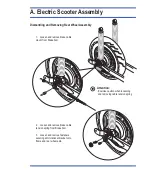
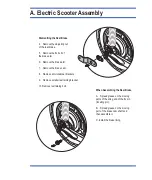
Dismantling the Rear Brake
4. Remove the adjusting nut
of the rear brake.
5. Remove the fix bolt of
the brake arm.
6. Remove the brake arm.
7. Remove the brake cam.
When Assembling the Rear Brake
A. Spread grease on the moving
parts of the lining and of the fix pin
(locating pin).
B. Spread grease on the moving
part of the brake cam shaft and
then assemble it.
C. Install the brake lining.
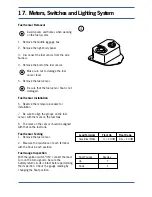
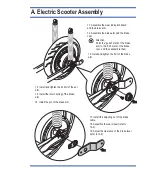
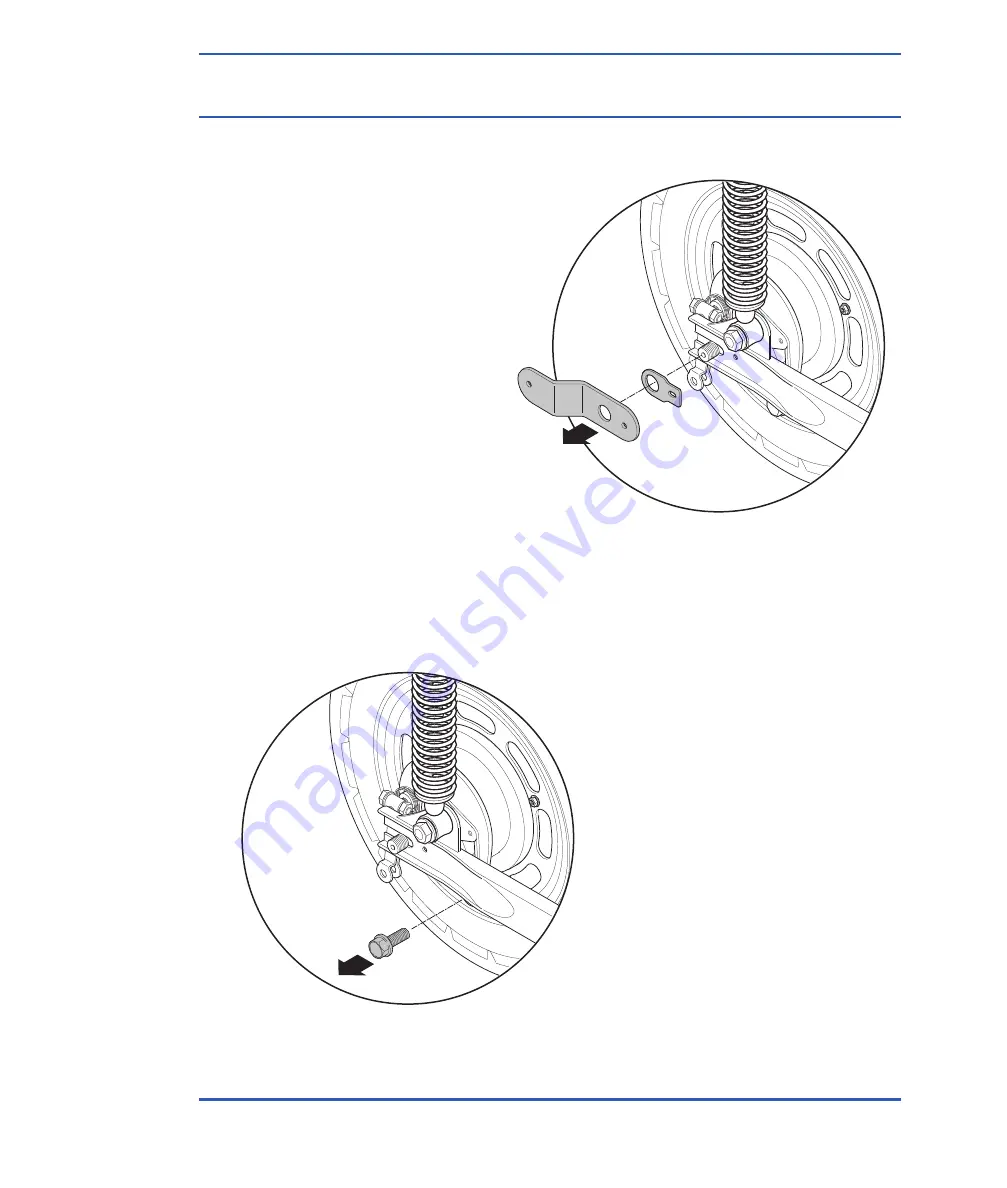
8. Remove anti-rotational brackets.
9. Remove smaller restraining bracket
10. Remove restraining bolt.
Summary of Contents for BT50QT-9
Page 1: ...Användar Manual Eco Scooter Citcop Sweden AB ...
Page 2: ......
Page 3: ......
Page 4: ......
Page 5: ......
Page 6: ......
Page 7: ......
Page 8: ......
Page 9: ......
Page 10: ......
Page 11: ......
Page 12: ......
Page 13: ......
Page 14: ......
Page 15: ......
Page 16: ......
Page 17: ......
Page 18: ......
Page 19: ......
Page 20: ......
Page 21: ......
Page 34: ... 5IF JOBM 5SBOTNJTTJPO TTFNCMZ ...
Page 40: ... 5IF SBOLDBTF BOE UIF SBOLTIBGU ...
Page 47: ... 5IF SBOLDBTF BOE UIF SBOLTIBGU 4 46 ...
Page 48: ... 5IF SPOU 8IFFM SPOU SBLF SPOU VGGFS BOE UIF SPOU PSL ...
Page 62: ... 5IF SPOU 8IFFM SPOU SBLF SPOU VGGFS BOE UIF SPOU PSL 3 ...
Page 63: ... 5IF SPOU 8IFFM SPOU SBLF SPOU VGGFS BOE UIF SPOU PSL 4 46 ...
Page 64: ... 5IF 3FBS 8IFFM UIF 3FBS SBLF 3FBS 4IPDL ...
Page 70: ... 5IF BUUFSZ BOE UIF IBSHJOH 4ZTUFN 4 46 ...
Page 82: ... 5IF BUUFSZ BOE UIF IBSHJOH 4ZTUFN OTUBMM UIF GBO DPWFS BOE TFDVSFMZ UJHIUFO GBTUFOFST 07 3 ...
Page 83: ... 5IF BUUFSZ BOE UIF IBSHJOH 4ZTUFN 4 46 ...
Page 84: ... HOJUJPO 4ZTUFN 64 48 5 6 5 5 0 0 41 3 1 6 6 6 08 08 3 55 3 7 48 5 50 1 61 0 41 3 1 6 ...
Page 97: ... FUFST 4XJUDIFT BOE JHIUJOH 4ZTUFN 4 46 ...
Page 104: ...A Electric Scooter Assembly ...
Page 120: ... B Retro Model Scooter Panels ...
Page 121: ...C Scooter Panels ...

