background image

Baracuda

®

 Adventura™ Robotic Pool Cleaner | Owner's Manual

2

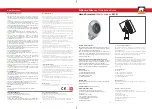
Figure 19.  Release Filter Canister Handle

8. 

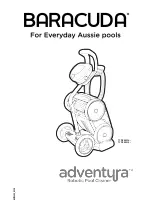
Empty all debris from the filter canister, 
then rinse the canister, the filter support, 
and the cleaner under water or using a 
hose (Figure 20).

Figure 20.  Rinse the Filter Canister

9. 

Let the lid and filter canister dry.

10.  Replace lid on the canister and then 

replace canister back into the cleaner 
body.

11.  Plug the floating cable back into the 

Control box and store the cleaner out of 
direct sunlight for next use.

4.7  Storing the Cleaner 

The cleaner must be cleaned regularly using 
slightly soapy clean water. Do not use solvents 
such as acetone or its equivalent. Rinse the 
cleaner generously using clean water. Do not let 
your cleaner dry in direct sunlight near the pool. 
The cleaner must be stored on its caddy so that 
it dries quickly. 

1. 

Starting at the cleaner head. Remove all 
coils and tangles from the cable 
(see Figure 21).

Figure 21. Untangle the Floating cable
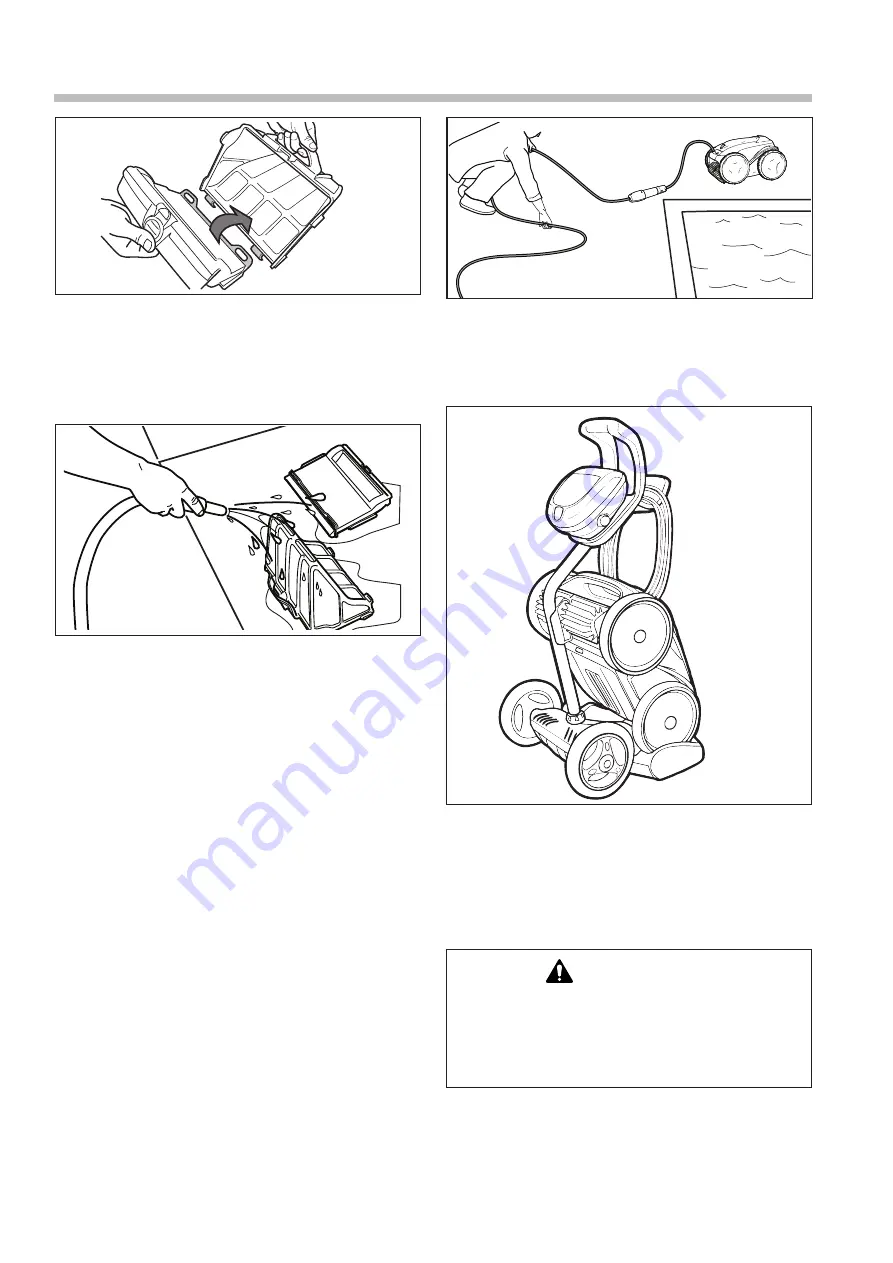
2. 

Place the cleaner in vertical position on 
the caddy base with the rear tracks on 
the caddy side wedges (see Figure 22).

Figure 22.  Cleaner Stored Correctly on Caddy

3. 

Loosely coil the power cable starting 
at the cleaner and moving toward the 
connection point at control unit. Store 
the cable by wrapping it around the hook 
located on the front of the caddy.

 WARNING

To avoid electric shock and other hazards 
which could result in permanent injury or death, 
disconnect (unplug) the cleaner from the power 
source before performing any cleaning and 
maintenance.

10 

Summary of Contents for Captura EM14 Series

Page 1: ...H0738500_REVB TYPE EM14 TYPE EM15...

Page 2: ...1300 784 423 Section 1 Important Safety Instructions 3 Section 2 Getting Started 4 2 1 General Specifications 4 Section 3 Assembly 4 3 1 Unpacking 4 3 2 Assemble the Transport Caddy 4 3 3 Connecting t...

Page 3: ...e risk of electrical shock do not use the robotic cleaner or control box if the cord is worn or damaged Contact Baracuda Customer care Service 1300 784 423 immediately for proper servicing and replace...

Page 4: ...g live parts or by using reinforced insulation Therefore devices having double insulated construction such as this cleaner do not utilize a grounded three prong cord plug x 2 A B C D x 2 x 2 E x 2 F G...

Page 5: ...o secure wheel Repeat to attach both wheels Figure 5 Snap in Support Blocks and Attach Wheels 7 Slide the control unit base caddy handle attachment down over the metal tubing until it snaps into place...

Page 6: ...ons relating to the swimming pool equipment for which the cleaner will be an integral part The cleaner is to be supplied through a Residual Current Device RCD with a rated residual operating current o...

Page 7: ...bottom of the pool Remove additional air if the cleaner is still floating Section 4 Operation CAUTION To prevent damage to the cleaner be sure to adhere to the following guidelines Remove the cleaner...

Page 8: ...the cleaner to the wall NOTE To stop the procedure at any time press and release the button again 4 2 Using the Control Unit Select Cleaning Surface Floor Floor and Walls Start Stop Cleaner Operation...

Page 9: ...eath disconnect unplug the control box from the power source before performing any cleaning and maintenance 1 Make sure the control box cable is disconnected from the electrical outlet or the floating...

Page 10: ...t Rinse the cleaner generously using clean water Do not let your cleaner dry in direct sunlight near the pool The cleaner must be stored on its caddy so that it dries quickly 1 Starting at the cleaner...

Page 11: ...tors Figure 24 on the brushes To maintain cleaner performance at its best you need to replace the brushes as soon as one of the wear indicators has been reached even if the blade wear is not even Bara...

Page 12: ...29 Pull the Track Over Wheels to Remove 3 Remove the old tyre See Figure 30 4 To replace the tyre position the tyre on the wheel making sure to orient the tyre so that the word INSIDE is toward the b...

Page 13: ...plugged into the Control box correctly Unplug the floating cable from the Control box and reconnect If the problem persists contact Baracuda Customer Service at 1300 784 423 2 Flashes LED flashes twi...

Page 14: ...the pool Do a shock chlorination treatment to eliminate algae DO NOT leave the cleaner in the pool during this treatment On startup the clean er does not move No power supply to the cleaner Remove cle...

Page 15: ...The manufacturer reserves the right to modify these specifications without notice Although the robotic pool cleaners have been tested in a large variety of swimming pools Fluidra cannot guarantee tha...

Page 16: ...784 423 www baracuda com au Copyright Fluidra Australia Ltd 2021 For full warranty terms and conditions and to register your warranty visit https warranty baracuda com au and complete your details Or...

Reviews: