
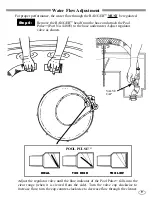
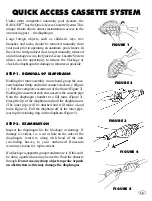
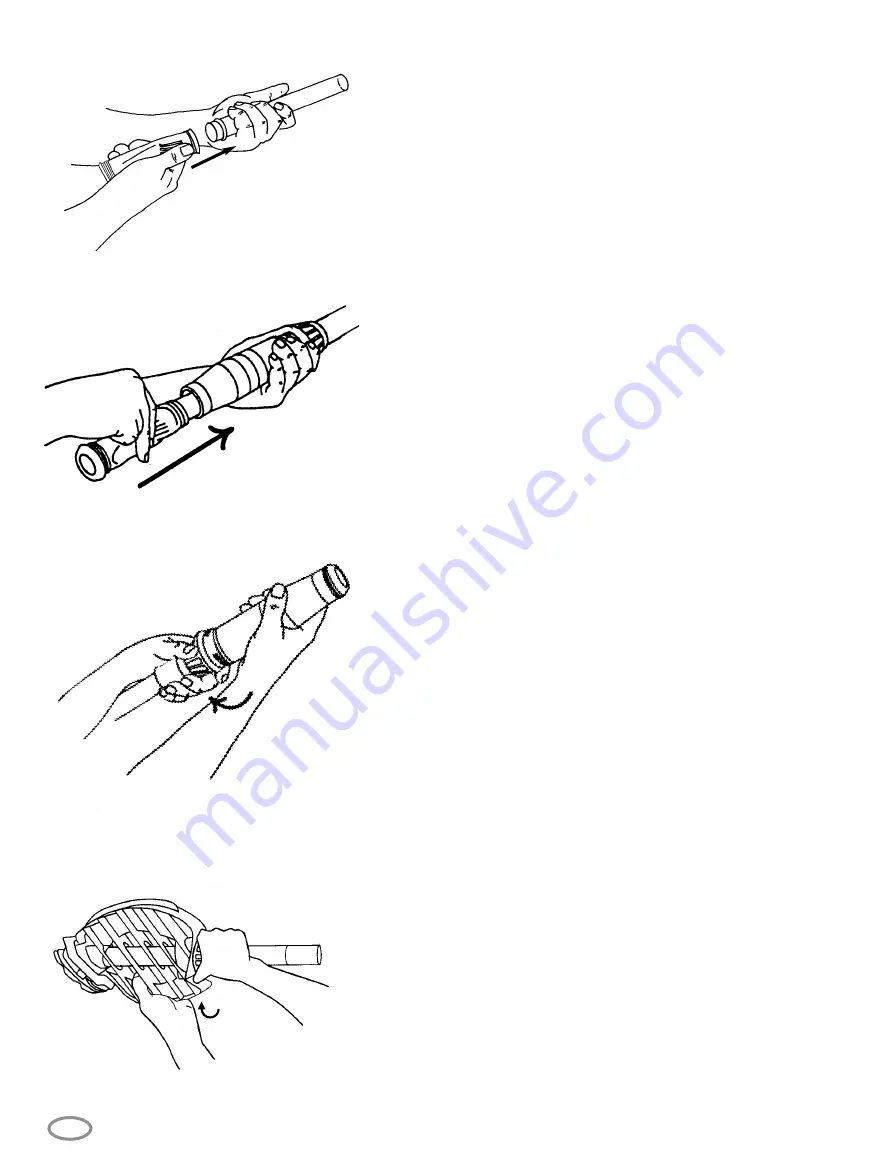
STEP 3. DIAPHRAGM ASSEMBLY
Prior to reinstalling the diaphragm, rinse the
diaphragm and the inner extension pipe thoroughly
to remove any grit or algae. Attach the diaphragm to
the inner extension pipe using the retaining ring
(Figure 6).
FIGURE 9
FIGURE 6
14
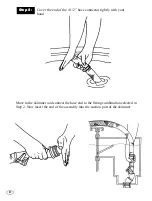
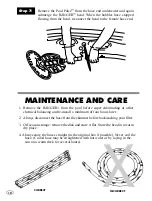
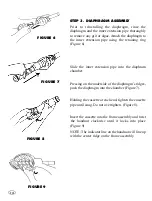
Slide the inner extension pipe into the diaphram
chamber.
Pressing on the underside of the diaphragm’s ridges,
push the diaphragm into the chamber (Figure 7).
Holding the cassette at each end, tighten the cassette
pipe until snug. Do not overtighten. (Figure 8).
Insert the cassette into the frame assembly and twist
the handnut clockwise until it locks into place
(Figure 9).
NOTE: The indicator line on the handnut will line up
with the center ridge on the frame assembly.
FIGURE 7
FIGURE 8