12
it is not completely full. If this is not done, when
you make the next coffees, the grounds contai-
ner may fill up more than expected and clog the
machine.
NOTE 8: Never extract the water tank while the
machine is delivering coffee. If it is removed,
it will not be possible to make the coffee and
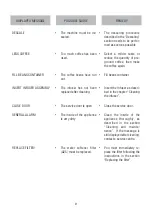
the appliance will display “GROUND TOO FINE
ADJUST MILL AND PRESS OK”. To use the ap-
pliance again, press the
button (B9) and
deliver water from the cappuccino maker for a
few seconds.
CHANGING THE QUANTITY
OF COFFEE IN THE CUP
The appliance is set by default to automatically
make the following types of coffee:
•
Short coffee when the
button (B3) is
pressed.
•
Standard coffee when the
button (B4) is
pressed.
•
Long coffee when the
button (B5) is
pressed. To change these quantities, pro-
ceed as follows:
•
Press the button corresponding to the quan-
tity you want to change (
,
or
) for
at least 3 seconds then release until the mes-
sage “PROGRAM QUANTITY” is displayed
and coffee delivery commences.
•
When the coffee in the cup reaches the re-
quired level, press the same button again to
memorise the new amount.
The appliance is now reprogrammed with the
new settings and displays: “READY”.
ADJUSTING THE COFFEE
MILL
The coffee mill is preset in the factory to make
coffee correctly and should not require adjusting
initially.
However, if after making the first few coffees you
find that delivery is either too fast or too slow (a
drop at a time), this can be corrected by adju-
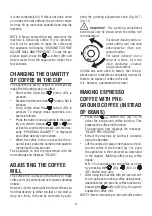
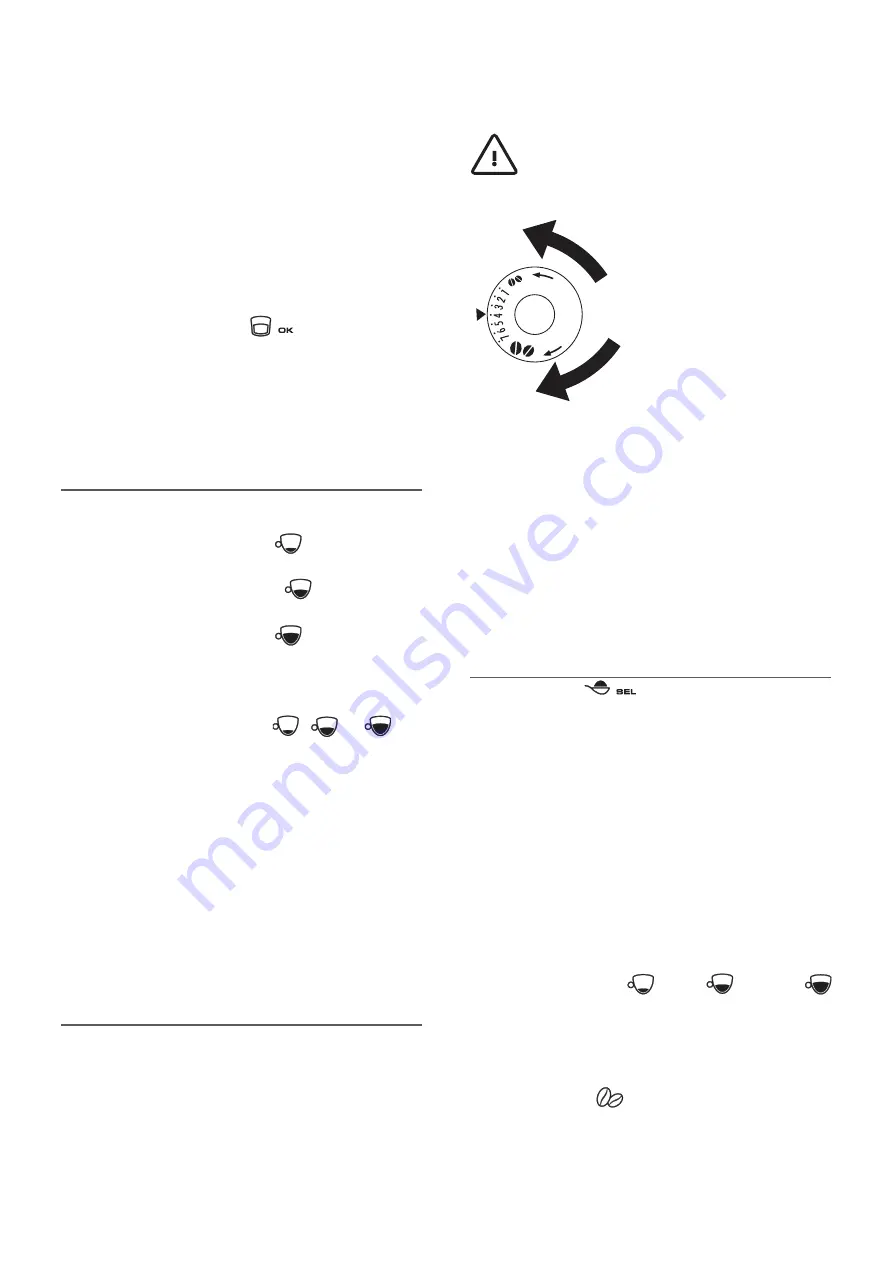
sting the grinding adjustment knob (fig. A17)
(fig. 11).
Important!
The grinding adjustment
knob must only be turned when the coffee mill
is in operation.
For slower delivery and cre-
amier coffee, turn one click
anticlockwise (finer pre-
ground coffee).
For faster delivery (not a
drop at a time), turn one
click clockwise (coarser
pre-ground coffee).
(Coffee has been used to factory test the ap-
pliance and it is therefore completely normal for
there to be traces of coffee in the mill.
It is, however, guaranteed to be new.)
MAKING ESPRESSO
COFFEE WITH PRE-
GROUND COFFEE (INSTEAD
OF BEANS)
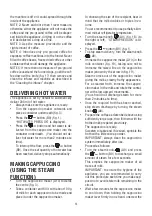
•
Press the
button (B7) (fig. 15) to
select the pre-ground coffee function. This
disables the coffee mill function.
The appliance now displays the message:
“READY PRE-GROUND”.
•
Extract the machine by pulling it outwards
using the handles.
•
Lift the central lid, place one measure of pre-
ground coffee in the funnel (fig. 16), push
the appliance in then proceed as described
in the chapter “Making coffee using coffee
beans”.
N.B.: You can make just one coffee at a time
by pressing the
(B3),
(B4) or
(B5) button once only.
•
After using the machine with pre-ground cof-
fee, to go back to making coffee using beans,
deactivate the pre-ground coffee function by
pressing the
button (B2) (fig. 6) again to
enable the coffee mill.
NOTE 1: Never introduce pre-ground coffee when

