111
R5900120 /03
ClickShare CX-50 Gen2
When Automatic (DHCP) is selected, the IP address, subnet mask and default gateway fields are grayed
out but the currently used settings are filled out.
5.
Click
Save changes
to apply the settings.
Manual (fixed) IP address
1.
Click on the drop down box next to
Method
and select
Manual
.
The IP address, subnet and gateway input fields are activated.
2.
Click in the input field of the
IP address
and fill out the 4 octets.
Note:
An address contains 4 octets with a maximum value of 255.
This must NOT be 0.0.0.0 for static IP-Address assignment
3.
Click in the
Subnet mask
input fields and fill out the 4 octets as appropriate for the local subnet.
4.
Click in the
Default Gateway
input fields and fill out the 4 octets. Set the Default-Gateway to the IP-
Address of the router (MUST be on the local subnet!).
Note:
This must NOT be 0.0.0.0.
If there is no router on the local subnet then just set this field to any IP-Address on the subnet.
5.
Click in the DNS Servers input field and fill out the preferred DNS servers (maximum 5) in a comma
separated list.
6.
Click
Save changes
to apply the settings.
Do not use IP address 192.168.2.x for a Subnet mask 255.255.255.0 and IP address 192.168.x.x for
a Subnet mask 255.255.0.0
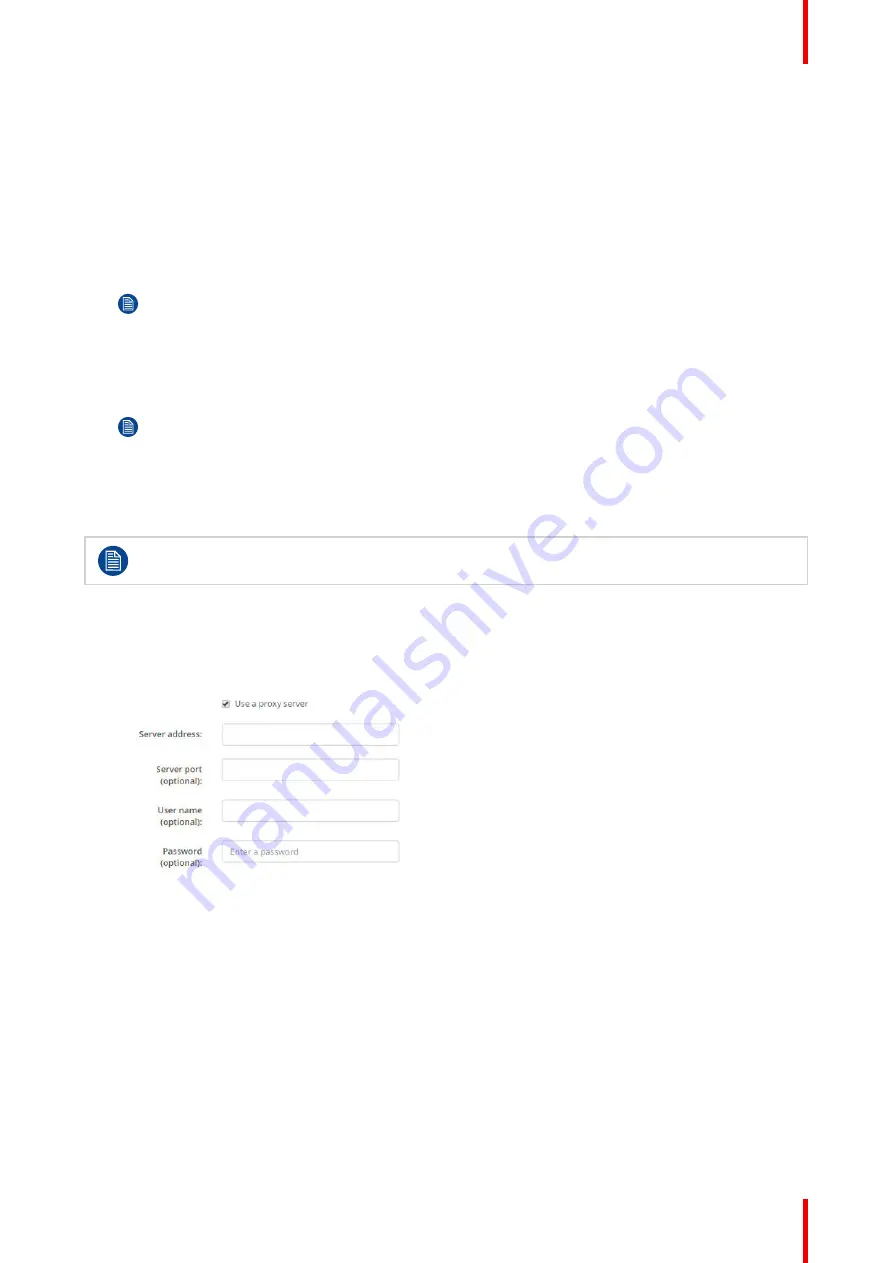
Use a proxy server
This setting is important for the auto-update feature of the Base Unit, which require internet access.
1.
Check the check box next to Use a proxy server.
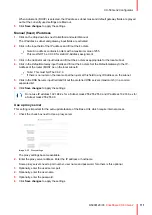
Image 5–30 Proxy settings
The proxy settings become available.
2.
Enter the proxy server address. Enter the IP address or hostname.
Some proxy servers need a port number, user name and password, for others is this optional.
3.
Optionally, enter the used server port.
4.
Optionally, enter the user name.
5.
Optionally, enter the password.
6.
Click
Save changes
to apply the settings.
Summary of Contents for C5011S
Page 1: ...ENABLING BRIGHT OUTCOMES Installation manual Model C5011S ClickShare CX 50 Gen2...
Page 4: ......
Page 8: ...R5900120 03 ClickShare CX 50 Gen2 8...
Page 28: ...R5900120 03 ClickShare CX 50 Gen2 28 CX 50 Gen2 Installation...
Page 57: ...57 R5900120 03 ClickShare CX 50 Gen2 Image 3 26 CX 50 Gen2 Installation...
Page 69: ...69 R5900120 03 ClickShare CX 50 Gen2 Image 4 3 Preparing the Buttons...
Page 76: ...R5900120 03 ClickShare CX 50 Gen2 76 Preparing the Buttons...
Page 92: ...R5900120 03 ClickShare CX 50 Gen2 92 CX 50 Gen2 Configurator...
Page 149: ...149 R5900120 03 ClickShare CX 50 Gen2 7 1 Troubleshooting list 150 Troubleshooting 7...
Page 156: ...R5900120 03 ClickShare CX 50 Gen2 156 Index...
Page 157: ......


