6. CSE-200 Configurator
The Network Device Enrolment Service is Microsoft’s server implementation of the SCEP protocol. If you want to enable EAP-TLS
using SCEP make sure NDES is enabled, con
fi
gured and running on your Windows Server. For more details about setting up NDES,
please visit the Microsoft website
3
. SCEP uses a so called
“challenge password”
to authenticate the enrollment request. For NDES,
this challenge can be retrieved from your server at: http(s)://[your-server-hostname]/CertSrv/mscep_admin.
When you enter the necessary credentials into the setup wizard, the Base Unit will automatically retrieve this challenge from the
web page and use it in the enrollment request, thereby fully automating the process.
Necessary Data to continue:
Domain
The company domain for which you are enrolling, should match with the one de
fi
ned in your Active
Directory.
SCEP ServerIP/host-
name
This is the IP or hostname of the Windows Server in your network running the NDES service. Since
Internet Information Services (IIS) supports both HTTP and HTTPS, also include which of the two you
want to use. If not provided it will be default set to HTTP.
E.g.: http://myserver or https://10.192.5.1 or server.mycompany.com (will use http)
SCEP User name
This is a user in your Active Directory which has the required permission to access the NDES
service and request the challenge password. To be sure of this, the user should be part of the CA
Administrators group (in case of a stand-alone CA) or have enroll permissions on the con
fi
gured
certi
fi
cate templates.
SCEP Password
The corresponding password for the identity that you are using to authenticate on the corporate
network. Per Base Unit, every Button uses the same identity and password to connect to the
corporate network.
Domain
The company domain for which you are enrolling should match the one de
fi
ned in your Active
Directory.
Identity
Identity of the user account in the Active Directory which will be used by the ClickShare Buttons to
connect to the corporate network. When using EAP-TLS make sure that the necessary mapping
exists between the Client Certi
fi
cate issued by your CA and this user account.
Corporate SSID
The SSID of your corporate wireless infrastructure to which the ClickShare Buttons will connect.
Using manually upload of certi
fi
cates
Select the radio button next to
Provide certi
fi
cates manually
and click
Next
.
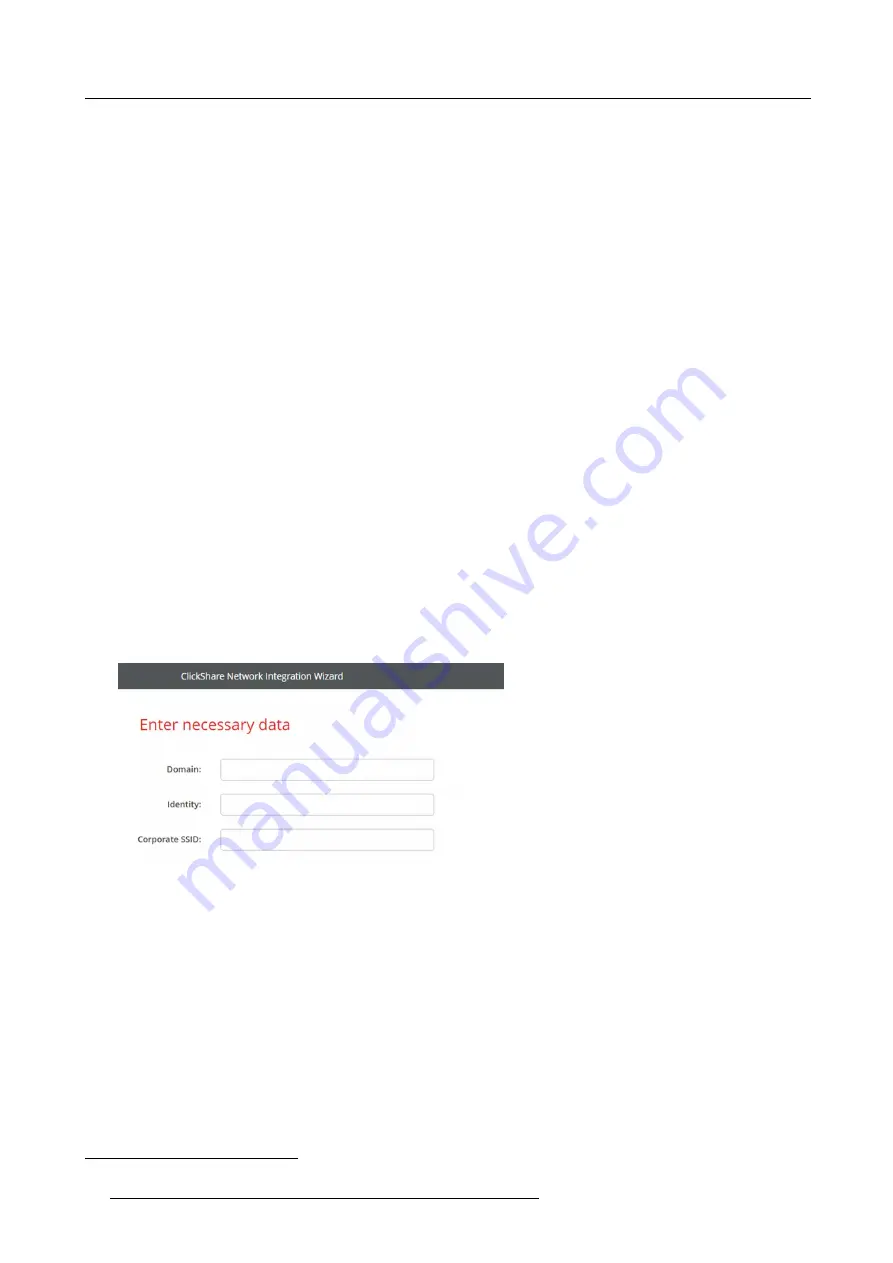
If your current setup does not support SCEP or you prefer not to use it but you still want to bene
fi
t of the mutual authentication
EAP-TLS offers, it is also possible to manually upload the necessary certi
fi
cates.
Image 6-25
Necessary Data to continue:
Domain
The company domain for which you are enrolling, should match with the one de
fi
ned in your Active
Directory.
Identity
Identity of the user account in the Active Directory which will be used by the ClickShare Buttons to
connect to the corporate network. When using EAP-TLS make sure that the necessary mapping
exists between the Client Certi
fi
cate issued by your CA and this user account.
Corporate SSID
The SSID of your corporate wireless infrastructure to which the ClickShare Buttons will connect.
Click
Next
to continue with the upload of the client certi
fi
cate.
Click
Upload Client Certi
fi
cate
.
The client certi
fi
cate you provide should be signed by the authoritative root CA in your domain and should be linked to the user you
specify in the Identity
fi
eld. Also, make sure that the client certi
fi
cate you provide contains the private key – this is necessary to set
up the TLS connection successfully.
3. NDES White Paper: http://social.technet.microsoft.com/wiki/contents/articles/9063.network-device-enrollment-service-ndes-in-active-directory-certificate-services-ad-cs-en-us.aspx
46
R5900023 CLICKSHARE CSE-200 13/07/2016
Summary of Contents for ClickShare CSE-200
Page 1: ...ClickShare CSE 200 Installation manual R5900023 04 13 07 2016 ...
Page 12: ......
Page 14: ...Table of contents 2 R5900023 CLICKSHARE CSE 200 13 07 2016 ...
Page 24: ...2 CSE 200 Specifications 12 R5900023 CLICKSHARE CSE 200 13 07 2016 ...
Page 26: ...3 Getting started 14 R5900023 CLICKSHARE CSE 200 13 07 2016 ...
Page 32: ...4 CSE 200 Installation 20 R5900023 CLICKSHARE CSE 200 13 07 2016 ...
Page 36: ...5 Preparing the buttons 24 R5900023 CLICKSHARE CSE 200 13 07 2016 ...
Page 76: ...6 CSE 200 Configurator 64 R5900023 CLICKSHARE CSE 200 13 07 2016 ...
Page 78: ...7 Software updates 66 R5900023 CLICKSHARE CSE 200 13 07 2016 ...
Page 82: ...8 Troubleshooting 70 R5900023 CLICKSHARE CSE 200 13 07 2016 ...


