4. CSE-800 Installation
370,8
370,8
477
477
39139
1
8
4,54,
5
464
464
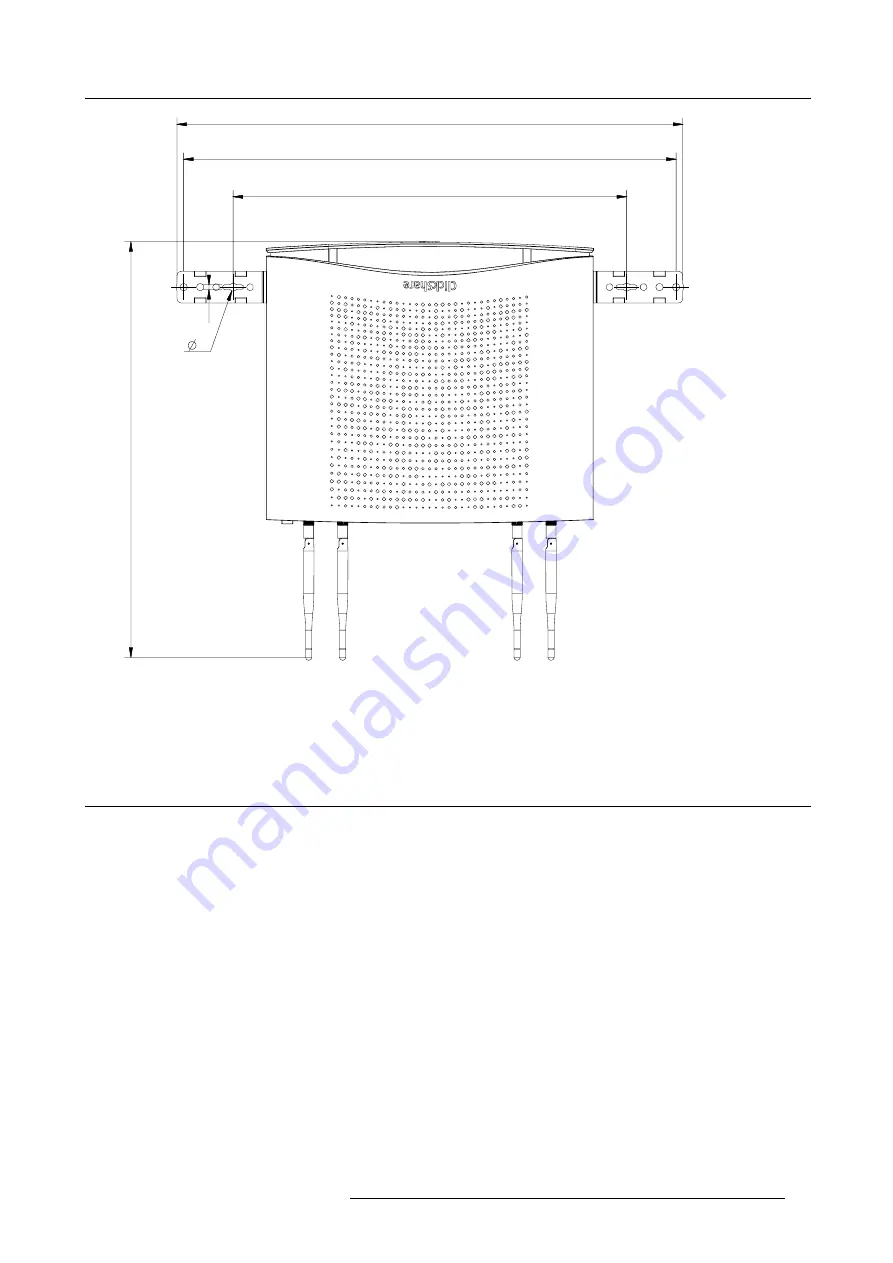
Image 4-2
Mounting hole dimensions
4. Install the Base Unit with the brackets on the wall so that the
fi
xation holes matches the holes in the wall. Drive in 2 screws.
Note:
Make sure the head of the screw is larger than the hole in the bracket. Otherwise, insert a washer between the screw
and the bracket.
4.4
Ceiling mounting
About ceiling mounting
Use the mounting brackets, inserted in the CSE-800 box, to mount the Base unit to the ceiling.
Necessary tools
•
a drill (type of drill depends on the type of wall)
•
Torx T10 screwdriver
•
Additional screwdriver that matches the mounting screws (mounting screws not delivered)
Necessary parts
•
2 mounting screws
•
2 plugs
•
2 Mounting brackets with
fi
xation screws (included in the CSE-800 box)
How to install
1. Install in the same way as for wall mounting. See "Wall mounting", page 15.
R5900049 CLICKSHARE CSE-800 19/03/2018
17
Summary of Contents for ClickShare CSE-800
Page 1: ...ClickShare CSE 800 Installation manual R5900049 05 19 03 2018...
Page 16: ......
Page 30: ...3 Getting started 14 R5900049 CLICKSHARE CSE 800 19 03 2018...
Page 42: ...5 Preparing the buttons 26 R5900049 CLICKSHARE CSE 800 19 03 2018...
Page 90: ...7 Software updates 74 R5900049 CLICKSHARE CSE 800 19 03 2018...
Page 94: ...8 Troubleshooting 78 R5900049 CLICKSHARE CSE 800 19 03 2018...
Page 98: ...9 Environmental information 82 R5900049 CLICKSHARE CSE 800 19 03 2018...


