


5. Front Panel Menu orientation
Answering a menu query
The
SEL
button is used to answer
Yes
to certain menu queries. The
ESC
button is used to answer
No
to menu queries. Sometimes
the two buttons are appropriate for answer to a menu queries. The following illustration shows an example of a menu query.
Image 5-4
Validation error message
Edit name
Sometimes, it is necessary to edit name, like the name of a con
fi
guration
fi
le, for example. To modify name use the following
procedure:
1.
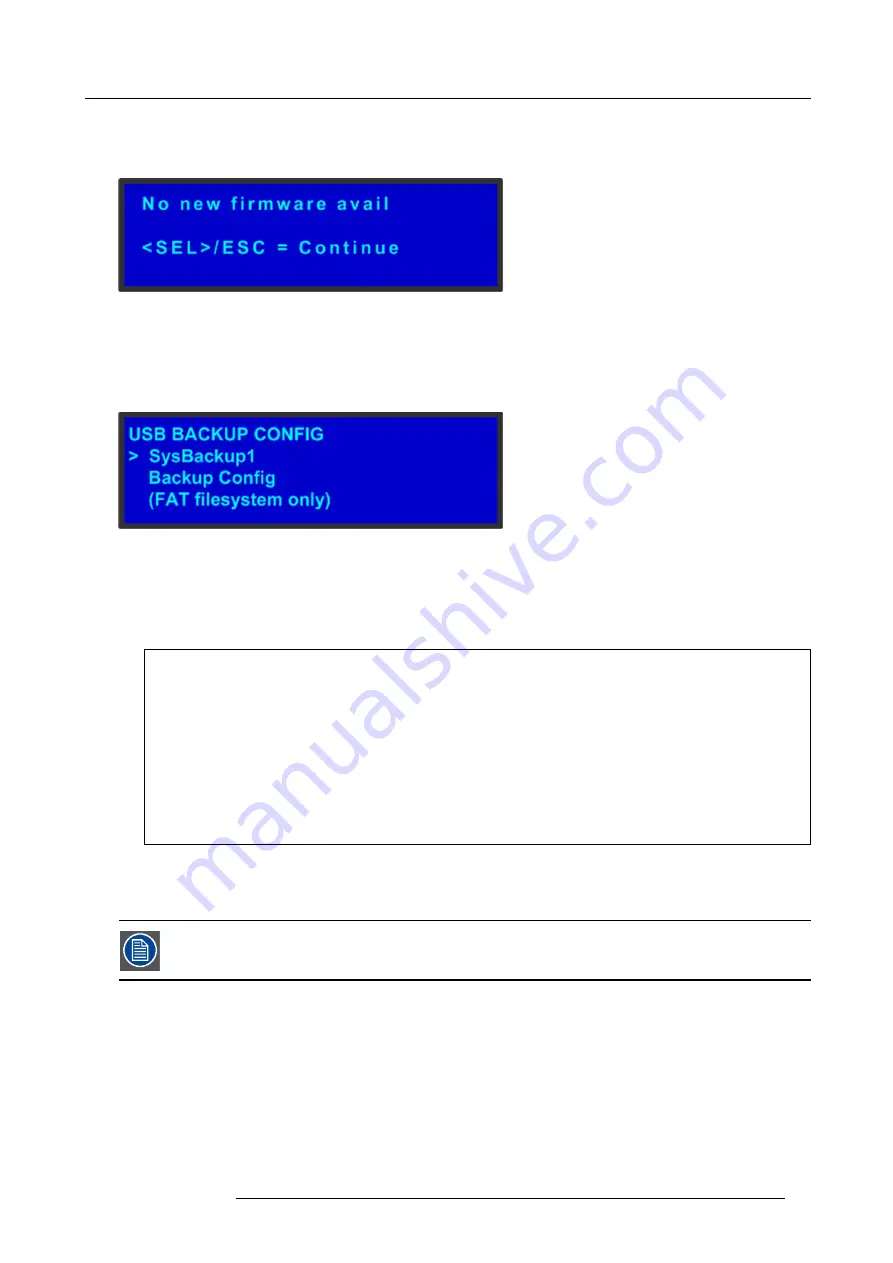
Navigate to submenu (For example, the following illustration shows the
USB Backup Con
fi
g
submenu).
Image 5-5
USB Backup Con
fi
g submenu
The navigator cursor (>) is at the
fi
eld targeted.
2.
Press
SEL
The navigation cursor changes to the edit cursor. A blank
fi
eld for the
fi
rst character becomes available and this
fi
eld is marked
by an underscore.
3.
Use the
ADJUST
knob to scroll to the
fi
rst character you want to use for the format name.
Turning the
ADJUST
knob clockwise once moves to the next letter of the alphabet. If you start with an upper-case letter,
as shown in the preceding illustration, then the next letter is also a capital letter. If you start with a lower-case letter, the
next letter is a lower-case letter:
-
F –> G
-
f –> g
If you start with a number, the next character is a number.
Continuing to turn the
ADJUST
knob clockwise at the end of the upper-case alphabet displays a series of punctuation marks
you can use in the format name.
Continuing to turn the knob clockwise at the end of the punctuation marks displays the lower-case alphabet in order.
When you reach the end of the lower-case alphabet, turn the
ADJUST
knob counter-clockwise to scroll back through
the options in order.
4.
Press
SEL
. The cursor moves to the next character
fi
eld, which is now blank with an underscore.
5.
Repeat the previous steps as many times as needed, pressing
SEL
for each character selection.
6.
When you have selected all the characters, press
SEL
again to save the name.
A
fi
le name can consist of up to 19 alpha-numeric characters.
R5905948 E2 12/12/2014
49
Summary of Contents for Event Master E2
Page 1: ...E2 User s guide R5905948 00 12 12 2014...
Page 8: ...Table of contents 4 R5905948 E2 12 12 2014...
Page 16: ...2 Safety 12 R5905948 E2 12 12 2014...
Page 32: ...3 General 28 R5905948 E2 12 12 2014...
Page 82: ...6 GUI orientation Image 6 8 78 R5905948 E2 12 12 2014...
Page 94: ...6 GUI orientation Image 6 20 90 R5905948 E2 12 12 2014...
Page 115: ...6 GUI orientation Image 6 37 Thumbnail view Image 6 38 R5905948 E2 12 12 2014 111...
Page 186: ...7 System Setup 182 R5905948 E2 12 12 2014...
Page 192: ...8 Updating firmware 188 R5905948 E2 12 12 2014...
Page 196: ...9 General operation example Image 9 3 192 R5905948 E2 12 12 2014...
Page 213: ...9 General operation example Image 9 25 R5905948 E2 12 12 2014 209...
Page 216: ...9 General operation example 212 R5905948 E2 12 12 2014...
Page 220: ...10 Maintenance 10 2 Process Overview Flow chart Image 10 2 216 R5905948 E2 12 12 2014...
Page 281: ...10 Maintenance Disregard the heatsink from the spare kit R5905948 E2 12 12 2014 277...
Page 282: ...10 Maintenance 278 R5905948 E2 12 12 2014...
Page 288: ...11 Environmental information 284 R5905948 E2 12 12 2014...
Page 298: ...B Remote Control Protocol 294 R5905948 E2 12 12 2014...
Page 299: ...C Troubleshooting C TROUBLESHOOTING R5905948 E2 12 12 2014 295...
Page 300: ...C Troubleshooting 296 R5905948 E2 12 12 2014...


