5. Front Panel Menu orientation
5.14 Restoring Factory Default Settings
General
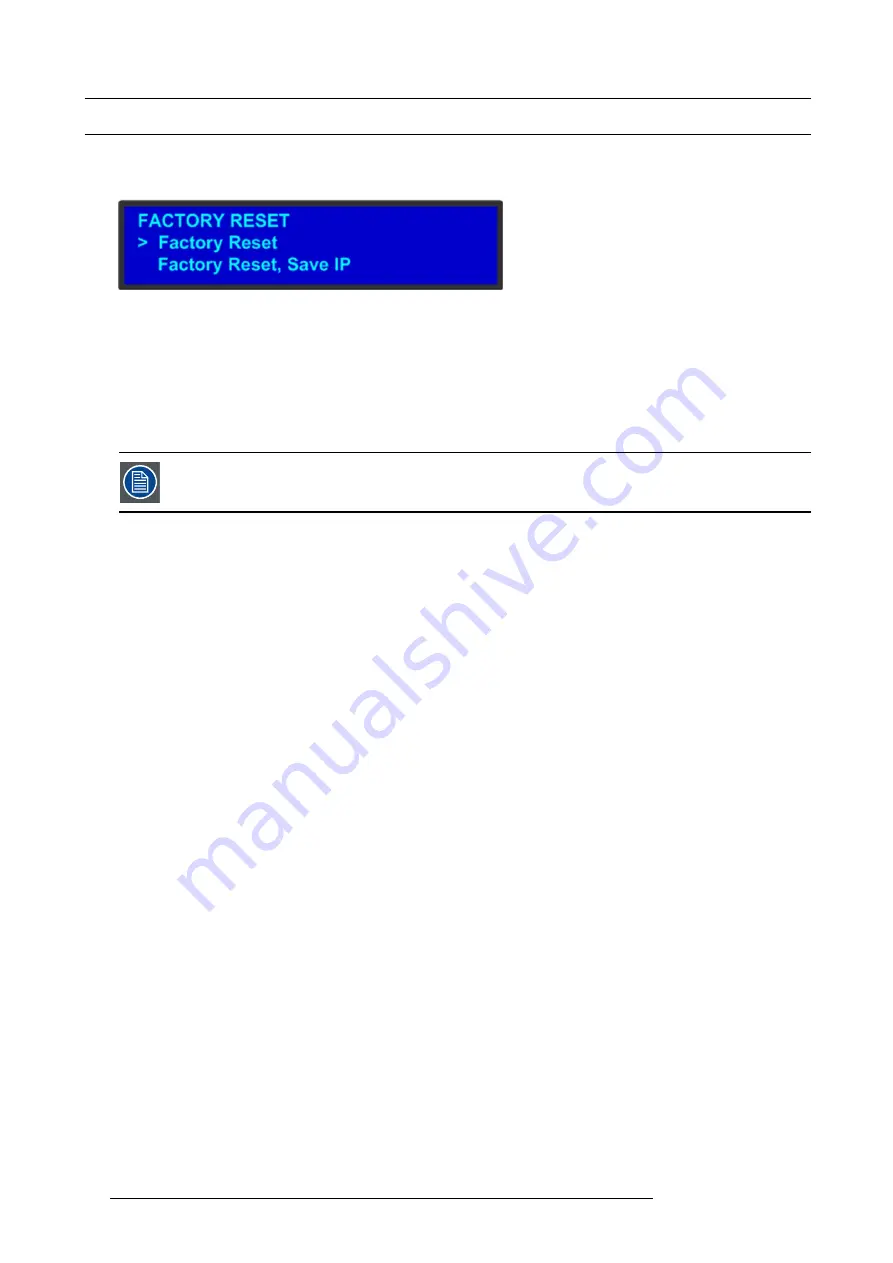
As shown in the following illustration, two options in the
Setup
Menu allow you to restore the E2 to its factory default condition.
Image 5-27
The following attributes constitute a factory default condition:
•
The
Status
Menu is shown in the display screen.
•
All custom con
fi
gurations are deleted.
The
Factory Reset
Menu provides two options for restoring factory default settings:
•
Factory Reset
— If you use this option, all of your system con
fi
guration are deleted. Settings will be restored to the original
factory defaults.
•
Factory Reset, Save IP
— This option performs a factory reset, but retains the IP address of the E2.
It is advisable to clear all saved con
fi
gurations when you use the E2 for the
fi
rst time, or when returning an
E2 from an event.
Restoring all factory settings
To restore all default settings to the E2, use the following procedure:
1. Select
Factory Reset
from the
Setup
Menu.
The
Factory Reset
Menu appears.
2. Select
Factory Reset
.
A prompt appears, asking if you want to clear all con
fi
gurations.
3. Press
SEL
.
The system turns off, then reboots.
If you press
ESC
to cancel the operation instead, your custom settings remain in place and you are returned to the
Factory
Reset
Menu.
Retaining the IP address when restoring factory settings
To restore default settings to the E2 but retain the unit’s IP address, use the following procedure:
1. Select
Factory Reset
from the
Setup
Menu.
The
Factory Reset
Menu appears.
2. Select
Factory Reset, Save IP
.
A prompt appears, asking if you want to clear all con
fi
gurations.
3. Press
SEL
to reset the system but save the IP address.
The system turns off, then reboots.
If you press
ESC
to cancel the operation instead, your custom settings remain in place and you are returned to the
Factory
Reset
Menu.
64
R5905948 E2 12/12/2014
Summary of Contents for Event Master E2
Page 1: ...E2 User s guide R5905948 00 12 12 2014...
Page 8: ...Table of contents 4 R5905948 E2 12 12 2014...
Page 16: ...2 Safety 12 R5905948 E2 12 12 2014...
Page 32: ...3 General 28 R5905948 E2 12 12 2014...
Page 82: ...6 GUI orientation Image 6 8 78 R5905948 E2 12 12 2014...
Page 94: ...6 GUI orientation Image 6 20 90 R5905948 E2 12 12 2014...
Page 115: ...6 GUI orientation Image 6 37 Thumbnail view Image 6 38 R5905948 E2 12 12 2014 111...
Page 186: ...7 System Setup 182 R5905948 E2 12 12 2014...
Page 192: ...8 Updating firmware 188 R5905948 E2 12 12 2014...
Page 196: ...9 General operation example Image 9 3 192 R5905948 E2 12 12 2014...
Page 213: ...9 General operation example Image 9 25 R5905948 E2 12 12 2014 209...
Page 216: ...9 General operation example 212 R5905948 E2 12 12 2014...
Page 220: ...10 Maintenance 10 2 Process Overview Flow chart Image 10 2 216 R5905948 E2 12 12 2014...
Page 281: ...10 Maintenance Disregard the heatsink from the spare kit R5905948 E2 12 12 2014 277...
Page 282: ...10 Maintenance 278 R5905948 E2 12 12 2014...
Page 288: ...11 Environmental information 284 R5905948 E2 12 12 2014...
Page 298: ...B Remote Control Protocol 294 R5905948 E2 12 12 2014...
Page 299: ...C Troubleshooting C TROUBLESHOOTING R5905948 E2 12 12 2014 295...
Page 300: ...C Troubleshooting 296 R5905948 E2 12 12 2014...


