System Restore
Use the following steps to perform a System Restore.
1. Plug the USB Recovery drive into one of the external USB 3.0 ports on the Barco Media Server.
The Barco USB Recovery drive is a USB 3.0 device; you may reduce recovery time by using this
drive in a USB 3.0 port.
2. Right-click the Windows icon at the lower left-hand corner of the screen to restart.
As the system restarts, it displays the Barco logo screen.
3. Press and hold the F8 key to summon the Select Boot Device screen.
4. Select the USB Recovery drive (STT ST3U16SSPS).
Use the up and down arrow keys on your keyboard, or use your mouse to make selections.
The system restarts, and the Restore application displays the Barco Media Server Validation screen.
5. Allow the System Restore menu to load.
The System Restore menu takes a few minutes to load. During this time, a number of small
windows appear and disappear. Wait until you see a full-screen menu titled Barco Media System
Restore Menu.
6. Select the System Restore option or Exit to cancel the operation.
If you select System Restore, the system displays the Confirmation screen.
7. Select Confirm, and the Restore begins.
8. Allow the Restore to run.
The Restore process takes between 10 and 30 minutes. The system displays status throughout
the Restore.
Once the Restore reaches "Applying the main volume," the Barco Media Server automatically
restarts.
9. Allow a few minutes for the Barco Media Server to reconfigure.
After the restoration is complete, you may remove the USB Restore thumb drive.
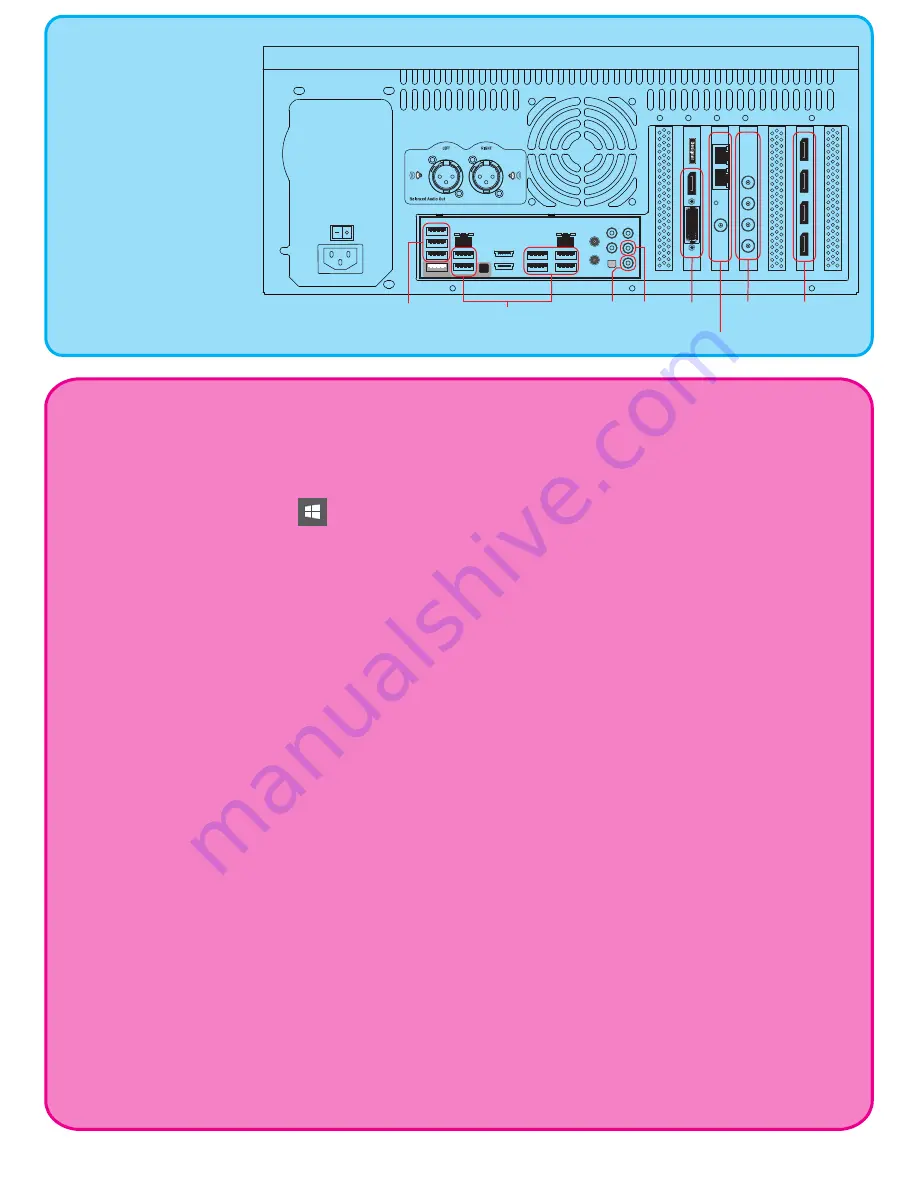
Different models of
XHD-series media servers
have different video inputs
and outputs, but they all
have the same Main/
Extended Desktop, Mic In,
Audio Out, and USB 3.0 and
USB 2.0 connections on the
rear panel.
XHD-404 Rear Panel
Audio Out
USB 3.0
USB 2.0
Video Capture Card
(Deltacast E40)
Mic In
GFX Out
Display Port
(AMD W7100)
Designer Out
(K620)
Genlock
(AMD- S400)


