Manual 2100-587J
Page
26 of 59
18. GAS SUPPLY AND PIPING
General Recommendations
1. Be sure the gas line complies with the local codes
and ordinances, or, in their absence, with the
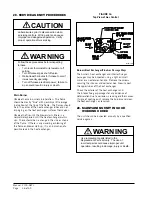
National Fuel Gas Code, ANSI Z223.1, or Natural
Gas Installation Code, CAN/CGA B149.1, or
Propane Installation Code B149.2, latest edition.
2. A sediment trap or drip leg must be installed in the
supply line to the furnace.
3. A ground joint union shall be installed in the gas
line adjacent to and upstream from the gas valve
and downstream from the manual shut off valve.
4. An 1/8" NPT plugged tapping accessible for test
gauge connection shall be installed immediately
upstream of the gas supply connection to the
furnace for the purpose of determining the supply
gas pressure. This can be omitted if local codes
permit use of plugged tapping in gas valve inlet.
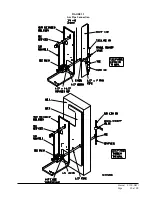
5. Install listed manual shut off valve in the supply
gas line external to and immediately upstream of
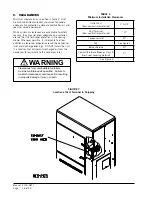
the furnace (see Figure 11).
6. Use steel or wrought iron pipe and fittings.
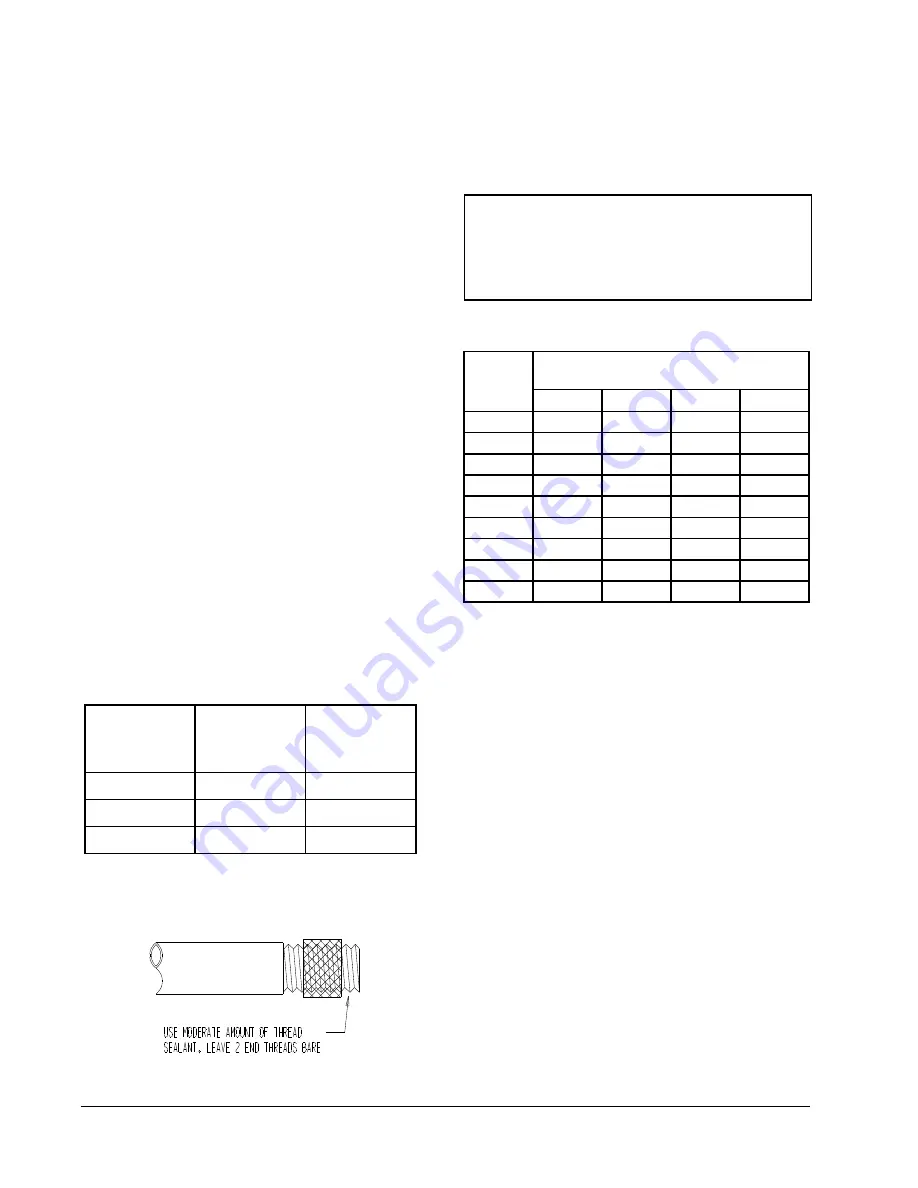
7.
DO NOT
thread pipe too far. Valve distortion or
malfunction may result from excess pipe within
the control. Use pipe joint compound resistant to
the action of liquefied petroleum gases on male
threads only.
DO NOT
use Teflon tape. See Table
5 and Figure 12.
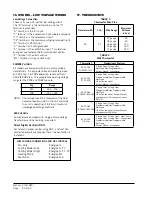
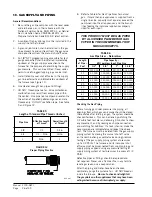
TABLE 5
Length of Standard Pipe Threads (Inches)
TABLE 6
Gas Pipe Sizes
–
Natural Gas
Checking the Gas Piping
Before turning gas under pressure into piping, all
openings from which gas can escape should be closed.
Immediately after turning on gas, the system should be
checked for leaks. This can be done by watching the
1/2 cubic foot test dial and allowing 4 minutes to show
any movement, and by soaping each pipe connection
and watching for bubbles. If a leak is found, make the
necessary repairs immediately and repeat the above
test. The furnace must be isolated from the gas supply
piping system by closing the manual shut off valve
on the combination gas control valve during pressure
testing of the gas supply piping system at pressures
up to 1/2 PSIG. The furnace and its individual shut
off valve must be disconnected from supply piping and
supply piping capped during any pressure testing of
supply piping system at test pressures in excess of 1/2
PSIG.
Defective pipes or fittings should be replaced and
not repaired. Never use a flame or fire in any form to
locate gas leaks; use a soap solution.
After the piping and meter have been checked
completely, purge the system of air.
DO NOT
bleed air
inside the furnace.
Be sure to check and relight all
the gas pilots on other appliances that may have been
extinguished because of interrupted gas supply.
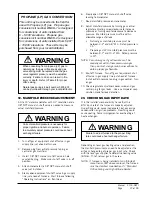
FIGURE 12
Proper Piping Practice
8. Refer to Table 6 for Gas Pipe Sizes for natural
gas. If more than one appliance is supplied from a
single line size, capacity must equal or exceed the
combined input to all appliances, and the branch
lines feeding the individual appliances properly
sized for each input.
Pipe Size
Effective Length
of Thread
Overall Length
of Thread
3/8
1/2
9/16
3/4
1/2 - - 9/16
13/16
1
9/16
1
Length
of Pipe –
Feet
Pipe Capacity –
BTU per Hour Input Pipe Size
1/2"
3/4"
1"
1-1/4"
10
132,000
278,000
520,000 1,050,000
20
92,000
190,000
350,000
730,000
30
73,000
152,000
285,000
590,000
40
63,000
130,000
245,000
500,000
50
56,000
115,000
215,000
440,000
60
50,000
105,000
195,000
400,000
70
46,000
96,000
180,000
370,000
80
43,000
90,000
170,000
350,000
100
38,000
79,000
150,000
305,000
THIS PRODUCT MUST BE GAS PIPED
BY A LICENSED PLUMBER OR GAS
FITTER IN THE COMMONWEALTH OF
MASSACHUSETTS.
MIS-897
Summary of Contents for WG Series
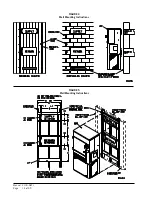
Page 11: ...Manual 2100 587J Page 11 of 59 FIGURE 2A Mounting Instructions for WG3S2...
Page 12: ...Manual 2100 587J Page 12 of 59 FIGURE 2B Mounting Instructions for WG4S2 and WG5S2...
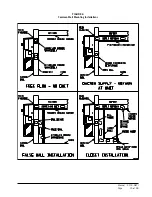
Page 15: ...Manual 2100 587J Page 15 of 59 FIGURE 6 Common Wall Mounting Installations...
Page 25: ...Manual 2100 587J Page 25 of 59 FIGURE 11 Gas Pipe Connection...


