20
Advanced Set-Up
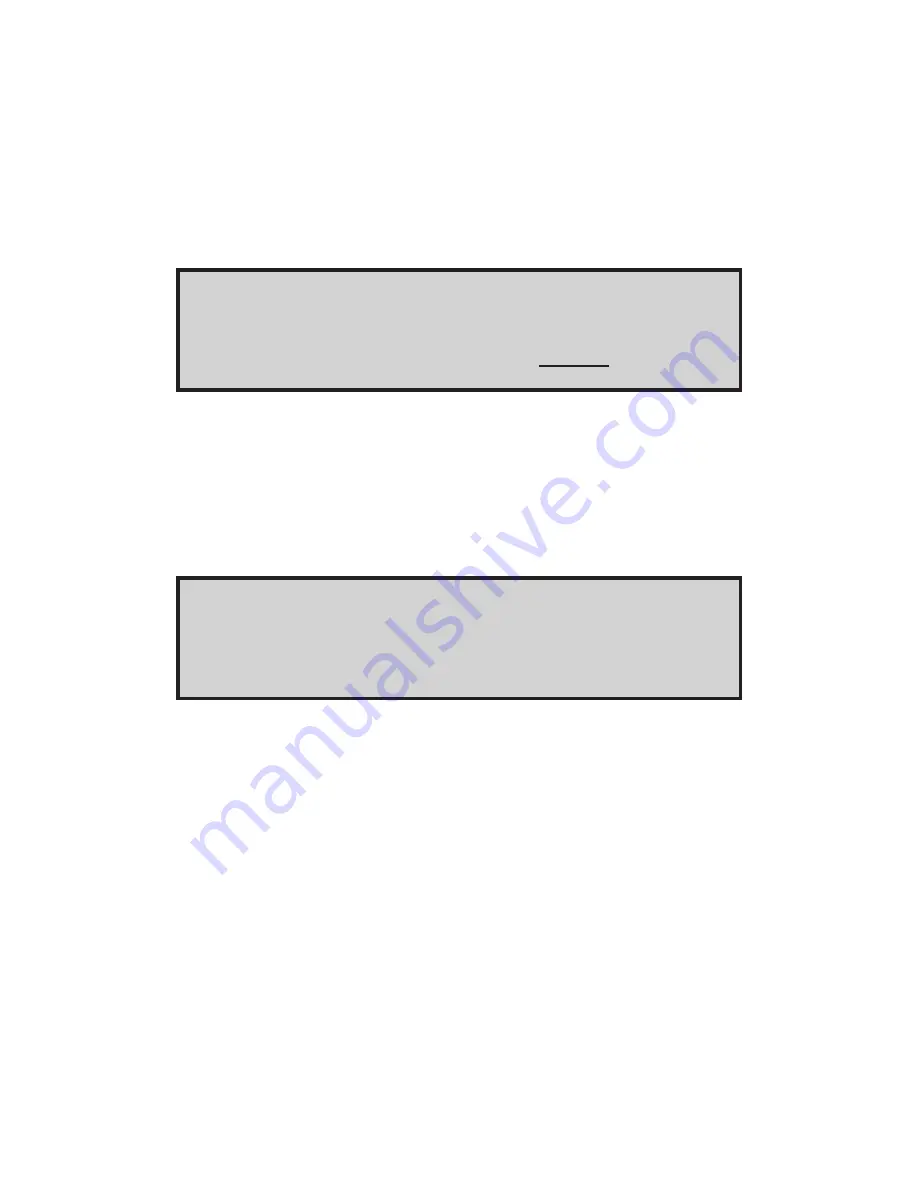
1. After pressing the MENU button, the ENTER ADVANCED SETUP screen
will be displayed (refer to Figure 32).
2. The flashing message YES will ask if you want to enter the Advanced
Screen. Press the MENU key as the word YES blinks.
NOTE: If a change to that selection is not chosen within 3 seconds, the
program will automatically exit the setup mode.
ENTER ADVANCED
SETUP MENU YES
FIGURE 32. ADVANCED SETUP SCREEN
Sensor Calibrate
1. Sensor Calibrate enables the operator to calibrate out sensor error to
give a more accurate reading. Refer to Figure 33. Calibration offset and
PV (actual) temperatures are displayed.
SENSOR OFFSET
CAL ±XX.X XXX.X °F
FIGURE 33. SENSOR CALIBRATE SCREEN
2. To adjust the values in this option, the operator must know how many
degrees off the sensor is. To determine how far off the sensor is, mea-
sure it against a secondary gauge known to be accurate.
3. Once the value is known, adjust the CAL offset value on the screen using
the arrow keys until the displayed temperature matches the known tem-
perature. Press the MENU key to advance to the Over temp screen.
(Refer to Figure 34.)
NOTE: Calibration can also be done using an ice bath or boiling water
and adjusting the offset until 32.0 °F or 212 °F is displayed.

