Lindsay Transportation Solutions Sales and Services, Inc
(888) 800-3691 [U.S. toll free] or +1 (707) 374-6800
11
X-Tension - Tangent Installation Instructions
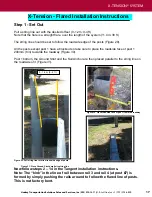
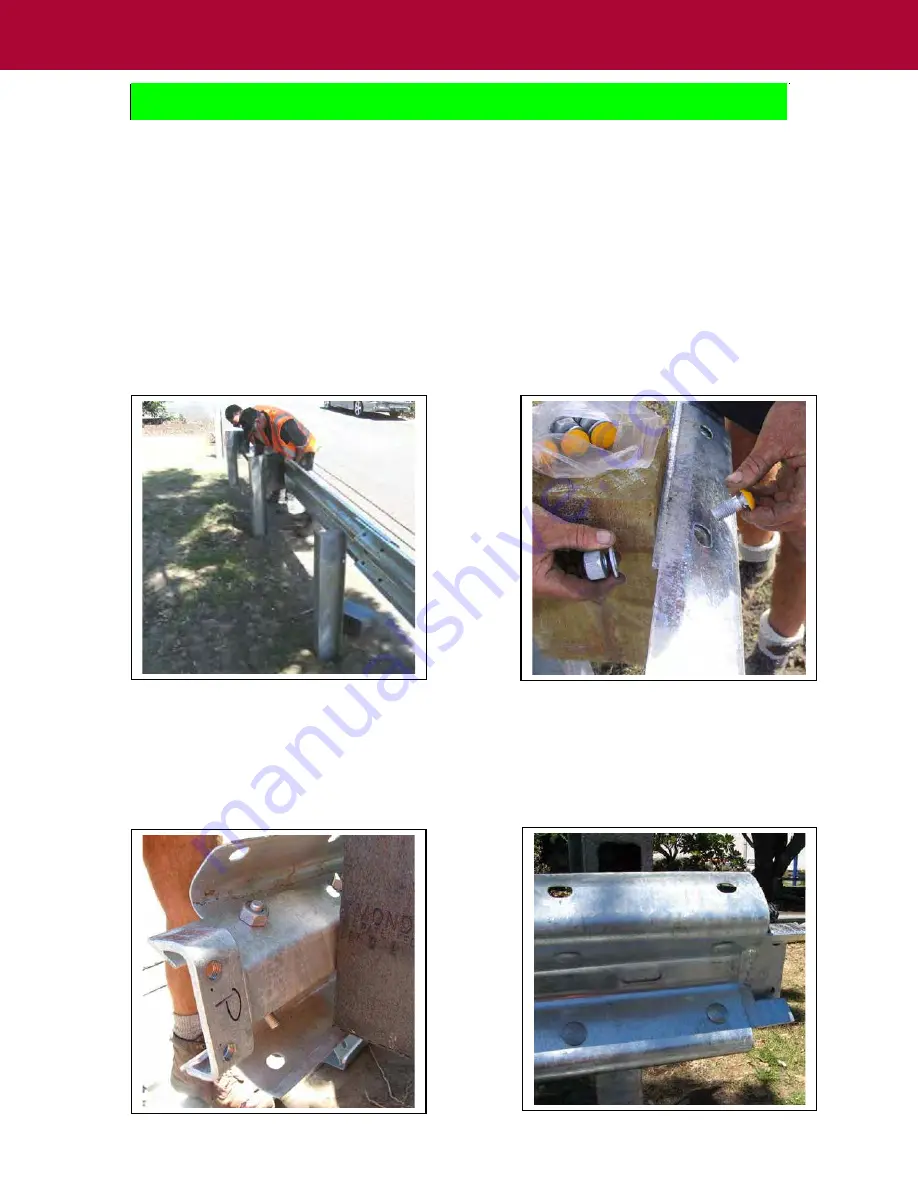
Figure 10. Bolt Slider Bracket to end of rail 2 at post 3.
Figure 11. Remove angle bar bolts.
Step 5 – Hang Rail 2 and Shear Bolts
Before installing rail 2
, double check that the blockout is already bolted to post 3.
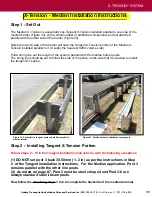
Bolt rail 2 to the post and blockouts at posts 4 and 5 with the appropriate post bolt (Figure 8).
DO NOT BOLT THE RAIL TO POST 3.
Splice rail 2 to rail 3 with
the 8 special shear bolts (yellow) supplied (Figure 9)
.
Put the
washer and nut on inside of rail.
IMPORTANT
NOTE: DO NOT USE STANDARD SPLICE BOLTS AT POST 5 SPLICE. DO
NOT USE AN AIR-IMPACT WRENCH TO TIGHTEN SHEAR BOLTS. SHEAR BOLTS WILL
BREAK IF OVER-TIGHTEND.
Figure 8. Bolt rail 2 to post and blockouts.
Figure 9. Splice rail 2 to rail 3 with 8 special shear bolts.
Step 6 – Attach Slider Bracket to Rail 2
Bolt the Slider Bracket to the end of rail 2 at post 3 (Figure 10). Use 4 standard splice bolts. The
angle bar end should be closest to the Impact Head end.
Remove the angle bar and 2 x M20 x
25mm (3/4 in x 1 in) bolts (Figure 11).
X-TENsIoN
®
sysTEM


