INSTALLATION INSTRUCTIONS
800.533.3948 • www.barronltg.com
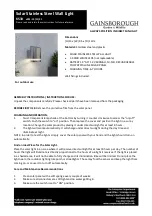
Yoke
1. Drill hole in mounting surface or rectangular pole.
2. Attach AXL2 to mounting surface or rectangular pole
(Fig 12).
3. Make supply connection in waterproof J-box or inside pole
(see
Wiring
section).
Yoke Templates
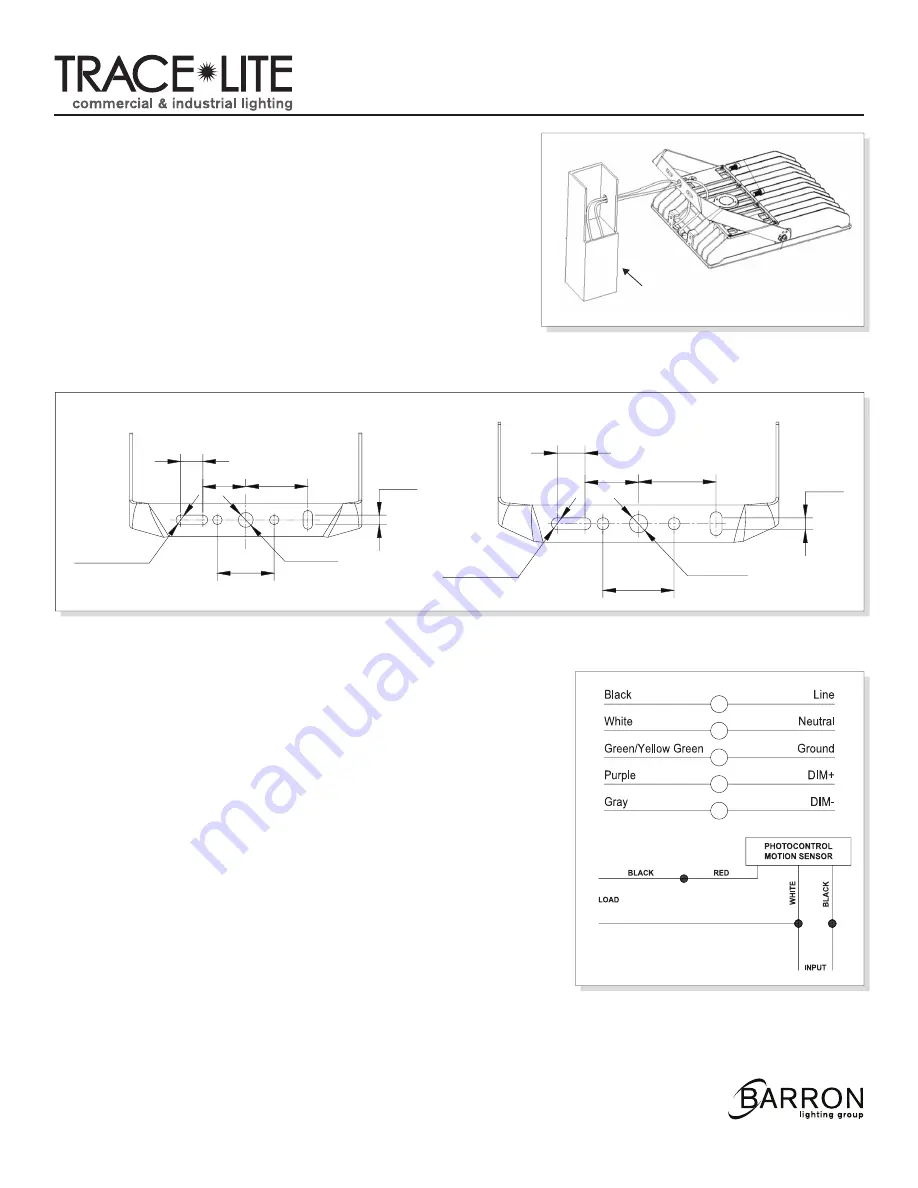
Wiring
Make electrical connections as follows:
Black - Line
White - Neutral
Green/Yellow Green - Ground
If dimming is used:
Purple - Dim+
Gray - Dim-
Note:
This fixture auto adjusts for voltages from 120-277V. Cap all
unused leads to prevent shorting.
IMPORTANT:
Weatherproof your outdoor installation, be sure to seal
all holes in fixture housing. (Mounting, conduit, plugs, sensors and
photo-controls, etc.) with silicone sealant.
20070138 REV 1 - 2/19
Mounting surface
or rectangular pole
3"
2.3"
1.2"
3.3"
0.5"
6-Φ0.5"
80-140W
3"
2.3"
1.2"
3.3"
0.5"
6-Φ0.5"
240-280W
Φ0.8"
Φ0.79"
NEUTRAL
Fig. 12
LINE
NEUTRAL
AXL2 (80-280W)
4