Ex p control unit
Motor purge controller
Operation
Rev. 0
01-37A2-7D0003_Operating instructions_MPC_20210923_0_en.docx
Page 63 of 96
7.17
Temperature sensors
Activation and adjustment of temperature sensors
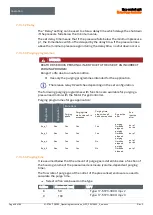
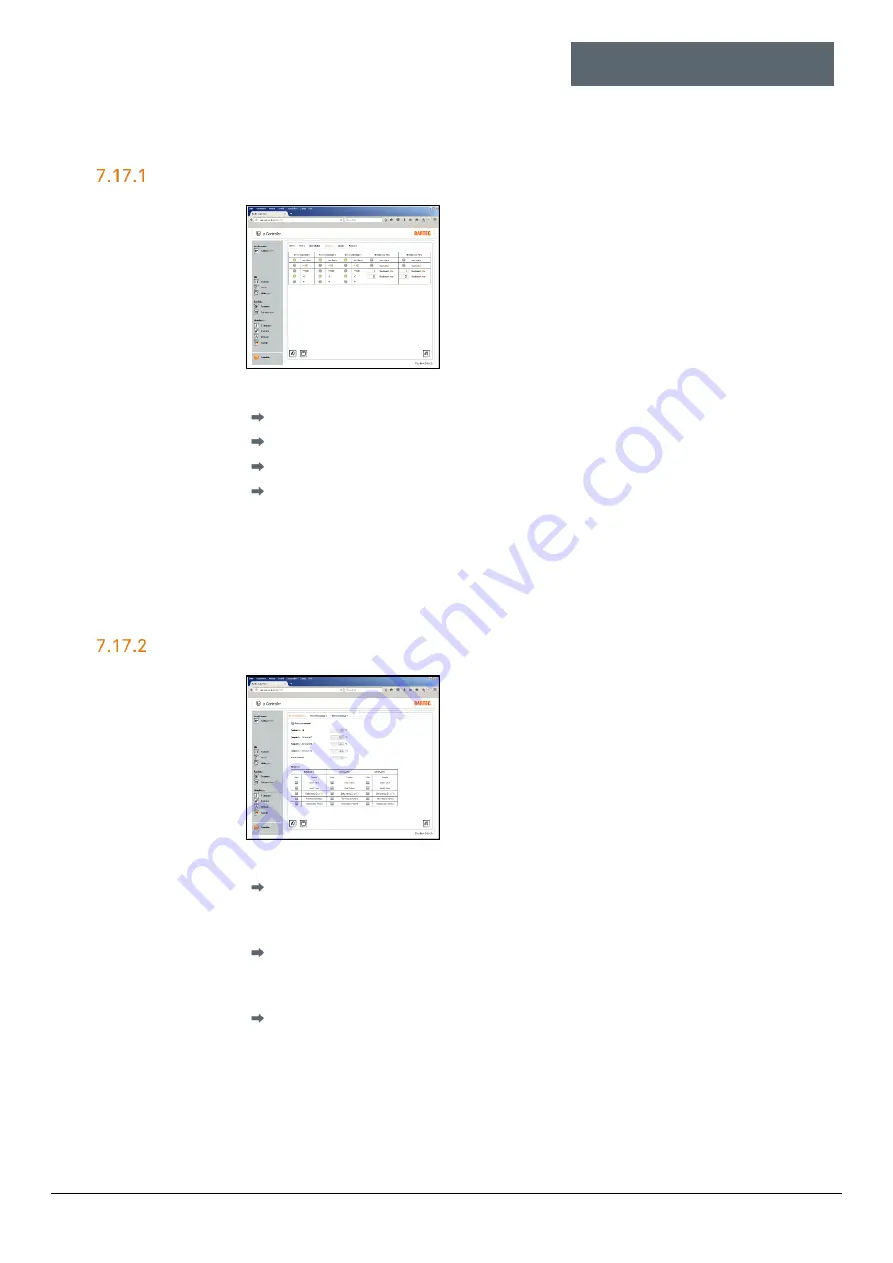
The temperature sensors are configured in the
“Extended / Sensors” menu.
Procedure:
Connect the PC with the Ex p control unit
Activate the programming switch
Log in with the user level
Call up the menu page “Extended / Sensors” in the WEB interface
Activate the desired temperature sensor by clicking on “PT 100 / PT 1000”
e.g. when using three PT100 sensors:
Temperature sensor 1 to 3 on PT 100
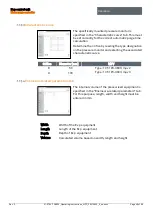
Activate the desired display unit “° C / ° F” by clicking on it
Display unit is set on ° C
Setting the temperature switching values
The temperature switching values for temperature
sensors 1 to 3 are configured in the “Temperature
sensors” menu.
Procedure:
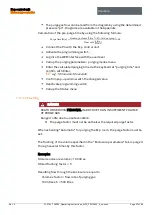
Call up the menu page “Temperature sensors” in the WEB interface
When activated, the indicator light for temperature sensor x shows that this
sensor is active.
Store temperature switching values 1, 2 and 3
e.g. T. switching value 1 = 35 ° C; T. switching value 2 = 45 ° C; T. switching value
3 = 60 ° C
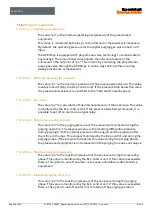
Store functions for switching values
e.g. function switching value 1 = open valve 1, switching value 2 = warning
message; Switching value 3 = deactivation of Ex p + alarm message
If switching value 1 is exceeded, the purging gas valve is opened for cooling; if
switching value 2 is exceeded, a plain text message is sent in the web interface;
if the value continues to rise to 3, the Ex p system is deactivated


