background image


- 43 - 


7. Possible Malfunctions 

 
In case of malfunction, disconnect the device from its power source. Before contacting 
the service or sales agent, verify - based on the table below - whether it is possible to 
eliminate disruption in operation.  


Problem 

Cause 

Solution 

The device is turned on, 
but the red indicator light 
does not turn on. 

  The power plug is not 

properly inserted into 
the socket 

  Disconnected fuse  

  Damaged indicator light 


  Damaged switch 

  Properly insert the plug 

into the socket 


  Check the fuse  

  Check the device in 

another socket  

  Contact a salesperson 

Red descaling indicator is 
on during the operation. 


  The device is scaled


  Remove the plug. Leave 

the device until cooling 
down, then descale it 
according to section 


6 “Cleaning and 
descaling“


The device is turned on, 
the 

ON/OFF

 switch 

indicator is on, but the 
device is not heating. 

  Damaged heating 

element 

  Damaged thermostat 

  Contact a salesperson 


  Contact a salesperson 

The device turns off. 

  Damaged thermostat 


  The device is scaled 

  Remove the power plug 

and leave the device to 
cool. Remove the base 
and press the 

RESET


button on the bottom of 
the device. Bear in mind 
the necessary quantity of 
water in the device 
Descale the device accor-
ding to section 

„Clea-

ning and descaling“


The green indicator light 
does not turn on. 

  The brewing / heating 

process is not comple-
ted yet 

  Damaged indicator light 

  Damaged thermostat 

  Wait until the brewing / 

heating process will be 
completed  

  Contact a salesperson 

  Contact a salesperson 

The fuse blows immedia-
tely after turning on. 

  Electrical short circuit  

  Contact a salesperson 

Summary of Contents for PRO II 100T

Page 1: ...Bartscher PRO II 40T Bartscher PRO II 60T Bartscher PRO II 100T A190148 A190167 A190198 Original Gebrauchsanleitung V4 1019 ...

Page 2: ... 30 3 Transport packaging and storage 31 3 1 Delivery check 31 3 2 Packaging 31 3 3 Storage 31 4 Technical data 32 4 1 Overview of parts 32 4 2 Technical specification 34 5 Installation and operation 35 5 1 Installation 35 5 2 Operation 36 6 Cleaning and descaling 39 7 Possible Malfunctions 43 8 Waste disposal 44 Bartscher GmbH Franz Kleine Str 28 33154 Salzkotten phone 49 0 5258 971 0 Germany fax...

Page 3: ...cessible for anyone carrying out the installation servicing maintenance or cleaning Please keep these instructions and give them to future owners of the device 1 Safety This device is designed in accordance with the presently applicable technological standards However the device can pose a danger if handled improperly and inappropriately All persons using the device must follow the recommendations...

Page 4: ... and information aimed for effective and trouble free device operation 1 2 Safety instructions The device can be used by children 8 years and up as well as by people with disabilities and those with limited experience knowledge as long as they are under supervision or have been instructed on proper use of the device and its possible dangers Children should not play with the device Cleaning and mai...

Page 5: ...commended by the manufacturer These can be dangerous for the user or lead to damages of the device or personal injury and further the warranty expires To prevent hazards and to ensure optimum efficiency no modifications or alterations to the device that are not explicitly approved by the manufacturer may be undertaken DANGER Electric shock hazard To avoid the hazard results please follow the safet...

Page 6: ...e must be disconnected from the socket only by pulling the plug Never carry or lift the device by the supply cable In any case do not open the device housing In case of electrical or mechanical modifications the electric shock hazard will occur Do not use any acid agents and make sure no water ingresses the device Never operate the device with moist hands or standing on wet floor Remove the plug f...

Page 7: ...tank are hot for some time therefore leave the device for cooling down before cleaning or moving to another location Never move hot device during work HOT STEAM Risk of scalding To avoid the hazard results please follow the safety instructions below Never remove lid from the water tank during the brewing process The released hot steam may cause burns of hands arms and face During the brewing proce...

Page 8: ...ilities The coffee machine is designed only for preparation of coffee and warm hot water with use of cold water The coffee machine must not be used for heating or boiling of liquids containing sugar sweeteners lyes or alcohols storage and heating of flammable health hazardous and easily evaporating liquids and materials etc CAUTION Any use going beyond the intended purpose and or any different use...

Page 9: ...d by violation of advice concerning operation and cleaning use other than designed alterations made by user use of inadequate spare parts We reserve the right to make technical changes for purposes of developing and improving the useful properties 2 2 Copyright protection The instruction manual including any texts drawings images or other illustrations is copyright No part of this publication may ...

Page 10: ...r The outer and inner packing material should be removed completely from the device before installation NOTE If you liked to dispose the packing consider the regulations applicable in your country Supply re usable packing materials to the recycling Please inspect the device upon completeness In case any part is missing please contact our customer service center immediately 3 3 Storage Keep the pac...

Page 11: ... 32 4 Technical data 4 1 Overview of parts 2 1 3 4 7 9 8 10 11 6 12 5 13 14 18 19 16 15 17 ...

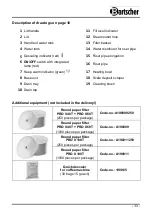
Page 12: ...en 17 Heating bowl 8 Base unit 18 Scale deposit scraper 9 Drain tray 19 Cleaning brush 10 Drain tap Additional equipment not included in the delivery Round paper filter PRO II 40T PRO II 60T 250 pieces per package Code no A190009250 Round paper filter PRO II 40T PRO II 60T 1000 pieces per package Code no A190009 Round paper filter PRO II 100T 250 pieces per package Code no A190011250 Round paper f...

Page 13: ...brewing and temperature maintaining Power supply 230 V 50 Hz Power 1 2 kW 1 2 kW 1 45 kW Capacity 6 litres 9 litres 13 2 litres Brewing time 40 minutes for 6 litres 50 minutes for 9 litres 55 minutes for 13 2 litres Maximum output 40 48 cups 60 72 cups 90 100 cups Maximum brewed amount 3 litres 20 cups 4 5 litres 30 cups 6 litres 40 cups Dimensions mm W 310 D 320 H 480 W 310 D 320 H 540 W 350 D 37...

Page 14: ...place the device near open flame electric heaters or other heat source Place the device so that the plug is easily accessible so as to quickly disconneet the device if the need arises Connection DANGER Electric shock hazard The device can cause injuries due to improper installation Before installation and connecting the local power grid specification should be compared with that of the device see ...

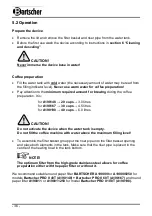
Page 15: ...90167 30 cups 4 5 litres for A190198 40 cups 6 0 litres CAUTION Do not activate the device when the water tank is empty Do not fill the coffee machine with water above the maximum filling level To assemble the filter basket group put the riser pipe into the filter basket opening and place both elements in the tank Make sure that the riser pipe is placed in the centre of the heating bowl in the tan...

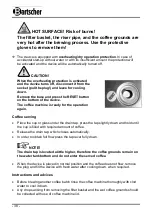
Page 16: ...k it with the bayonet lock Activate the coffee machine by switching the ON OFF switch to position I During the brewing process the red operation control light in the switch will come on HOT STEAM Risk of scalding Never touch rotating parts of the device during its operation The released hot steam may cause burns of hands arms and face During the brewing process hot steam is released from the steam...

Page 17: ...or the operation again Coffee serving Place the cup or glass under the drain tap press the tap slightly down and hold until the cup is filled with required amount of coffee Release the drain tap which closes automatically In order to obtain full flow press the tap lever fully down NOTE The drain tap is located a little higher therefore the coffee grounds remain on the water tank bottom and do not ...

Page 18: ...ice to cool down Never clean the device with use of pressurized water jet Make sure that no water gets into the device CAUTION Never wash the device or its elements in the dishwasher Do not use any sharp objects or abrasive cleaning agents for surface cleaning Daily cleaning o Clean the device thoroughly before the first and all successive uses o Clean the filter basket the riser pipe and the lid ...

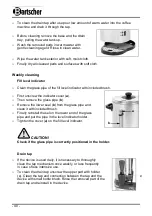
Page 19: ...indicator cover a o Then remove the glass pipe b o Remove the lower seal b from the glass pipe and clean it with included brush o Finally reinstall the sel on the lower end of the glass pipe and put the pipe in the level indicator holder o Tighten the cover a on the fill level indicator CAUTION Check if the glass pipe is correctly positioned in the holder Drain tap o If the device is used daily it...

Page 20: ...y to remove all residuals of soap and cleaning agents Descaling CAUTION The coffee machine should be regularly descaled to extend its life span and assure good quality of coffee The complaints will not be taken into consideration when the device is not periodically descaled according to the instructions Such claims are not covered by the warranty o The device is equipped with red descaling indicat...

Page 21: ...gh the drain tap to the suitable container After descaling repeat the brewing cycle at least three times with use of clean water to remove all residuals of the descaling solution Pour some fresh water into the tank and draiit to the suitable container through the drain tap to rinse it Rinse the water tank the riser pipe the filter basket and the lid thoroughly with clean water Finally dry all clea...

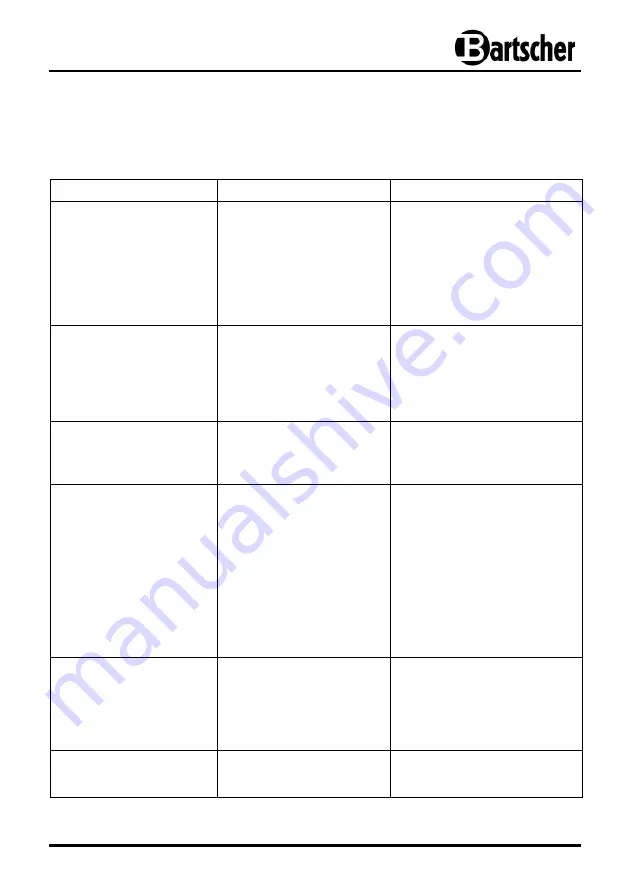
Page 22: ... then descale it according to section 6 Cleaning and descaling The device is turned on the ON OFF switch indicator is on but the device is not heating Damaged heating element Damaged thermostat Contact a salesperson Contact a salesperson The device turns off Damaged thermostat The device is scaled Remove the power plug and leave the device to cool Remove the base and press the RESET button on the ...
Page 23: ...tional regulations It is advisable to contact a company which is specialized in waste disposal or just contact the local disposal service in your community WARNING To exclude any abuse and the dangers involved make the waste device unfit for use before disposal For that purpose disconnect device from mains supply and remove mains connection cable from the device CAUTION For the disposal of the dev...

Reviews: