48
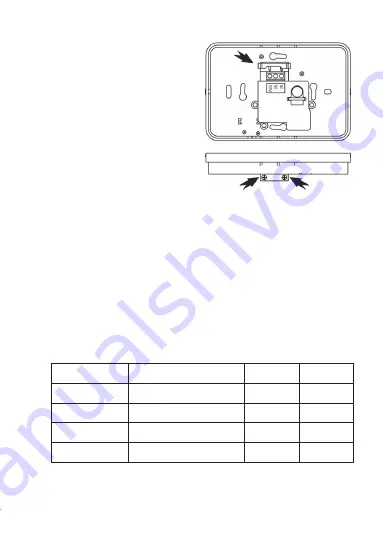
• Feed the cable through the bot-
tom part of housing and secure
to the wall with screws. Tighten
the screws well. The “UP” arrow
should point to the ceiling.
• Make sure that the cable in the
device remains flexible. Install the
clamping mechanism again and
tighten the two screws.
• Cut the cables into length and
remove the insulation 6 - 7 mm
from the ends. Do not damage the
wires.
• The room thermostat has a relay with two potential-free changeover contacts.
COM = middle contact of relay
NO = closing contact (the contact is opened in standby)
NC = opening contact (the contact is closed in standby)
Connect the connector „COM“ with the neutral wire of the power cable.
Depending on the device you want to control with the room thermostat (cool-
ing or heating device), the connector „NO“ or „NC“ must be used as switch
output.
The connectors are suitable for a cable diameter of 1 to 2.5 mm².
Actual temperature
NO output NC output
Heater
> Set tempe1 °C
OPEN
CLOSE
< Set temperature -1 °C
CLOSE
OPEN
Cooling system > Set tempe1 °C
CLOSE
OPEN
< Set tempe1 °C
OPEN
CLOSE


