Oscillographic Records
Recording Oscillographic Records
The fault reporting function can record 480 cycles of sample data at 24 samples per cycle for current
inputs I
A<n>
, I
B<n>
, I
C<n>
and I
G
(independent ground input). Each oscillographic record length is
determined by the number of partitions programmed. Table 6-18 lists the possible numbers of
oscillographic records for each partition. For more information on programming partitions (record lengths),
see
Oscillographic Records Settings,
later in this section. The records are formatted to IEEE Standard
C37.111,
Common Format for Transient Data Exchange (COMTRADE).
Table 6-18. Possible Oscillographic Records
Number of Records
Length in Cycles
6 80
8 60
10 48
15 32
20 24
24 20
32 15
Each time the fault reporting function starts recording a fault summary report, it freezes a three cycle pre-
fault buffer and records for the length of the record. If the pickup and logic trigger expressions have not
returned to false within that time, the oscillographic recording function records a second record to capture
the end of the fault. The second record records one-forth cycle to five cycles of pre-trigger depending on
when the second record begins. If the second record begins within five cycles of the end of the first
record, then there is no gap in data between the two records. If the second record begins after five cycles,
there will be a gap (some data not recorded) between the records. Refer to Figure 6-10, Legend E. In that
illustration, the number of records was set to 32, which equates to 15 cycles recorded. The first record is
triggered and has 3 cycles of pre-trigger data and 12 cycles of post-trigger data. The fault takes longer
than 12 cycles to clear so a second record is necessary. The pickup condition drops out approximately
3.5 cycles into the second record, which is the trigger point for the second record. In this case, the second
record will consist of 3.5 cycles of pre-trigger and 11.5 cycles of post-trigger data.
The oscillographic records are stored in nonvolatile memory. As additional faults are recorded, the oldest
oscillographic records are overwritten.
Oscillographic Records Settings
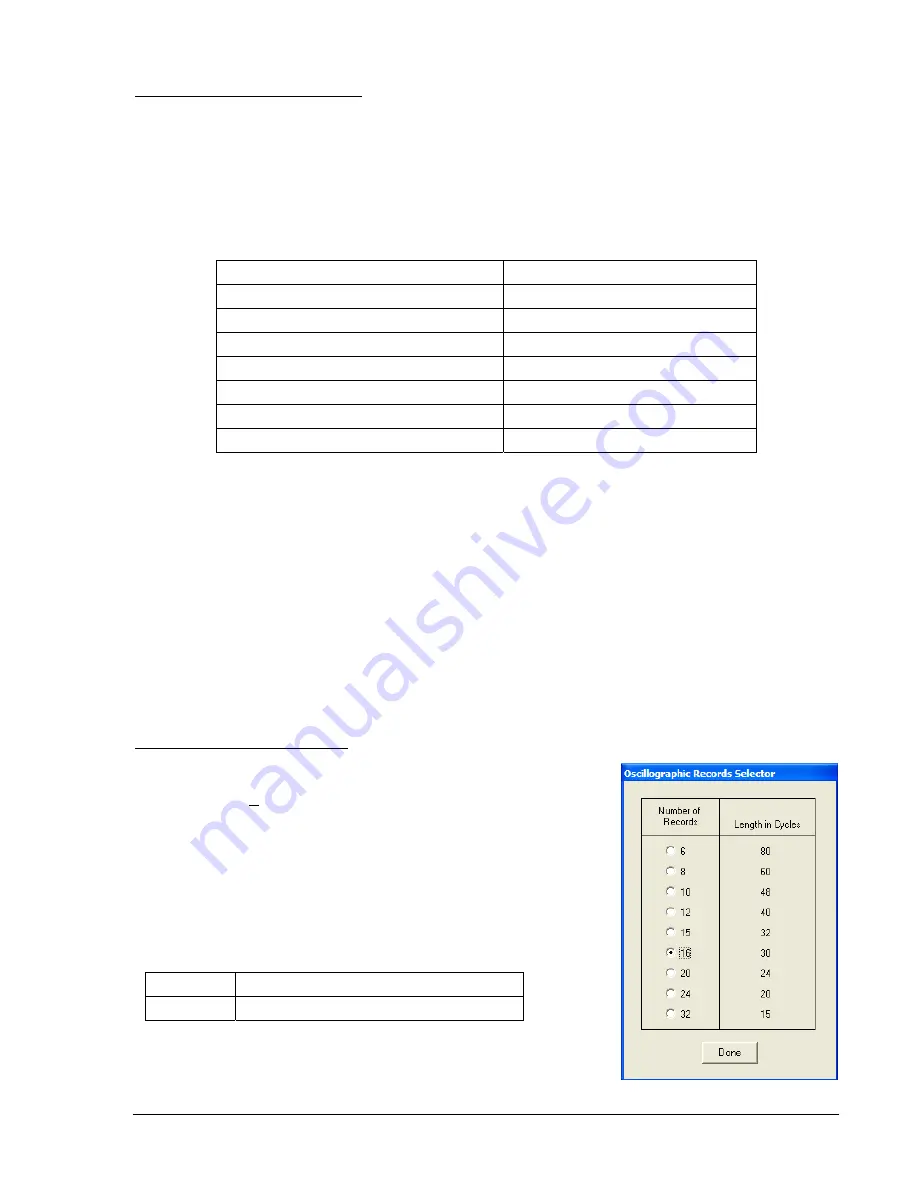
The oscillographic records settings can be programmed through
BESTCOMS. To select the number of records, select
Reporting and
Alarms
from the
Screens
pull-down menu. Select the
Fault Recording
tab and click the
Select
box in the
Oscillographic Records
pane. Make
your selection as shown in Figure 6-22,
Oscillographic Records
Selector
. Select
Done
once the setting has been made.
The oscillographic records settings can also be made using the SG-
OSC (settings general, oscillography) ASCII command. See Table 6-
19 for possible settings.
Table 6-19. Oscillographic Records Settings
6, 8, 10, 12, 15, 16, 20, 24, 32
Range
16
Default
Figure 6-22. Oscillographic Records
9365200990 Rev F
BE1-CDS240 Reporting and Alarm Functions
6-35
Summary of Contents for BE1-CDS240
Page 2: ......
Page 8: ...vi BE1 CDS240 Introduction 9365200990 Rev F This page intentionally left blank ...
Page 38: ...1 28 BE1 CDS240 General Information 9365200990 Rev F This page intentionally left blank ...
Page 40: ...ii BE1 CDS240 Quick Start 9365200990 Rev F This page intentionally left blank ...
Page 152: ...ii BE1 CDS240 Metering 9365200990 Rev F This page intentionally left blank ...
Page 226: ...iv BE1 CDS240 Application 9365200990 Rev F This page intentionally left blank ...
Page 286: ...ii BE1 CDS240 Security 9365200990 Rev F This page intentionally left blank ...
Page 290: ...9 4 BE1 CDS240 Security 9365200990 Rev F This page intentionally left blank ...
Page 292: ...ii BE1 CDS240 Human Machine Interface 9365200990 Rev F This page intentionally left blank ...
Page 306: ...10 14 BE1 CDS240 Human Machine Interface 9365200990 Rev F This page intentionally left blank ...
Page 308: ...ii BE1 CDS240 ASCII Command Interface 9365200990 Rev F This page intentionally left blank ...
Page 342: ...11 34 BE1 CDS240 ASCII Command Interface 9365200990 Rev F This page intentionally left blank ...
Page 349: ...Figure 12 5 Horizontal Rack Mount Front View 9365200990 Rev F BE1 CDS240 Installation 12 5 ...
Page 361: ...Figure 12 17 Typical DC Connection Diagrams 9365200990 Rev F BE1 CDS240 Installation 12 17 ...
Page 372: ...12 28 BE1 CDS240 Installation 9365200990 Rev F This page intentionally left blank ...
Page 468: ...13 92 BE1 CDS240 Testing and Maintenance 9365200990 Rev F This page intentionally left blank ...
Page 512: ...14 42 BE1 CDS240 BESTCOMS Software 9365200990 Rev F This page intentionally left blank ...
Page 544: ...ii BE1 CDS240 Terminal Communication 9365200990 Rev F This page intentionally left blank ...
Page 550: ...ii BE1 CDS240 Settings Calculations 9365200990 Rev F This page intentionally left blank ...
Page 578: ...D 28 BE1 CDS240 Settings Calculations 9365200990 Rev F This page intentionally left blank ...
Page 579: ......


