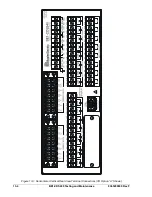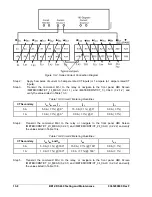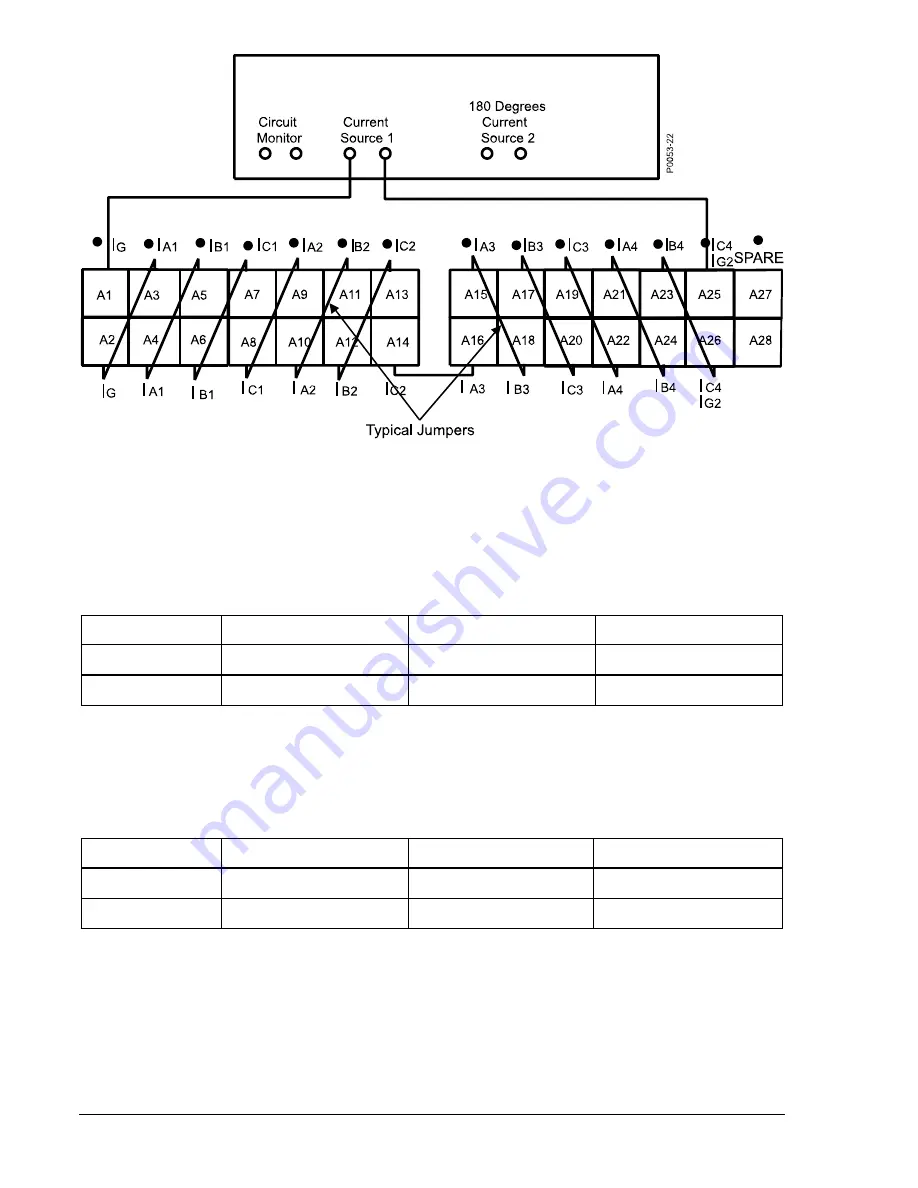
Figure 13-2. Series Current Connection Diagram
Step 2:
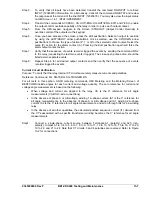
Apply 5 amperes of current to 5 ampere rated CT inputs (or 1 ampere to 1 ampere rated CT
inputs).
Step 3:
Transmit the command M1-I to the relay or navigate to the front panel HMI Screen
\METER\CRNT\CT_1\I_MEAS (3.2.1.1) and \METER\CRNT\CT_1\I_CALC (3.2.1.2) and
verify the values listed in Table 13-3.
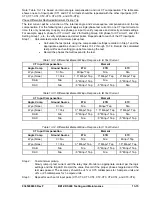
Table 13-3. Circuit 1 Metering Quantities
CT Secondary
I
A1,
I
B1, and
I
C1
I
N1
I
Q1
5 A
5.0 A ( 1%) @ 0
o
15.0 A (
1%) @ 0
0.0 A ( 1%)
1 A
1.0 A ( 1%) @ 0
o
3.0 A (
1%) @ 0
0.0 A ( 1%)
Step 4:
Transmit the command M2-I to the relay or navigate to the front panel HMI Screen
\METER\CRNT\CT_2\I_MEAS (3.2.2.1) and \METER\CRNT\CT_2\I_CALC (3.2.2.2) and verify
the values listed in Table 13-4.
Table 13-4. Circuit 2 Metering Quantities
CT Secondary
I
A2,
I
B2,
and I
C2
I
N2
I
Q2
5 A
5.0 A ( 1%) @ 180
o
15.0 A (
1%) @ 180
0.0 A (
1%)
1 A
1.0 A ( 1%) @ 180
o
3.0 A (
1%) @ 180
0.0 A (
1%)
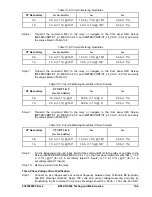
Step 5:
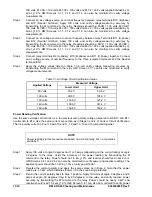
Transmit the command M3-I to the relay, or navigate to the front panel HMI Screen
\METER\CRNT\CT_3\I_MEAS (3.2.3.1) and \METER\CRNT\CT_3\I_CALC (3.2.3.2) and verify
the values listed in Table 13-5.
13-8
BE1-CDS240 Testing and Maintenance
9365200990 Rev F
Summary of Contents for BE1-CDS240
Page 2: ......
Page 8: ...vi BE1 CDS240 Introduction 9365200990 Rev F This page intentionally left blank ...
Page 38: ...1 28 BE1 CDS240 General Information 9365200990 Rev F This page intentionally left blank ...
Page 40: ...ii BE1 CDS240 Quick Start 9365200990 Rev F This page intentionally left blank ...
Page 152: ...ii BE1 CDS240 Metering 9365200990 Rev F This page intentionally left blank ...
Page 226: ...iv BE1 CDS240 Application 9365200990 Rev F This page intentionally left blank ...
Page 286: ...ii BE1 CDS240 Security 9365200990 Rev F This page intentionally left blank ...
Page 290: ...9 4 BE1 CDS240 Security 9365200990 Rev F This page intentionally left blank ...
Page 292: ...ii BE1 CDS240 Human Machine Interface 9365200990 Rev F This page intentionally left blank ...
Page 306: ...10 14 BE1 CDS240 Human Machine Interface 9365200990 Rev F This page intentionally left blank ...
Page 308: ...ii BE1 CDS240 ASCII Command Interface 9365200990 Rev F This page intentionally left blank ...
Page 342: ...11 34 BE1 CDS240 ASCII Command Interface 9365200990 Rev F This page intentionally left blank ...
Page 349: ...Figure 12 5 Horizontal Rack Mount Front View 9365200990 Rev F BE1 CDS240 Installation 12 5 ...
Page 361: ...Figure 12 17 Typical DC Connection Diagrams 9365200990 Rev F BE1 CDS240 Installation 12 17 ...
Page 372: ...12 28 BE1 CDS240 Installation 9365200990 Rev F This page intentionally left blank ...
Page 468: ...13 92 BE1 CDS240 Testing and Maintenance 9365200990 Rev F This page intentionally left blank ...
Page 512: ...14 42 BE1 CDS240 BESTCOMS Software 9365200990 Rev F This page intentionally left blank ...
Page 544: ...ii BE1 CDS240 Terminal Communication 9365200990 Rev F This page intentionally left blank ...
Page 550: ...ii BE1 CDS240 Settings Calculations 9365200990 Rev F This page intentionally left blank ...
Page 578: ...D 28 BE1 CDS240 Settings Calculations 9365200990 Rev F This page intentionally left blank ...
Page 579: ......

