FILE MANAGEMENT
In these paragraphs, file management describes saving, opening, uploading, downloading, printing, and
comparing settings files.
Saving a Settings File
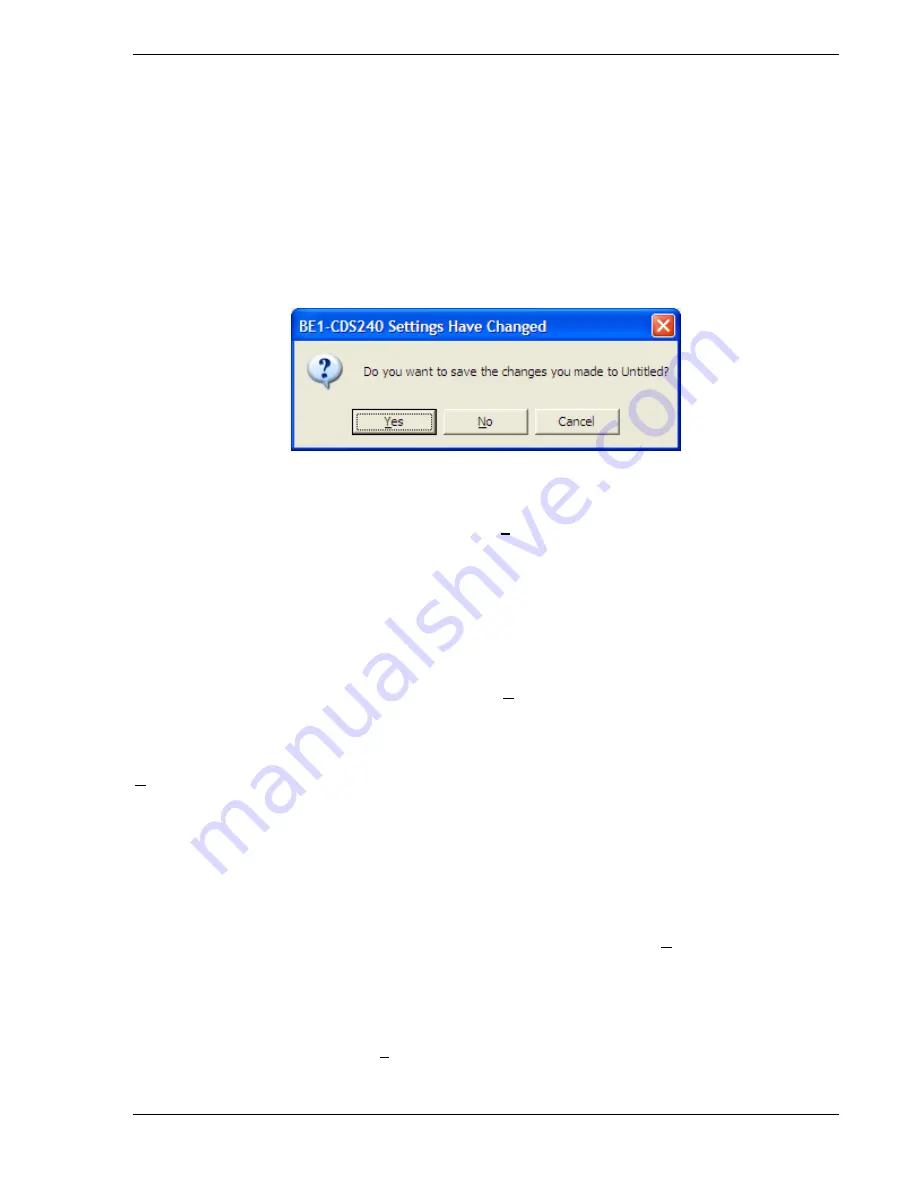
If you change any settings in the active custom logic scheme and try to exit BESTCOMS, the dialog box
shown in Figure 14-55 appears. If you choose
Yes
, a file properties dialog box appears. The file
properties dialog box also appears if you pull down the file menu and choose
Save
or
Save As
. The lines
of information that are grayed-out are automatically entered based on the file name and relay identifier
information command (SG-ID). You may enter up to 50 characters in the
Additional Info:
field and 2,500
characters in the
File Comments
field. When you okay the dialog box, you are given an opportunity to
name the file and select the path. Clicking on
Save
completes the saving of a settings file.
Figure 14-55. Settings Have Changed Dialog Box
Opening a Settings File
To open a settings file into BESTCOMS, pull down the
File
menu and choose
Open
. If the settings in your
BESTCOMS have changed, a dialog box will open asking you if want to save the current settings
changes. You may choose
Yes
or
No
. After you have taken the required action to save or not save the
current settings, the
Open
dialog box appears. This dialog box allows you to use normal Windows
techniques to select the file that you want to open. Select the file and open it and the file settings have
been brought into BESTCOMS.
Uploading a Settings File
To upload a settings file to the BE1-CDS240 relay, you must first open the file through BESTCOMS or
create the file using BESTCOMS. Then pull down the
Communication
menu and select
Upload Settings
to Device.
You are prompted to enter the password. If the password is correct, the upload begins and the
percent complete loading bar is shown. At upload completion, you are asked if you want to save the
settings and make them active. After replying, you are informed of the status: Yes - settings are saved or
No - settings are discarded. If you would like to view the file names as they are uploaded, pull down the
Communication
menu and select
Configure
. When the
Configure Communication Port
dialog box opens,
click the
On
button for
Show Commands During Data Transfer
and then click
OK
. Now, during data
transfer, you will see two screens (
Sending
and
Status
) and the percent complete loading bar. If a data
transfer error occurs, you can briefly see the error notification in the
Status
window. The file settings will
not be uploaded and the changes discarded. You may then scroll through the
Status
window until you find
the error notification. Click on the error notification and the data file that transferred in error is shown in
the
Sending
window.
Downloading a Settings File
To download a settings file from a BE1-CDS240 relay, you must pull down the
Communication
menu and
select
Download Settings from Device
. If the settings in your BESTCOMS have changed, a dialog box will
open asking you if want to save the current settings changes. You may choose
Yes
or
No
. After you have
taken the required action to save or not save the current settings, the downloading is executed.
Printing a Settings File
To print a settings file, pull down the
File
menu and select
. A dialog box,
Print BE1-CDS240 Settings
File
opens with the settings file shown and typical Windows
choices to setup the page and the printer.
Execute these commands, as necessary, and then select
.
9365200990 Rev F
BE1-CDS240 BESTCOMS Software
14-39
Summary of Contents for BE1-CDS240
Page 2: ......
Page 8: ...vi BE1 CDS240 Introduction 9365200990 Rev F This page intentionally left blank ...
Page 38: ...1 28 BE1 CDS240 General Information 9365200990 Rev F This page intentionally left blank ...
Page 40: ...ii BE1 CDS240 Quick Start 9365200990 Rev F This page intentionally left blank ...
Page 152: ...ii BE1 CDS240 Metering 9365200990 Rev F This page intentionally left blank ...
Page 226: ...iv BE1 CDS240 Application 9365200990 Rev F This page intentionally left blank ...
Page 286: ...ii BE1 CDS240 Security 9365200990 Rev F This page intentionally left blank ...
Page 290: ...9 4 BE1 CDS240 Security 9365200990 Rev F This page intentionally left blank ...
Page 292: ...ii BE1 CDS240 Human Machine Interface 9365200990 Rev F This page intentionally left blank ...
Page 306: ...10 14 BE1 CDS240 Human Machine Interface 9365200990 Rev F This page intentionally left blank ...
Page 308: ...ii BE1 CDS240 ASCII Command Interface 9365200990 Rev F This page intentionally left blank ...
Page 342: ...11 34 BE1 CDS240 ASCII Command Interface 9365200990 Rev F This page intentionally left blank ...
Page 349: ...Figure 12 5 Horizontal Rack Mount Front View 9365200990 Rev F BE1 CDS240 Installation 12 5 ...
Page 361: ...Figure 12 17 Typical DC Connection Diagrams 9365200990 Rev F BE1 CDS240 Installation 12 17 ...
Page 372: ...12 28 BE1 CDS240 Installation 9365200990 Rev F This page intentionally left blank ...
Page 468: ...13 92 BE1 CDS240 Testing and Maintenance 9365200990 Rev F This page intentionally left blank ...
Page 512: ...14 42 BE1 CDS240 BESTCOMS Software 9365200990 Rev F This page intentionally left blank ...
Page 544: ...ii BE1 CDS240 Terminal Communication 9365200990 Rev F This page intentionally left blank ...
Page 550: ...ii BE1 CDS240 Settings Calculations 9365200990 Rev F This page intentionally left blank ...
Page 578: ...D 28 BE1 CDS240 Settings Calculations 9365200990 Rev F This page intentionally left blank ...
Page 579: ......


