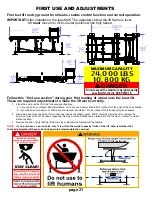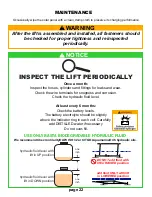
NO GAP!
4
5
4.
Test the lift on dry ground using the Up/Down Switch
( # 9) and the Key Fob Transmitters. Inspect the
system for leaks.
1.
The Hydraulic Pump will arrive fully assembled. Make
s u re all the connections are snug to prevent leaks or
loss of power to the unit.
2.
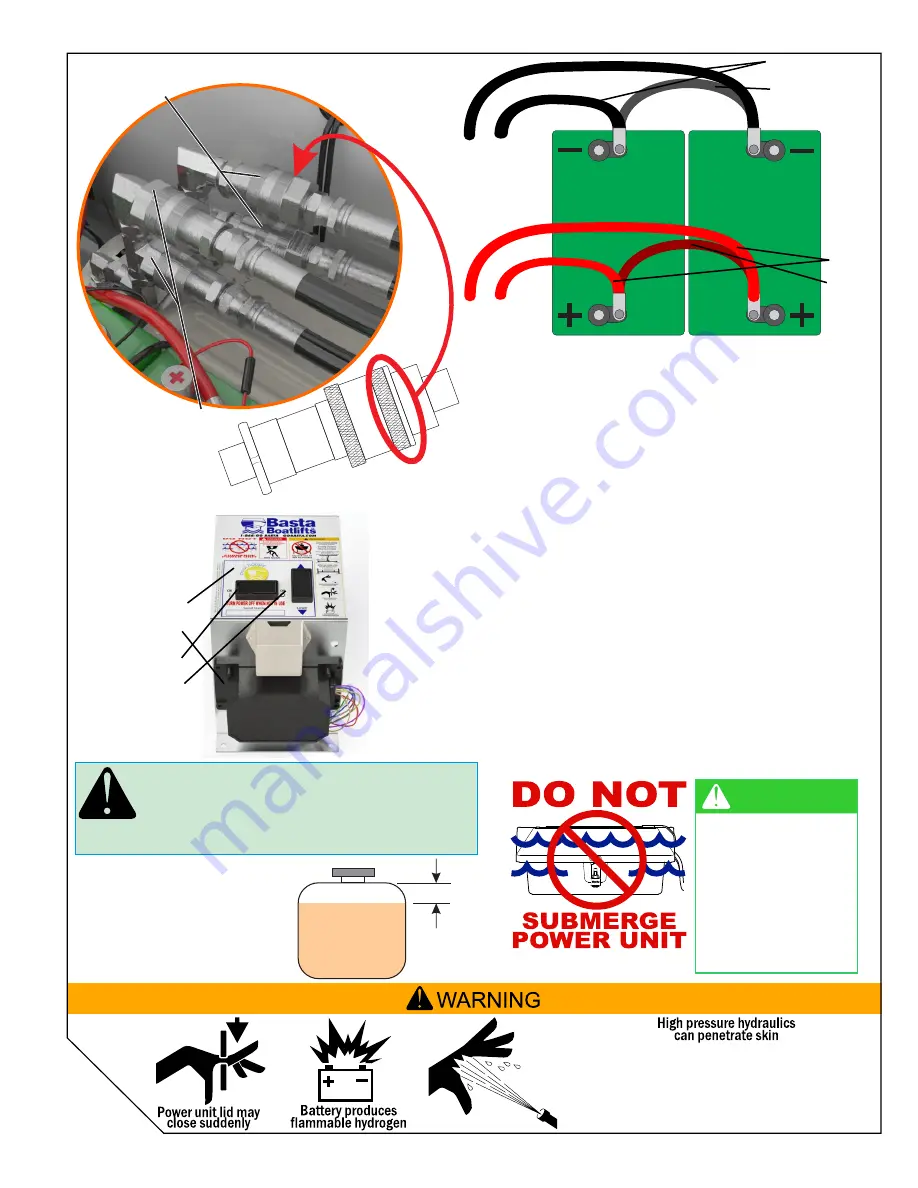
Install two Group 31 Marine Grade Batteries as shown
a b ove.
Confirm that the POWER switch on the Control
Panel (#8) is OFF.
Connect solar panel to the
solar controller (see page 15).
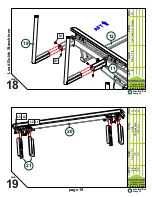
Connect the Black Link Cable (#19) between the two negative
terminals of the batteries. Connect the Red Link Cable (#21)
between the two positive terminals of the batteries. Connect
the Red Battery Cables (#13) to the positive terminals and the
Black Battery Cables (#12) to the negative terminals of the
battery bank as shown.
NOTE:
Ensure battery cables are correctly connected
and their terminals are very tight (otherwise there is
a risk of overheating).
3.
Slide the Hydraulic Cylinder Hoses through the
a
c cess holes in the side of the White Fiberglass Box
(#10) and attach them to their corresponding
Quick Couplers (#4, #5).
Ensure each Quick Coupler is
completely seated and
tight
with
no gap at the connection joint.
Connection must be
tight
to open internal
check valve and allow fluid to flow. USE PLIERS
one
inch
hydraulic fluid level with
lift in DOWN position
only add fluid with lift
in DOWN position
H
y
d
ra
u
li
c
P
o
w
e
r
U
n
it
17
page 17
step
OIL INJECTED INTO THE SKIN FROM HIGH PRESSURE
LEAKS IN HYDRAULIC SYSTEMS CAN CAUSE SEVERE
INJURY. MOST DAMAGE OCCURS DURING THE FIRST
FEW HOURS. SEEK MEDICAL ATTENTION IMMEDIATELY.
SURGICAL REMOVAL OF OIL MAY BE NECESSARY.
Keep inside dry
Tighten nuts on
batteries very tight.
Otherwise, cables
may overheat
during lift
operation.
NOTICE
Battery
Group 31
marine
deep cycle
Battery
Group 31
marine
deep cycle
Battery
Battery
Battery
Battery
6
7
8
9
12
13
19
21
NOTE:
pump
appearance
may vary


