Installation & Maintenance Manual: BRBAC 1 HP
Published December 2019
Rev.A1
23
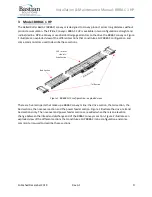
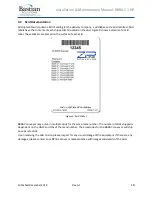
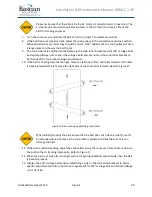
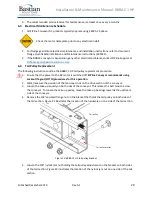
Figure 15: Belt splicing schematic
5.4
Tensioning and Tracking the AC belt
The following instructions outline the tensioning and tracking of the AC belt.
1.
Ensure the conveyor is level across its width.
2.
Ensure the tail pulleys are square to the side frames.
3.
Verify the belt routing is correct through the drive and tails.
4.
Tension the belt by moving the take-up pulley away from the drive pulley. This can be
accomplished by rotating the tensioner rod in the take-up assembly. Be sure to adjust the take-
up on each side of the drive.
5.
Stop tensioning the belt when the belt is taut along its routing and the belt does not slip on the
drive pulley when the motor is turned on.
6.
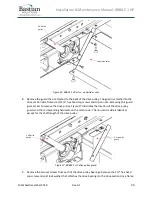
Once the belt is tensioned correctly, measure the position of the takeup pulley on each side of
the drive and ensure it is square. To check and adjust squareness of the take-up pulley, adjust
the tensioner rod on either side of the drive section to be of equal distance. This measurement
can be taken from the take-up bracket (pulley attached to the bracket) to the side frame. Figure
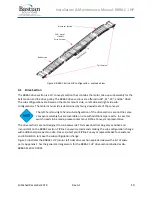
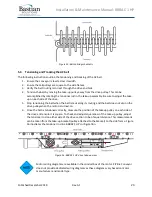
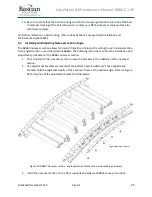
16 illustrates the tensioner rod in a BRBAC 1 HP configuration.
Figure 16: BRBAC 1 HP drive take-up view
Motor wiring diagrams are available in the conduit box of the motor. ZiPline Conveyor
does not provide dedicated wiring diagrams as these diagrams vary based on motor
manufacturer and model type.
Summary of Contents for BRBAC 1 HP
Page 1: ...Installation and Maintenance Manual Model BRBAC 1 HP Effective December 2019 Rev A1...
Page 44: ...Installation Maintenance Manual BRBAC 1 HP Published December 2019 Rev A1 44...
Page 45: ...Installation Maintenance Manual BRBAC 1 HP Published December 2019 Rev A1 45...
Page 46: ...Installation Maintenance Manual BRBAC 1 HP Published December 2019 Rev A1 46...
Page 47: ...Installation Maintenance Manual BRBAC 1 HP Published December 2019 Rev A1 47...

