Installation and Maintenance Manual: RLVAC
Published February 2022
21
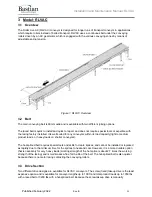
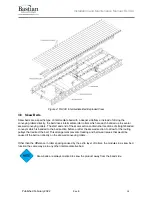
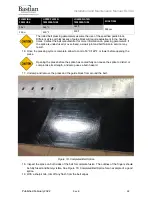
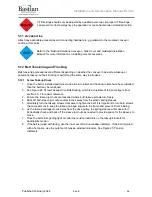
Figure 10: Tail Belt Routing
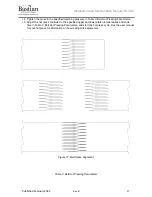
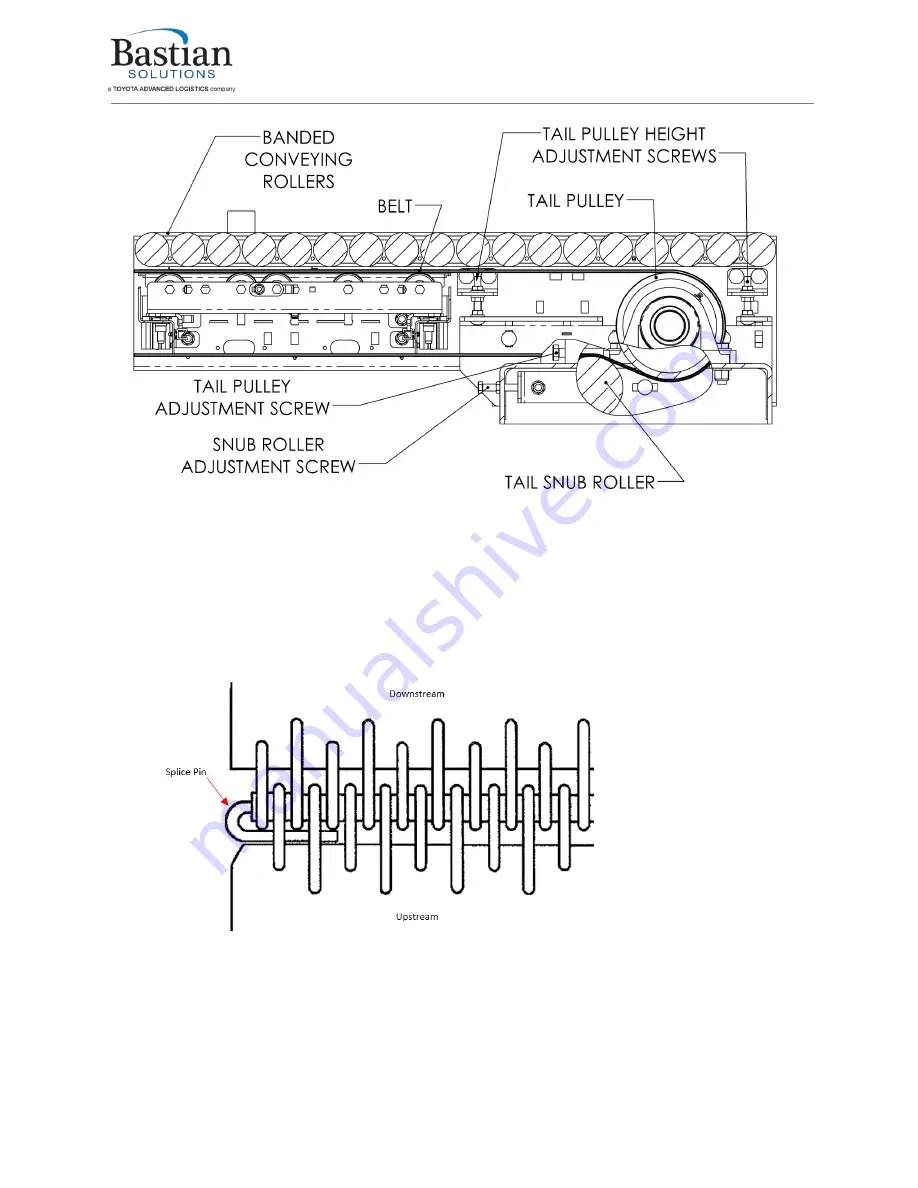
11. If the belt uses a laced joint, both ends should ship from the factory prepared with lacing.
a. Bring the two ends together and insert the lacing pin.
b. Trim the lacing pin approximately ½” to 1” longer than the belt on both sides.
c. Fold the end of the pin over and tuck it into the lacing on the upstream side of the belt.
Note that the belt moves opposite of product flow, so the upstream side of the belt is
towards the discharge end of the conveyor, if the belt splice is on top. See Figure 11: Belt
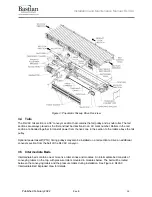
Figure 11: Belt Lacing
5.5.1 Belt Routing: Screw Takeup Drive
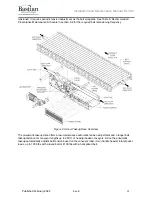
1. Remove the takeup guards on both sides of the drive. Remove the access panels on the drive
side opposite the gearmotor. See Figure 12: Screw Takeup Drive Overview.
2. Loosen the takeup jam nuts until the takeup screws turn freely. Turn the takeup screws
counterclockwise until the takeup carriage is as close to the drive pulley as it will go, without

