31
EN
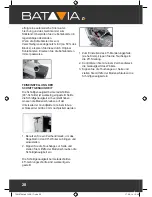
3. Place the plunge saw on the guide rail. The
base plate has a groove (16), which exactly
fits into the guide ridge of the rail.
4. Guide the plunge saw from the edge of the
guide rail and turn the guide rail lock (7)
towards I to connect the plunge saw to the rail.
Connecting the base plate to the guide rail
is important when doing miter cuts. This
prevents the plunge saw from tilting over.
5. Disconnect the plunge saw by turning the
locking mechanism back towards 0 and
taking the saw off the guide rail.
FINE ADJUSTMENT OF PLUNGE SAW
PLAY ON GUIDE RAIL
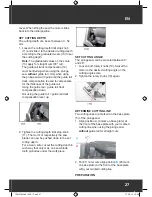
The play of the base plate on the guide rail
can be reduced to minimum with the fine
adjustment screws (8).
1. Loosen the fine adjustment screws counter-
clockwise.
2. Turn both fine adjustment screws (8)
clockwise to minimize the play between
base plate and guide rail, if necessary.
3. Fasten the fine adjustment screws
clockwise.
CONNECTING RODS FOR GUIDE RAILS
(OPTIONAL)
1. To connect both guide rails slide the first
connecting rod from the bottom into the
groove of the guide rail.
2. Slide the other connecting rod into the
second groove.
3. Use the 3 mm Allen key to tighten the stud
screws to the limit stop to connect the rails.
DETERMINE CUTTING LINE
When using the saw
with
guide rail
always
align position A (0 mark on base plate) at the
front of the base plate with your marked
cutting line for straight cuts and 45° miter cuts.
GUIDE RAIL SPLINTER GUARDS
The guide rails come with a splinter guard
(black protruding rubber lip). The splinter
guard should be cut to size before first use.
The splinter guard ensures a tear-free cut,
since the wood fibers at the top of the work
piece are torn without splinter guard. This is
due to the saw blade teeth being directed
upward.
After cutting the splinter guard to size it also
shows the precise cutting path of the saw
blade.
Splinter
guide
7061274 Ma # 1406-17.indd 31
17-06-14 13:29


