background image


Batca Fitness Systems


20 

LD-2  Owner's Manual


 

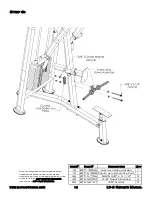
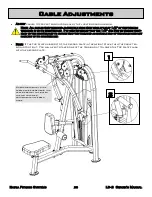
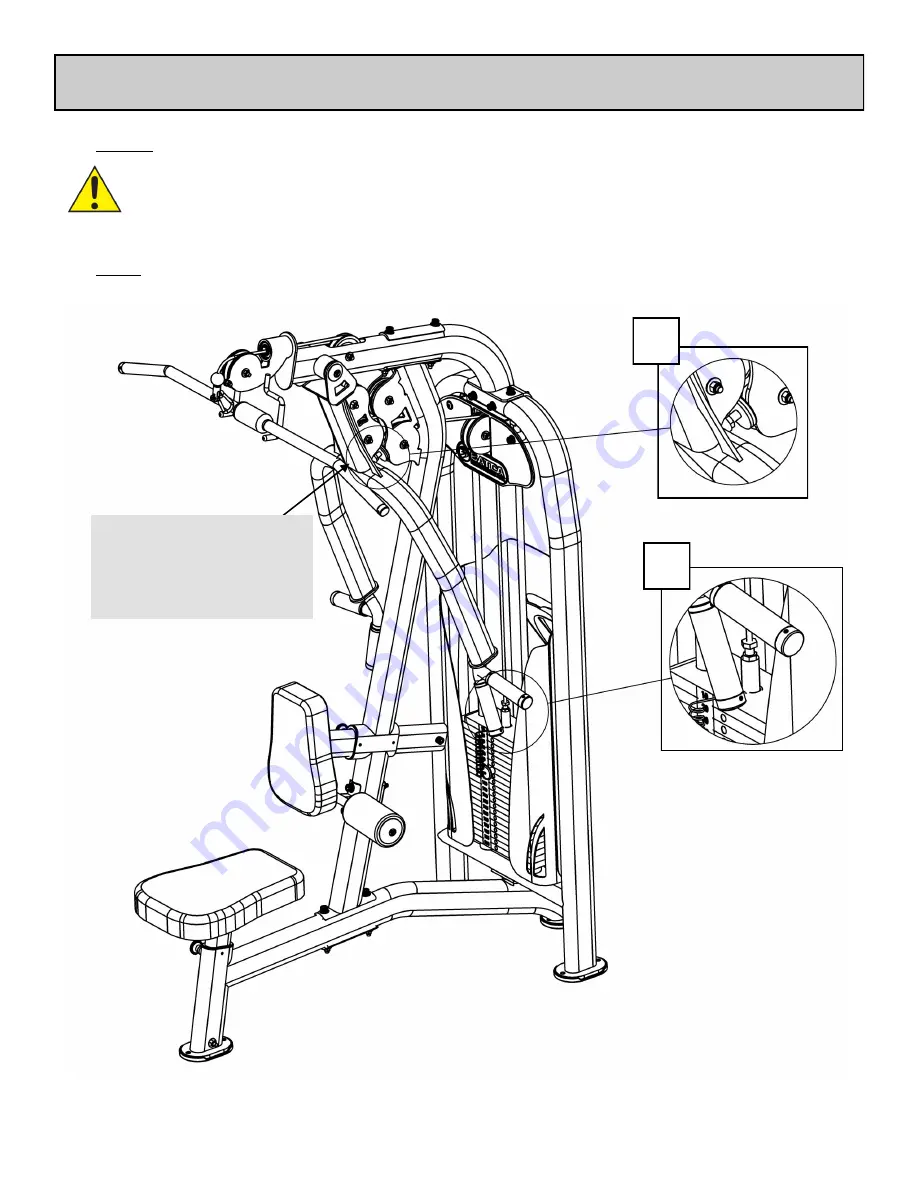
Adjust cables to proper tension from any of the locations shown below. 

Note:  All cables with threaded adjustable ends must have at least 1/2” of the threads 
threaded in to its counterpart.  It is very important that the 1/2” Jam Nut be wrench tight-
ened to the counterpart to ensure that the threaded adjustable end of the cable does not 
back out of its counterpart. 


 

Note:  If the top plate raises off of the second plate in the weight stack, then the cable ten-
sion is too tight.  You will need to take some of the tension out to lower the Top plate flush 
with the second plate. 


Cable Adjustments 

Fine Adjustments to the  
cable can be made here.  It is 
very important to tighten 
the jam nut after                             
adjustments have been 
made 

Summary of Contents for LD-2

Page 1: ...w batcafitness com LD 2 Owner s Manual June 2011 Revision 1 Serial Number Here Date of Purchase Owner s Manual Mid Row Lat Pull Down LD 2 1207 New Hope Road Raleigh NC 919 255 1233 www batcafitness co...

Page 2: ...verify cor rect assembly If you are unable to correct a problem or have questions with your assembly please contact your authorized Batca dealer Batca Fitness Systems has built this gym to give you a...

Page 3: ...ight Stack Shroud 1 ITEM NO PART NUMBER DESCRIPTION QTY 30 BFP 51696 Small Aluminum End Cap 2 31 BFH 50210 Gas Spring 1 32 BFH 50165 1 Snap Ring 2 33 BFH 50174 4 1 2 Pulley 7 34 BFH 50622 Large Alumin...

Page 4: ...Batca Fitness Systems 4 LD 2 Owner s Manual Bolt Length Note Bolt length is measured from the underside of the head of the bolt...

Page 5: ...www batcafitness com 5 LD 2 Owner s Manual...

Page 6: ...Batca Fitness Systems 6 LD 2 Owner s Manual...

Page 7: ...www batcafitness com 7 LD 2 Owner s Manual...

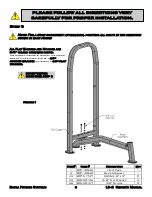
Page 8: ...R INSTALLATION All Flat Washers and Nylocks are 3 8 unless otherwise noted Anywhere a washer is against the round side of a tube there is to be a 3 8 CURVED WASHER instead of a 3 8 FLAT WASHER Figure...

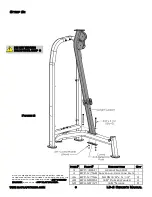
Page 9: ...ved Anti Deflection Plate 1 46 BFP 51756 SHCS 3 8 x 5 1 4 2 48 BFH 50204 3 8 Curved Washer 4 50 BFH 50157 3 8 Nylock 2 DO NOT TIGHTEN BOLTS UNTIL STEP 3 All Flat Washers and Nylocks are 3 8 unless oth...

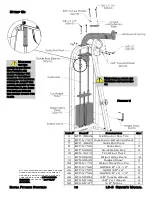
Page 10: ...Rod Sleeve 2 10 BFM 10413 Top Weight Plate 1 11 BFM 50632 Weight Stack Plate 19 12 BFM 50529 Rubber Donut 2 25 BFM 51173 Weight Stack Pull Pin 1 44 BFP 51760 SHCS 3 8 x 3 1 2 2 45 BFP 51799 SHCS 3 8...

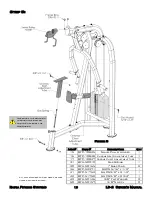
Page 11: ...wner s Manual Figure 4 Step 4 All Flat Washers and Nylocks are 3 8 unless otherwise noted Item Part Description Qty 13 BFP 10844 Mid Row Arm 1 14 BFP 51784 Axle 1 30 BFP 51696 Small Aluminum End Cap 2...

Page 12: ...16 BFP 10848 Chrome Seat Adjustment Tube 1 17 BFP 10847 Chrome Chest Adjustment Tube 1 31 BFH 50210 Gas Spring 1 32 BFH 50165 1 Snap Ring 2 36 BFP 52371 SHCS 5 16 x 1 2 1 41 BFP 51752 SHCS 3 8 x 2 1 4...

Page 13: ...er is against the round side of a tube there is to be a 3 8 CURVED WASHER instead of a 3 8 FLAT WASHER Step 6 Item Part Description Qty 18 BFP 10846 Knee Hold Down Assembly 1 19 BFP 51800 Curved Anti...

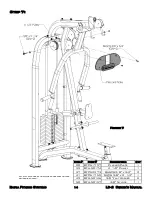
Page 14: ...ll Flat Washers and Nylocks are 3 8 unless otherwise noted Item Part Description Qty 20 BFP 51797 Placard Plate 1 33 BFH 50174 4 1 2 Pulley 1 37 BFP 52373 BHSCS 3 8 x 3 4 2 41 BFP 51752 SHCS 3 8 x 2 1...

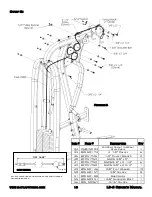
Page 15: ...ut to Weight Stack Cable 1 33 BFH 50174 4 1 2 Pulley 6 35 BFP 51746 1 2 Pulley Spacer 2 40 BFP 51759 SHCS 3 8 x 2 1 41 BFP 51752 SHCS 3 8 x 2 1 4 6 42 BFP 51750 SHCS 3 8 x 2 3 4 1 49 BFH 50146 3 8 Fla...

Page 16: ...0 Large Bottom Pad 1 29 BFU 50189 7 Upholstered Roller 2 34 BFH 50622 Large Aluminum End Cap 2 37 BFP 52373 BHSCS 3 8 x 3 4 2 39 BFP 51653 SHCS 3 8 x 1 1 4 4 47 BFP 50147 3 8 Lock Washer 4 49 BFP 5014...

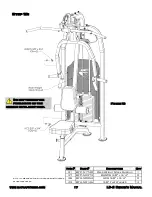
Page 17: ...cks are 3 8 unless otherwise noted Step 10 Figure 10 Item Part Description Qty 21 BFP 51740 Rear Weight Stack Shroud 1 37 BFP 52373 BHSCS 3 8 x 3 4 2 38 BFH 50254 HCS 3 8 x 3 4 2 49 BFH 50146 3 8 Flat...

Page 18: ...tness Systems 18 LD 2 Owner s Manual Item Part Description Qty 22 BFP 51741 Left Front Weight Stack Shroud 1 23 BFP 51742 Right Front Weight Stack Shroud 1 Step 11 Figure 11 Make sure all bolts are ti...

Page 19: ...ut Free Floater or the Top Plate of the weight stack Each must also be secured with a 1 2 Jam Nut to ensure a safe and proper connection Record your serial number on the front of this manual and keep...

Page 20: ...ch tight ened to the counterpart to ensure that the threaded adjustable end of the cable does not back out of its counterpart Note If the top plate raises off of the second plate in the weight stack t...

Page 21: ...tail All hardware stops and adjustments should be checked and tightened as required The guide rods on your machine should be cleaned and lubricated regularly This will ensure a glass smooth performanc...

Page 22: ...tion accident fire flood acts of God or other contingencies beyond the control of Batca Fitness Systems This warranty also does not cover deterioration from wear and tear or exposure or any defect whi...

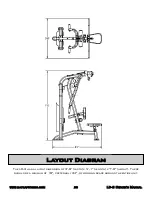
Page 23: ...afitness com 23 LD 2 Owner s Manual The LD 2 has a layout dimension of 3 8 width x 5 1 length x 7 0 height There should be a minimum of 18 preferably 24 of working space around the entire unit Layout...

Reviews: