GB-12
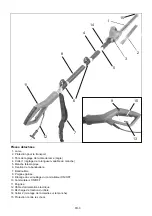
Switching on/out
9
10
13
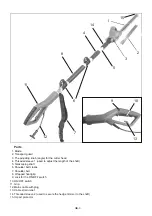
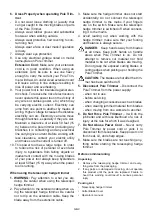
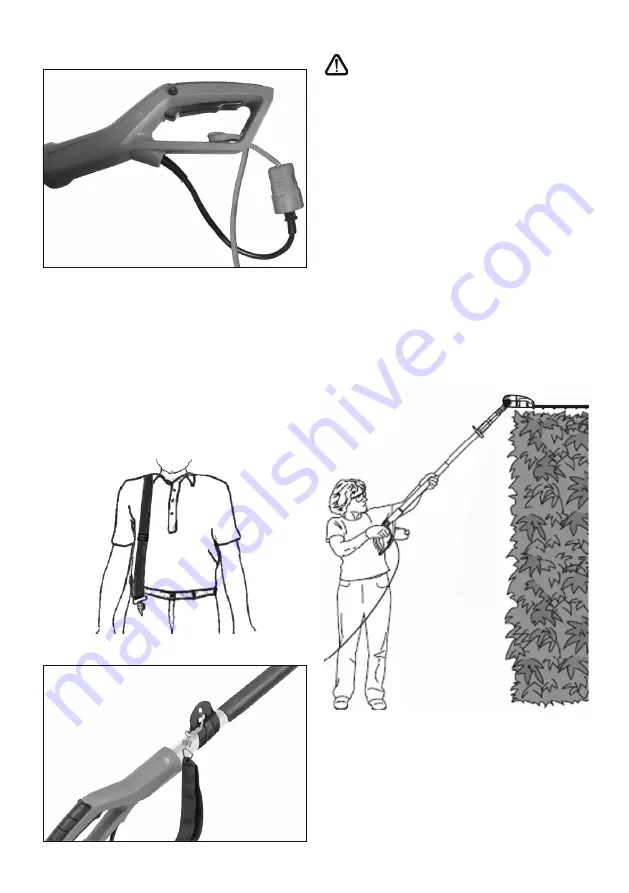
• Press with your thumbs the stopping button (9) on
the left side of the rear handle and then the operating
switch (10).
• The stopping button (9) is used for unlocking the
switch-on mechanism and does not need to be
pressed again after the device is switched on.
•
To switch off the device, release switch (10).
Note:
The sparks (flashes) developing from this in the
area of the upper ventilation slots are normal and harm-
less for the device.
Attachment of the shoulder belt
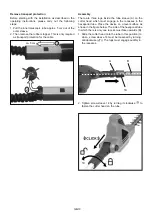
1. Wear the shoulder belt so that it lies over the right-
shoulder.
2. Fasten the snap hook on the shaft bracket on the
shaft (6).
7
6
Never carry the belt diagonally across your shoulders
and chest, but rather only on one shoulder, so that you
can rapidly move away from the tool in case of danger.
Instructions for use of the equipment
• Do not use the trimmer in rain or for cutting wet hedges!
•
Check the hedge trimmer flex and its connections
before each and every use for visible signs of damage
(disconnect the power plug)! Do not use a faulty flex.
• Gloves:
Protective gloves must be worn when using the hedge
trimmer.
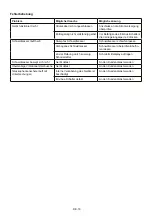
Using the pole hedge trimmer
The Pole Trimmer is a dual- purpose tool. It is designed
to trim and shape tall, hard-to-reach hedges and bushes
with its extended reach and pivoting power head. You
can also adjust the Pole Trimmer to trim and shape
smaller hedges and shrubs near the ground without hav-
ing to bend or stoop.
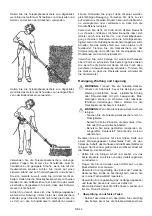
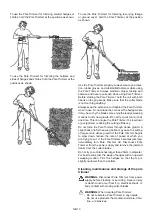
To use the Pole Trimmer for trimming tall, hard-to-reach
hedges or shrubs, hold the Pole Trimmer at the positions
shown. Pivot the power head to several different posi
-
tions to shape or sculpt shrubs or hedges.
Summary of Contents for GHTI 60 Gardol
Page 170: ......
Page 171: ...BG 1 2 3 4 5 6 9 10 11 13 15 15 15 15 15 16...
Page 172: ...20 mm BG 2...
Page 173: ...1 2 3 4 1 5 6 7 8 9 ON OFF 10 11 12 13 14 2 15 BG 3 11 14 15 1 2 3 4 5 6 7 8 12 9 10 13...
Page 175: ...BG 5 II 10m 104 dB A...
Page 176: ...BG 6 1 a b c 2 a b c d e f residual current device RCD RCD 3 a b c...
Page 177: ...BG 7 ON d e f g 4 a b c d e f g 5 a...
Page 178: ...BG 8 16...
Page 179: ...30 mA 1 2 3 15 50 4 5 6 7 8 9 BG 9...
Page 180: ...50 15m 10 50 15m 1 2 3 4 5 6 7 8 1 2 1 5 cm 2 BG 10...
Page 181: ...ca 5 cm 1 2 A 1 14 14 A B 2 14 BG 11 14 120 1 3 2 5 30 0 30 60 90...
Page 182: ...BG 12 30 30 60 90 0 3 3 3 4 4 5 5 4 II VDE 0740 30mA 1 OFF 2 3 13...
Page 183: ...BG 13 9 10 13 9 10 9 10 1 2 6 7 6...
Page 184: ...BG 14...
Page 185: ...BG 15 20 mm 1 2 3 2012 19 EC...
Page 186: ...BG 16 60...
Page 286: ......
Page 288: ......
Page 289: ......

