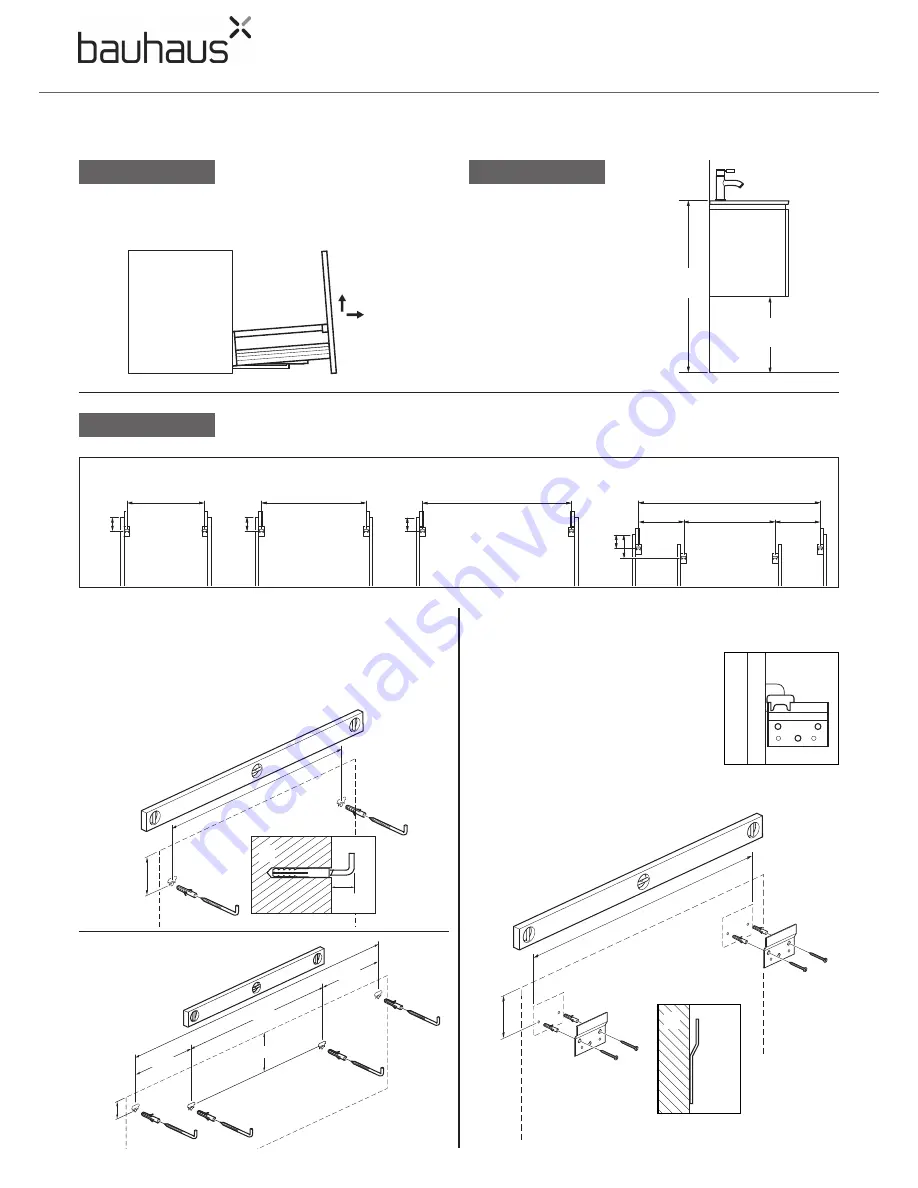
‘Wall bracket’ installation
Use the measurements above, to position the ‘wall brackets’.
a:
Important:
The measurements given
above are the maximum the brackets can
be spaced apart, the brackets must fit
within that measurement.
b:
Mark the bracket fixing holes onto
the wall. Drill Ø 8mm holes, insert the
wall plugs on solid walls and attach the
brackets (
c
).
Important:
If the basin unit and/or basin are not fitted level this
may result in the basin not draining correctly.
Position the unit on the brackets.
2
Remove the drawer before installation. Pull the drawer
fully out (
1
) and lift the front (
2
) as shown.
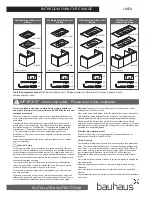
Step 1
Step 2
Plan unit position
Decide on the position and
height of the unit.
The recommended basin
height is between 860mm
and 870mm from floor to top
of basin.
Step 3
600 Basin Unit
1200 Basin Unit
532mm
1132mm
860mm -
870mm
360mm -
370mm
932mm
1000 Basin Unit
a
c
Top
b
115
mm
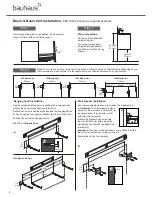
Note:
The Units can be hung using one of two options, ‘Hanging hooks’ or ‘Wall brackets’ depending on your
requirements and wall structure. It is recommended to use the bracket option on non-solid walls.
‘Hanging hook’ installation
Use the measurements above, to position the ‘hanging hooks’.
a:
Mark the fixing hole positions onto the wall.
Drill Ø 8mm holes, insert the wall plugs and the ‘hanging hooks’.
b:
The ‘hanging hooks’ should protrude from the wall by 5-7mm.
Position the unit on the hanging hooks.
115
mm
a
5-7mm
b
115
mm
750 Basin Unit
682mm
300mm
300mm
532mm
185
mm
115
mm
115
mm
115
mm
115
mm
185mm
300mm
532mm
300mm
1200 Basin Unit Only
600, 750 & 1000 Basin Units
Basin & Basin Unit Installation -
600 Unit is shown as a typical example
1
2


