background image

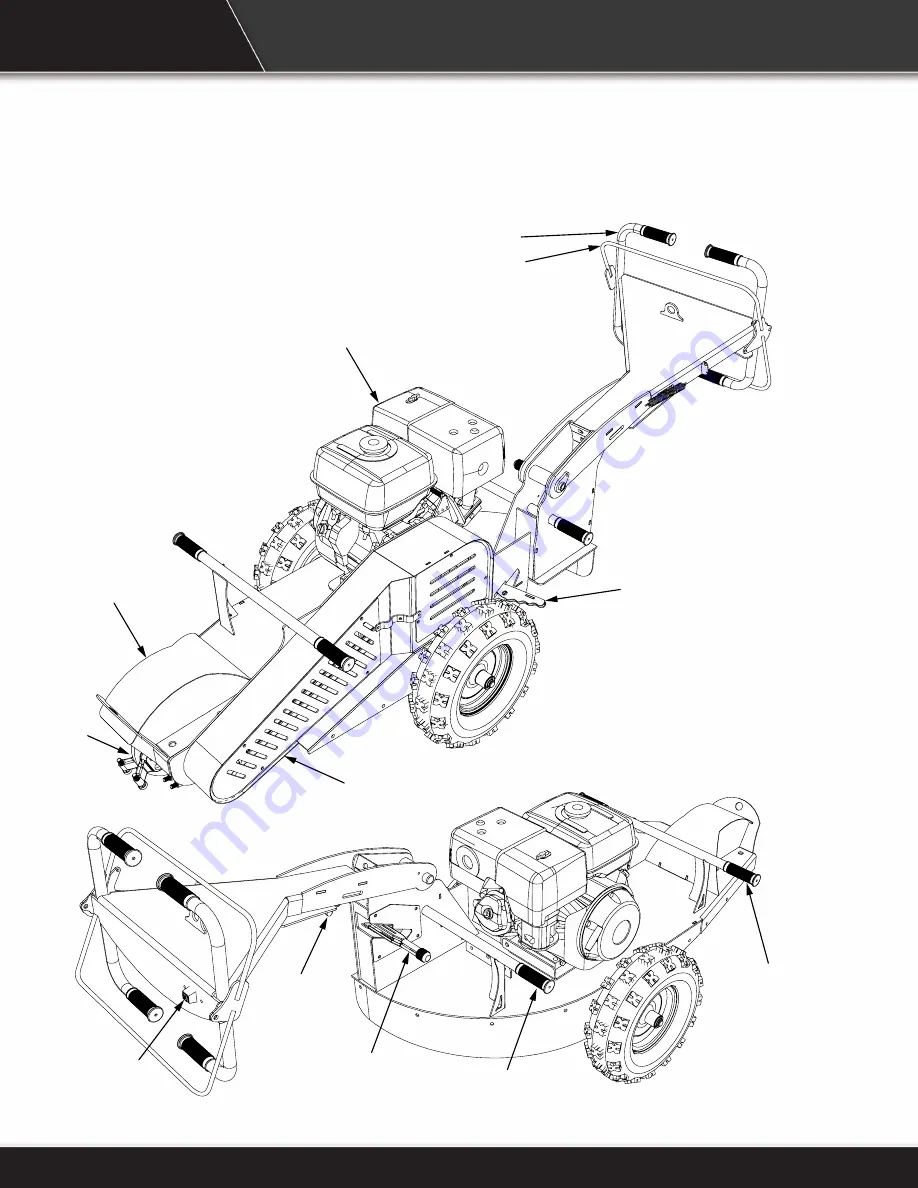
2. COMPONENTS

I

K

J

H

H

A

B

C

D

E

F

G

A.  Rotor
B.  Debris Guard
C.  Engine
D.  Safety Bar
E.  Operator Station Handle
F.  Wheel Lock 
G.  Belt Guard
H.  Lift Handles
I.  Wheel Lock Lever
J.  Handle Height Lock
K.  Engine Stop Button

2

Summary of Contents for WB44

Page 1: ...WB44 STUMP GRINDER OPERATOR S MANUAL Issue Date Oct 2020...

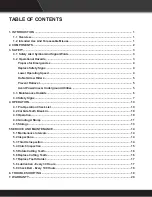
Page 2: ...s 5 3 3 Maintenance Hazards 6 3 4 Safety Signs 7 4 OPERATION 10 4 1 Pre Operation Check List 10 4 2 Carbide Teeth Break In 10 4 3 Operation 10 4 4 Grinding A Stump 11 4 5 Storage 13 5 SERVICE AND MAIN...

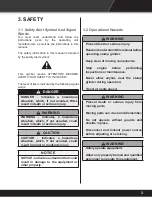
Page 3: ...types of labeling on this machine safety informative and product labels Safety Labels are pictorial with a yellow background and generally 2 panel Top panel indicates the potential hazard and the bot...

Page 4: ...ONENTS I K J H H A B C D E F G A Rotor B Debris Guard C Engine D Safety Bar E Operator Station Handle F Wheel Lock G Belt Guard H Lift Handles I Wheel Lock Lever J Handle Height Lock K Engine Stop But...

Page 5: ...if not avoided could result in minor or moderate injury NOTICE NOTICE Indicates a situation that could result in damage to the equipment or other property 3 1 Safety Alert Symbol And Signal Words 3 2...

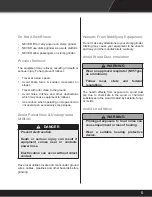
Page 6: ...gh or uneven terrain WARNING Use stump grinder only for the designed applications Any other use may result in personal injury damage to equipment and may void the warranty WARNING Prevent serious inju...

Page 7: ...injury can result if equipment comes near or contacts power lines Electrocution can occur without direct contact Have local utilities locate and mark under ground wires cables pipelines and other haza...

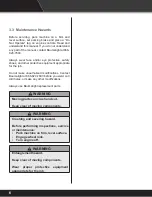
Page 8: ...ppropriate for the job Do not make unauthorized modifications Contact Baumalight at 866 820 7603 before you weld cut drill holes or make any other modifications Always use Baumalight replacement parts...

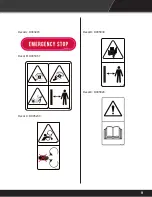
Page 9: ...ing or cannot be read contact your dealer for replacement labels The two and four panel safety decals are pictorial and have a yellow background The panel with a triangle indicates the potential hazar...

Page 10: ...B C D A E D 8...

Page 11: ...Decal D D005039 D005039 Decal E D005029 D005029 Decal A D003274 Decal B D005367 D005367 Decal C D005230 D005230 9...

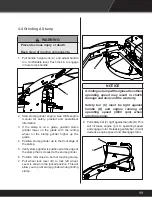
Page 12: ...marked all underground utilities 4 2 Carbide Teeth Break In New carbide teeth are razor sharp and can chip and shatter easily when they hit hard objects Once the razor sharpness has worn away tips do...

Page 13: ...ify stump grinder is positioned at the edge of the stump that is closest to the stump grinder 6 Position rotor close to but not touching stump 7 Pull wheel lock lever B to lock left wheel Lever is sho...

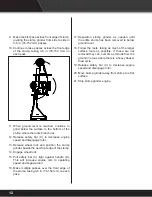
Page 14: ...of the stump 14 Engage wheel lock 15 Pull safety bar C tight against handle D This will increase engine rpm to operating speed and engage rotor 16 Make multiple passes over the front edge of the stum...

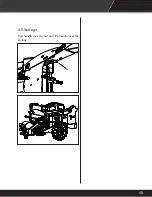
Page 15: ...4 5 Storage Pull handle lock A out and flip handle over for storage A 13...

Page 16: ...handle Check cutting teeth for wear Rotate or replace cutting teeth as necessary Check engine air filter Clean or replace as necessary Lubricate pivot point grease fittings Lubricate rotor bearings C...

Page 17: ...essive heat Excessive heat is a result of clutch slippage This is normally due to grinding a stump at less that operating speed Verify engine throttle is properly adjusted so engine runs at operating...

Page 18: ...eth Check cutting teeth every 4 hours of use Keep cutting teeth in good condition Unit will cut faster and remaining teeth will last longer if broken or worn teeth are replaced Each tooth can be rotat...

Page 19: ...Remove tooth from tooth holder 5 Remove mounting hardware on tooth holders Install new tooth holder and tighten mounting hardware 6 Install tooth into new tooth holder 7 Tighten tooth locknut to 20 lb...

Page 20: ...ng bolts 5 Install belt guard Do not operate stump grinder with belt guard removed C D 5 Lubricate axles C C 5 9 Check Belt Every 100 Hours 1 Park stump grinder on a level surface 2 Shut off engine 3...

Page 21: ...ebris from rotor Drive belt loose Tighten drive belt Rotor rotates slow or sluggish Drive belt loose Tighten drive belt Excessive vibration Debris lodged in rotor Lock out power and clear debris from...

Page 22: ...tributor Only these locations are authorized to make repairs to the product or affect the replacement of defective parts which will be done at no charge within a reasonable time after the receipt of t...

Page 23: ...21...

Page 24: ...4575 Powell Rd Wallenstein Ontario Canada N0B 2S0 Phone 519 698 9864 Toll Free 866 820 7603 Fax 519 698 1087 www baumalight com For parts specifications and the latest machine information please visit...

Reviews: